Best Soil for Your Auricula
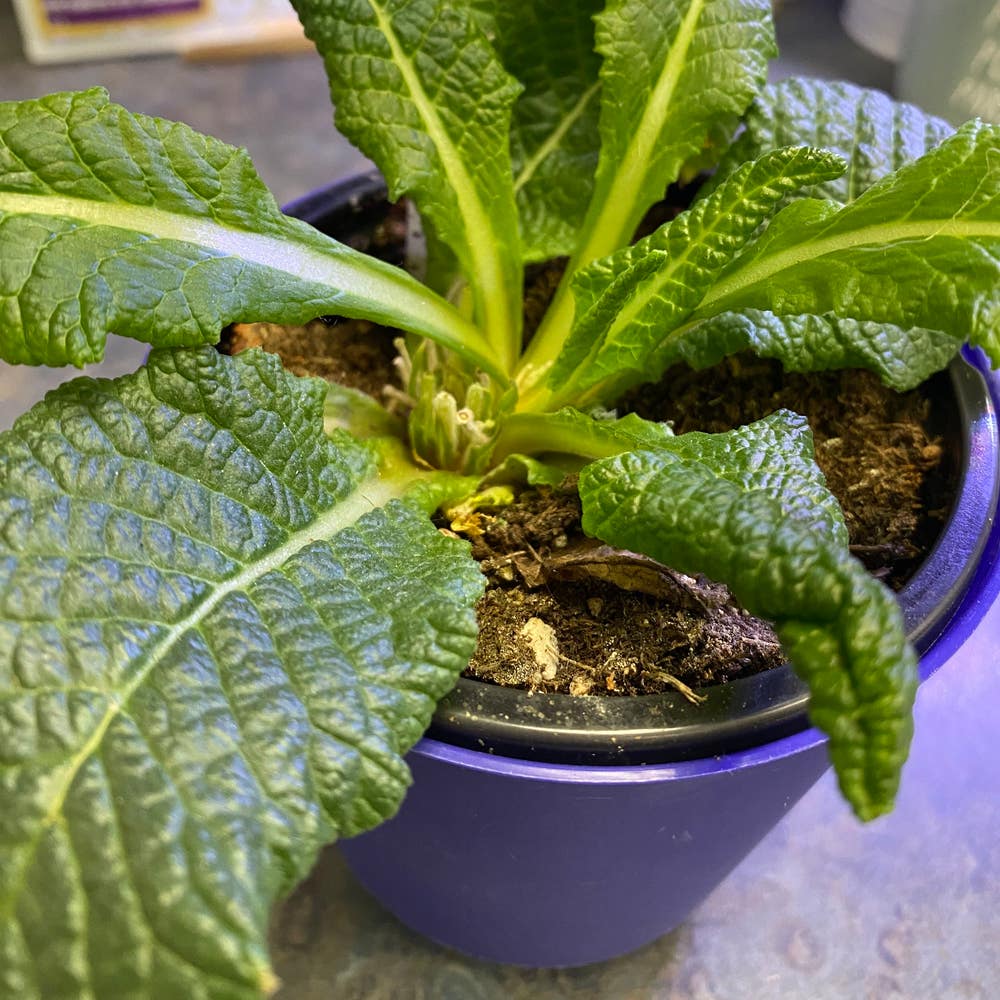
Primula auricula
By the Greg Editorial Team
Oct 16, 2024•5 min read
This article was created with the help of AI so we can cover more plants for you. May contain errors. See one? Report it here.
- 🌱 Healthy Auricula soil prevents issues like mold, yellowing leaves, and stunted growth.
- 🧪 Maintain pH between 6.0 and 7.0 for optimal nutrient absorption and root health.
- 🔄 Regularly amend soil every 6-12 months to support your Auricula's growth and vitality.
Signs of Unhealthy Soil
🕵️♂️ Indicators of Unhealthy Soil
Recognizing unhealthy soil is crucial for the well-being of your Auricula. Start by looking for visual indicators like mold growth on the soil surface or water pooling on top, both of which signal potential problems.
Next, observe your plant's health. Yellowing leaves and stunted growth are clear signs that something is amiss. These symptoms often indicate that your Auricula is struggling to thrive in its current environment.
⚠️ Common Issues and Solutions
One common issue is moldy soil. This often arises from overwatering or poor air circulation, leading to compromised root health. To remedy this, remove the affected soil and replace it with a fresh mix, while also adjusting your watering schedule to prevent recurrence.
Another significant concern is root rot. Symptoms include wilting despite adequate watering and mushy roots. This condition typically results from excess moisture and poor drainage. Improving air circulation and using fungicides can help mitigate this issue effectively.
By staying vigilant and addressing these signs early, you can ensure your Auricula remains healthy and vibrant. Next, let’s explore how to create a homemade soil mix tailored for your plant's needs.
Creating a Homemade Soil Mix
🍂 Ingredients for a Perfect Soil Mix
Creating the ideal soil mix for your Auricula starts with the right ingredients. Use organic potting soil, perlite or pumice for aeration, and coarse sand for drainage.
For added benefits, consider optional ingredients like organic compost to boost nutrients or crushed limestone for pH adjustment. These components work together to create a balanced environment for your plants.
🛠️ Step-by-Step Guide to Mixing Soil
Mixing your own soil is straightforward and rewarding. Follow these easy steps:
- Gather your materials: potting soil, perlite, coarse sand, and compost.
- Measure out the components based on recommended ratios.
- Mix thoroughly in a large container until uniform.
- Test the pH of the mix and adjust if necessary.
This simple process ensures your Auricula has the best foundation for growth.
⚖️ Tips for Adjusting Soil Texture and pH
Fine-tuning your soil mix can make a significant difference. If the soil feels too dense, increase drainage by adding more perlite or sand.
To adjust pH levels, incorporate sulfur or peat moss to lower it, or add crushed limestone or wood ash to raise it. These adjustments help create the perfect environment for your plants to thrive.
With the right soil mix in place, your Auricula will be well-equipped to flourish. Next, let’s explore how to enhance your soil with amendments for even better results.
Soil Amendments
Recommended Amendments 🌱
To keep your Auricula thriving, consider using both organic and inorganic soil amendments.
Organic amendments like compost, well-rotted manure, and leaf mold enrich the soil with nutrients.
Inorganic amendments such as perlite, vermiculite, and lime enhance drainage and aeration, creating a balanced environment for root growth.
Incorporating Amendments 🛠️
When it comes to mixing amendments into your soil, you have a couple of effective techniques.
Top-dressing involves adding a layer of amendments on the soil surface, while full soil replacement means mixing them throughout the entire soil volume.
Aim to amend your soil every 6-12 months, adjusting based on its condition and your plants' needs.
Benefits of Amendments 🌼
Using organic amendments significantly improves soil structure and nutrient content.
In contrast, inorganic amendments provide immediate benefits, enhancing drainage and aeration, which are crucial for healthy Auricula growth.
Incorporating these amendments not only boosts your soil's health but also supports the vibrant life of your plants.
As you consider your soil care routine, remember that a little effort goes a long way in nurturing your Auricula.
Next, let’s explore how to adjust your soil care with the changing seasons to ensure your plants remain healthy year-round.
Seasonal Soil Considerations
🌦️ Adjusting Soil Care with Seasons
Monitoring soil moisture is crucial for your Auricula's health. As temperatures and humidity fluctuate, adjust your watering frequency to ensure optimal growth.
❄️ Preparing Soil for Winter
To protect your plants during the colder months, mulching is highly recommended. This practice shields roots from frost and helps maintain soil temperature.
Additionally, reduce your watering frequency to prevent root rot. Overwatering in winter can lead to serious issues, so keep an eye on moisture levels.
🌱 Spring Soil Refresh
As spring approaches, it's time to refresh your soil. Start by removing the old top layer and replacing it with a fresh mix to rejuvenate your plants.
Next, check for any drainage issues and amend the soil as necessary. This ensures your Auricula has the best environment for new growth.
Timing is key for your spring refresh—aim to do this in early spring, just before new growth begins. This proactive approach sets the stage for a vibrant growing season.
By adjusting your soil care with the seasons, you can significantly enhance the health and vitality of your Auricula. Now, let’s explore the ideal soil pH levels to further optimize your plant care.
Recommended Soil pH Levels
Ideal pH Range 🌱
For healthy Auricula growth, aim for a soil pH between 6.0 and 7.0. This range is crucial for optimal nutrient availability, ensuring your plants can absorb what they need to thrive.
Importance of pH for Nutrient Availability 🔑
Soil pH directly impacts root health and overall plant growth. If the pH is too high or too low, essential nutrients may become locked away, leaving your Auricula struggling to flourish.
Testing Soil pH 🧪
Regularly testing your soil's pH is vital for maintaining a healthy environment. Use simple tools like pH test strips or a digital pH meter for accurate measurements.
Recommended Tools and Methods 🛠️
- pH Test Strips: Easy to use and provide quick results.
- Digital pH Meters: Offer precise readings and are reusable.
- Soil Testing Kits: Comprehensive kits can analyze multiple soil properties.
Maintaining the right pH level is a game-changer for your Auricula's health. By regularly testing and adjusting as needed, you can ensure your plants are set up for success.
Next, let’s explore how to create a homemade soil mix that complements these pH considerations perfectly.
⚠️ Safety First
This content is for general information and may contain errors, omissions, or outdated details. It is not medical, veterinary advice, or an endorsement of therapeutic claims.
Always consult a qualified healthcare professional before using any plant as food, medicine, or supplement.
Never eat any plant (or feed one to pets) without confirming its identity with at least two trusted sources.
If you suspect poisoning, call Poison Control (800) 222-1222, the Pet Poison Helpline (800) 213-6680, or your local emergency service immediately.
Spotted an error? Please report it here.
Keep your Auricula flourishing by monitoring soil health and making adjustments, and let Greg guide you with customized care tips and reminders for thriving plants! 🌿