🌸 How to Cure Root Rot in Your Auricula
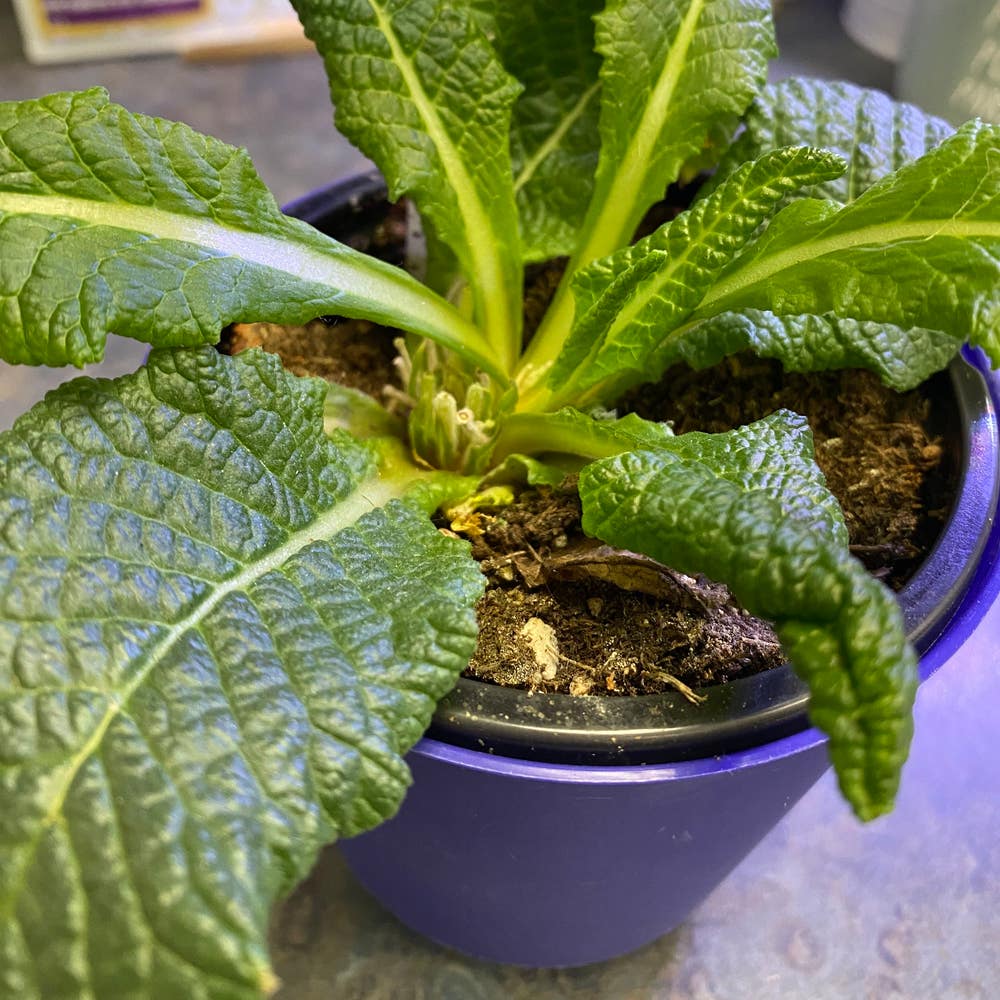
Primula auricula
By the Greg Editorial Team
Oct 16, 2024•4 min read
This article was created with the help of AI so we can cover more plants for you. May contain errors. See one? Report it here.
- 💧 Overwatering causes root rot; ensure well-draining soil for healthy Auricula roots.
- 🌱 Yellowing leaves signal root rot; inspect roots for dark, mushy signs.
- 🦠 Fungal infections like Pythium worsen rot; consider natural remedies or fungicides.
Causes of Root Rot
💧 Overwatering
Overwatering is a primary culprit behind root rot. When plants sit in excess moisture, it leads to poor soil drainage, suffocating the roots.
🌱 Soil Drainage
Well-draining soil is crucial for healthy plants. It prevents water accumulation, allowing roots to breathe and thrive.
🦠 Fungal Infections
Fungal pathogens are often responsible for root rot. Common offenders include species like Pythium and Fusarium, which thrive in damp conditions.
🌧️ Environmental Factors
High humidity and low temperatures can exacerbate root rot. These conditions create a perfect storm for fungal growth, making it essential to monitor your plant's environment.
Understanding these causes is the first step toward prevention and treatment. Next, let’s explore the common symptoms that indicate your auricula might be suffering from root rot.
Common Symptoms
Yellowing Leaves 🌼
One of the first signs of root rot is yellowing leaves. This often occurs even when you’re watering adequately, leaving you puzzled about what’s going wrong.
Signs of Root Rot 🚨
If you notice dark, mushy roots, it’s a clear indicator of root rot. Additionally, a foul odor emanating from the soil can signal that something is seriously amiss.
Leaf Drop 🍂
Premature leaf drop is another stress response to root rot. When your plant is struggling, it may shed leaves to conserve energy, which can be alarming to witness.
Recognizing these symptoms early can make a significant difference in your plant's recovery. Stay vigilant, and you can tackle root rot before it spirals out of control.
Diagnosing Root Rot
👀 Visual Inspection
Start by gently removing your Auricula from its pot. This allows you to check the root health directly, giving you a clear view of any potential issues.
💧 Soil Moisture Test
Next, assess the soil dampness. Stick your finger about an inch into the soil; if it feels soggy, overwatering is likely the culprit.
🔍 Root Examination
Now, it’s time to examine the roots closely. Healthy roots should be firm and white, while rotting roots will appear dark and mushy.
By following these steps, you can effectively diagnose root rot and take the necessary actions to save your plant. Understanding these signs will lead you to the next crucial step: treating root rot effectively.
Treating Root Rot
Step-by-Step Treatment Process 🌱
Remove the plant from its pot: Start by gently taking the plant out of its pot. This allows you to inspect the roots closely.
Clean the roots: Rinse the roots under lukewarm water. This helps remove any soil and debris that may be clinging to them.
Trim Affected Roots: Use sterilized scissors to cut away any dark, mushy sections. This step is crucial to prevent the spread of rot.
Allow to Dry: Let the roots air dry for a few hours. This helps them recover before repotting.
Recommended Treatments 🌿
Use of fungicides: Consider applying fungicides specifically designed for treating fungal infections. These products can effectively combat pathogens causing root rot.
Natural Remedies: If you prefer organic options, try using cinnamon or neem oil. Both have properties that can help treat and prevent root rot naturally.
By following these steps and treatments, you can give your Auricula a fighting chance against root rot. Next, let’s explore how to prevent this issue from occurring in the first place.
Preventing Root Rot
Best Soil Types 🌱
Using well-draining soil is crucial for preventing root rot. A mix that allows excess water to escape keeps your Auricula's roots healthy and thriving.
Proper Watering Techniques 🚿
Watering your plant correctly is essential. Aim to water based on environmental conditions, ensuring the soil is moist but not soggy.
- Check the top inch of soil: If it feels dry, it’s time to water.
- Water thoroughly: Ensure water seeps out of the drainage holes.
- Adjust frequency: In warmer months, you may need to water more often.
Importance of Drainage in Pots 🕳️
Good drainage is non-negotiable. Ensure your pots have adequate drainage holes to prevent water accumulation, which can lead to root rot.
By following these preventive measures, you'll create a healthier environment for your Auricula. This proactive approach not only safeguards against root rot but also promotes overall plant vitality.
Next, let’s dive into diagnosing root rot to catch any issues early!
⚠️ Safety First
This content is for general information and may contain errors, omissions, or outdated details. It is not medical, veterinary advice, or an endorsement of therapeutic claims.
Always consult a qualified healthcare professional before using any plant as food, medicine, or supplement.
Never eat any plant (or feed one to pets) without confirming its identity with at least two trusted sources.
If you suspect poisoning, call Poison Control (800) 222-1222, the Pet Poison Helpline (800) 213-6680, or your local emergency service immediately.
Spotted an error? Please report it here.
Revive your Auricula and breathe new life into its roots 🌱 with Greg's tailored watering reminders and soil moisture checks to keep root rot at bay!