🌱 Step-by-Step Guide to Repotting Your Tachibana
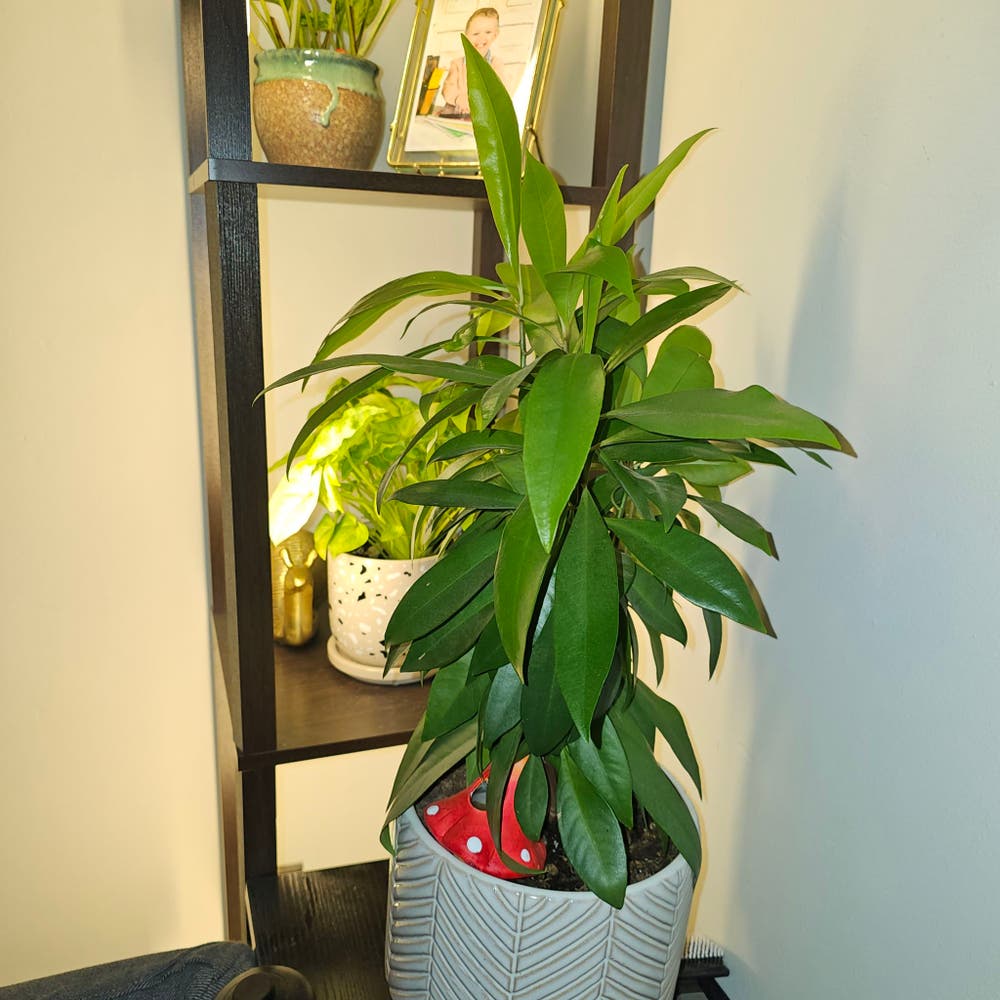
Ardisia tachibana
By the Greg Editorial Team
Nov 26, 2024•7 min read
This article was created with the help of AI so we can cover more plants for you. May contain errors. See one? Report it here.
Revitalize your Tachibana's growth 🌱 with these essential repotting tips for thriving plants!
- 🌱 Signs your Tachibana needs repotting: Look for roots out of drainage holes.
- 🏺 Best time to repot is spring, when your plant is actively growing.
- 💧 Use well-draining soil and pots with drainage holes to prevent root rot.
Signs That Your Tachibana Needs Repotting
🌱 Root Bound Indicators
One of the first signs that your Tachibana needs repotting is when you notice roots growing out of the drainage holes. This is a clear indication that the plant has outgrown its current pot.
Additionally, if you see roots circling the pot, it means they are limited in space. This circling behavior can lead to root binding, which stresses the plant.
🧪 Soil Condition
Next, take a look at the soil condition. If it appears compacted or has a crusty surface, it’s time for a change. Compacted soil restricts root growth and water absorption.
Another red flag is the presence of salt buildup on the soil surface. This can indicate over-fertilization and poor drainage, both of which can harm your Tachibana.
🌿 Plant Health
Finally, monitor the overall health of your plant. If you notice stunted growth or yellowing leaves despite providing proper care, it may be a sign that the roots are struggling.
Wilting or drooping leaves are also indicators of root stress. These symptoms suggest that your Tachibana is not getting the nutrients and water it needs, often due to being root-bound or in poor soil conditions.
Recognizing these signs early can help you take action and ensure your Tachibana thrives. Next, let’s explore the best time of year to repot your plant for optimal results.
Best Time of Year to Repot Tachibana
Optimal Timing 🌱
Spring is the ideal season for repotting your Tachibana. During this time, the plant is actively growing, making it more resilient to the stress of being moved.
Avoid repotting during extreme temperatures, such as the hot summer months or the cold of winter. These conditions can shock your plant and hinder its recovery.
Signs of Readiness 👀
Look for new growth emerging from your Tachibana, which is a clear indicator that it’s ready for a new pot. Additionally, if you notice roots visible through the drainage holes, it’s time to consider repotting.
Another sign is when the soil dries out faster than usual. This indicates that the plant needs more space to thrive, making it essential to act promptly.
By recognizing these signs, you can ensure your Tachibana remains healthy and vibrant. Now that you know when to repot, let’s explore the step-by-step process to do it effectively.
Step-by-Step Repotting Process for Tachibana
Preparation 🌱
Before diving into repotting your Tachibana, gather all necessary materials. You’ll need a new pot, potting soil, gloves, and your favorite gardening tools.
Choose a pot that is 1-2 inches larger in diameter than the current one. This extra space will allow your plant to thrive as it grows.
Removing the Plant 🌿
Start by watering your Tachibana a day before repotting. This will help ease the removal process.
Gently tilt the pot and tap the sides to loosen the root ball. Carefully slide the plant out, supporting both the base and the roots to minimize stress.
Inspecting the Root System 🔍
Once out of the pot, inspect the root system for any signs of rot or damage. Trim away any unhealthy roots using sterilized scissors to prevent infection.
Loosen any tightly bound roots to encourage new growth. This step is crucial for the plant's recovery and future health.
Potting the Tachibana 🪴
Begin potting by adding a layer of potting soil to the bottom of the new pot. This provides a solid foundation for your plant.
Position the Tachibana in the center and fill in around the sides with potting soil. Ensure that the root ball is level with the top of the pot for optimal growth.
Final Steps 🚀
After potting, water your Tachibana thoroughly to settle the soil. This helps eliminate air pockets and ensures good contact between the roots and the soil.
Finally, place your repotted Tachibana in a location with adequate sunlight. This will support its recovery and promote healthy growth.
With these steps, you’re well on your way to giving your Tachibana a fresh start! Next, let’s explore the best pot material options to enhance your plant's environment.
Pot Material Options for Tachibana
Pros and Cons of Each Pot Material 🌱
Ceramic
Ceramic pots are a popular choice for their aesthetic appeal and ability to retain moisture. However, they can be heavy and may crack if exposed to freezing temperatures.
Plastic
Plastic pots are lightweight and inexpensive, making them a practical option for many gardeners. On the downside, they often have poor drainage, which can lead to root rot if not monitored closely.
Terracotta
Terracotta pots excel in drainage and allow for air exchange, promoting healthy root growth. The trade-off is that they can dry out quickly, necessitating more frequent watering.
Recommended Pot Sizes and Shapes 📏
When repotting your Tachibana, choose a pot that is 1-2 inches larger in diameter than the current one. Wide and shallow pots are ideal, as they accommodate the shallow root system of the Tachibana effectively.
Understanding the right pot material and size is crucial for your plant's health. With the right choices, your Tachibana will thrive and flourish in its new home. Next, let’s explore the soil and drainage requirements essential for optimal growth.
Soil and Drainage Requirements
Best Potting Soil Mixes for Tachibana 🌱
Choosing the right potting soil is crucial for your Tachibana's health. A well-draining potting mix, enriched with perlite or sand, promotes aeration and prevents water retention.
Aim for a pH level between 6.0 and 7.0, which is slightly acidic to neutral. This range supports optimal nutrient uptake, ensuring your plant thrives.
Importance of Drainage in Repotting 🚰
Drainage is a game-changer when repotting. Proper drainage prevents waterlogging, a common issue that can lead to root rot.
Healthy drainage also fosters robust root development and nutrient absorption. Without it, your Tachibana may struggle to grow, no matter how much care you provide.
How to Ensure Proper Drainage in Pots 🏺
To guarantee effective drainage, always use pots with drainage holes. These holes allow excess water to escape, keeping the soil from becoming overly saturated.
Additionally, consider adding a layer of gravel or stones at the bottom of the pot before filling it with soil. This simple step enhances drainage and creates a healthier environment for your Tachibana's roots.
With the right soil and drainage setup, your Tachibana will be well on its way to flourishing in its new pot. Next, let's explore common repotting mistakes to avoid for a successful transition.
Common Repotting Mistakes
🛑 Mistakes to Avoid When Repotting Tachibana
Repotting your Tachibana can be a rewarding experience, but it's essential to avoid common pitfalls. One major mistake is repotting too frequently or at the wrong time of year, which can stress the plant and hinder its growth.
Another frequent error is using inappropriate potting soil that retains too much moisture. This can lead to waterlogged roots, ultimately causing root rot and other health issues.
🛡️ How to Prevent Root Damage During Repotting
To ensure a smooth repotting process, handle the root ball gently. Excessive disturbance can damage delicate roots, so be mindful as you work.
Using sterilized tools is also crucial. This minimizes the risk of introducing infections that could harm your plant.
🌱 Importance of Acclimatization After Repotting
After repotting, it's vital to acclimatize your Tachibana gradually. Reintroduce it to its light conditions slowly to prevent shock.
Keep an eye out for signs of stress, such as wilting or yellowing leaves. Adjust your care routine accordingly to help your plant thrive in its new environment.
By avoiding these common mistakes and following best practices, you can ensure a successful repotting experience for your Tachibana. Next, let’s explore the best pot material options to enhance your plant's growth.
⚠️ Safety First
This content is for general information and may contain errors, omissions, or outdated details. It is not medical, veterinary advice, or an endorsement of therapeutic claims.
Always consult a qualified healthcare professional before using any plant as food, medicine, or supplement.
Never eat any plant (or feed one to pets) without confirming its identity with at least two trusted sources.
If you suspect poisoning, call Poison Control (800) 222-1222, the Pet Poison Helpline (800) 213-6680, or your local emergency service immediately.
Spotted an error? Please report it here.
Repotting your Tachibana is a breeze with the right steps, and with Greg's tailored care reminders and expert advice, you'll keep your plant thriving 🌿 in its new pot!