🍑 Step-by-Step Guide to Repotting Your Nectarine
Prunus persica
By the Greg Editorial Team
Nov 22, 2024•6 min read
This article was created with the help of AI so we can cover more plants for you. May contain errors. See one? Report it here.
- 🌱 Recognize root-bound signs like roots escaping drainage holes to know when to repot.
- 🏺 Choose a pot 2-4 inches larger for healthy root growth and drainage.
- 🌞 Repot in early spring to support new growth and minimize transplant shock.
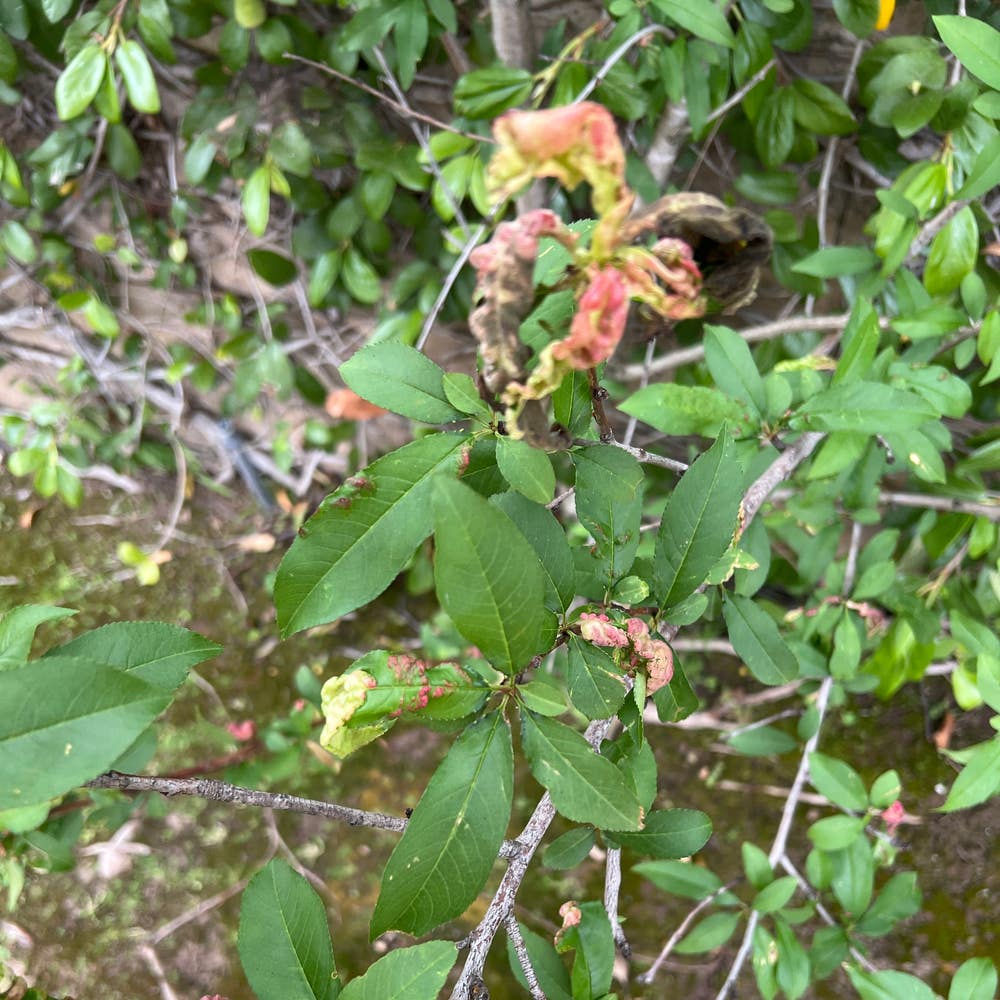
Signs That Your Nectarine Needs Repotting
🌱 Root Bound Indicators
Recognizing when your nectarine needs repotting is crucial for its health. One of the first signs is roots growing out of the drainage holes, indicating they’ve run out of space.
Another indicator is roots circling the pot's interior. If you notice stunted growth despite providing proper care, it's time to investigate further.
🧪 Soil Condition
The condition of the soil is equally important. If the soil feels compacted and isn't draining well, your nectarine may be struggling.
Additionally, the presence of mold or unpleasant odors can signal that the soil has become unhealthy. These signs suggest that a change is necessary for your plant's well-being.
🍂 Seasonal Changes
Timing is everything when it comes to repotting. The best time to repot your nectarine is early spring, just before new growth begins.
Keep an eye out for signs of seasonal stress, such as yellowing leaves or wilting. These symptoms can indicate that your plant is ready for a new home.
By staying vigilant about these signs, you can ensure your nectarine thrives in a healthy environment. Next, let’s dive into the step-by-step process of repotting your nectarine for optimal growth.
Step-by-Step Repotting Process
🌱 Preparing the New Pot and Soil
Choosing the right pot is crucial for your nectarine's health. Opt for a pot that is 2-4 inches larger in diameter than the current one to give the roots room to grow.
Next, select a well-draining potting mix that suits nectarines, ideally with a slightly acidic to neutral pH (6.0-7.0). Don't forget to check that the new pot has adequate drainage holes to prevent waterlogging.
🥳 Removing the Nectarine from Its Current Pot
Before you start, water the plant a day prior to repotting. This helps ease the root removal process.
Gently tilt the pot and tap the sides to loosen the soil. Carefully slide the plant out, supporting the base to avoid disturbing the roots.
🔍 Inspecting and Pruning the Roots
Once the plant is out, examine the root system for any signs of rot or damage. Trim away any brown or mushy roots using sterilized pruning shears to promote healthy growth.
If you notice the roots are circling the pot, gently tease them apart. This encourages outward growth and helps the plant adapt to its new home.
🏺 Placing the Nectarine in the New Pot
Start by adding a layer of fresh potting soil to the bottom of the new pot. Position the nectarine in the center, ensuring the root crown is level with the soil surface.
Fill in around the roots with potting soil, firming it gently to eliminate air pockets. This step is essential for providing stability and support.
💧 Watering and Settling the Plant After Repotting
After planting, water the nectarine thoroughly until water drains from the bottom. This ensures the roots are well-hydrated and helps settle the soil.
Finally, allow the plant to settle for a few days in a shaded area. This reduces transplant shock and gives your nectarine the best chance to thrive in its new environment.
With your nectarine now comfortably repotted, you're one step closer to enjoying its delicious fruits. Next, let’s explore the various pot material options to enhance your repotting experience.
Pot Material Options
Choosing the right pot material is crucial for the health of your nectarine tree. Each option has its unique benefits and drawbacks that can impact growth and maintenance.
🌱 Benefits of Terracotta Pots
Terracotta pots are a favorite among gardeners for good reason. They offer excellent breathability, allowing air to circulate through the soil, which helps prevent root rot.
Additionally, their natural look adds aesthetic appeal to your garden or patio. The earthy tones blend seamlessly with plants, creating a warm and inviting atmosphere.
🥤 Advantages of Plastic Pots
Plastic pots are lightweight and easy to move, making them a practical choice for those who like to rearrange their plants. They also retain moisture better than terracotta, which can be beneficial in warmer climates.
This moisture retention helps keep your nectarine tree hydrated without the constant need for watering.
⚠️ Disadvantages of Metal Pots
While metal pots can be stylish, they come with significant downsides. They can overheat in direct sunlight, which may damage the roots of your nectarine tree.
Moreover, metal pots are prone to rust, which can leach harmful substances into the soil. This can negatively affect your plant's health over time.
🌍 Choosing Biodegradable Pots
Biodegradable pots present an eco-friendly option that breaks down over time. They are suitable for temporary use, especially when you plan to transplant your nectarine to a permanent pot later.
These pots allow for a guilt-free gardening experience, supporting sustainability while nurturing your plants.
In summary, selecting the right pot material is essential for your nectarine's growth and well-being. Each option has its pros and cons, so consider your gardening style and the specific needs of your plant before making a decision.
Next, let’s explore how to determine the right pot size and ensure proper drainage for your nectarine tree.
Pot Size and Drainage
🌱 Determining the Right Pot Size
Choosing the right pot size is crucial for your nectarine's health. For young trees, increase the pot size by 2-4 inches in diameter to give roots room to grow.
For mature trees, opt for a pot that allows for at least 12-18 inches of root space. This ensures your tree has enough room to thrive without becoming root-bound.
💧 Importance of Drainage Holes
Drainage holes are essential for preventing root rot and ensuring healthy growth. Aim for at least 4-6 drainage holes in your pot to allow excess water to escape.
Without proper drainage, your nectarine could suffer from waterlogged soil, leading to serious health issues.
🪴 How to Improve Drainage
To enhance drainage, consider adding a layer of gravel or perlite at the bottom of the pot. This helps create a barrier that allows water to flow freely while preventing soil from clogging the holes.
Additionally, choose potting mixes specifically designed for good drainage. Look for blends that include materials like coconut coir or sand to promote airflow and moisture control.
With the right pot size and drainage, your nectarine will be set up for success. Next, let’s explore the various pot material options that can further enhance your repotting experience.
Common Repotting Mistakes
🌱 Overpotting vs. Underpotting
Choosing the right pot size is crucial for your nectarine's health. Overpotting, or selecting a pot that's too large, can lead to excess moisture retention, which may cause root rot.
Conversely, underpotting—using a pot that's too small—restricts root growth and limits nutrient uptake. Striking the right balance is key to promoting a thriving plant.
🧐 Ignoring Root Health During Repotting
When repotting, don't overlook the importance of root health. Inspecting and pruning damaged roots is essential for encouraging healthy growth.
Neglecting this step can lead to further issues down the line, so take the time to ensure your roots are in good condition before settling your plant into its new home.
🌡️ Not Acclimating the Plant After Repotting
After repotting, gradual acclimatization to light and temperature is vital. This process helps prevent transplant shock, allowing your nectarine to adjust smoothly to its new environment.
Keep a close eye on your plant for signs of stress during this period. Monitoring its response will help you catch any issues early and ensure a successful transition.
⚠️ Safety First
This content is for general information and may contain errors, omissions, or outdated details. It is not medical, veterinary advice, or an endorsement of therapeutic claims.
Always consult a qualified healthcare professional before using any plant as food, medicine, or supplement.
Never eat any plant (or feed one to pets) without confirming its identity with at least two trusted sources.
If you suspect poisoning, call Poison Control (800) 222-1222, the Pet Poison Helpline (800) 213-6680, or your local emergency service immediately.
Spotted an error? Please report it here.
Repotting your nectarine is a breeze with these steps, and Greg can help you keep it thriving 🌳 by sending tailored reminders and expert care tips for optimal growth!