🌵 How Do I Propagate My Matucana madisoniorum?
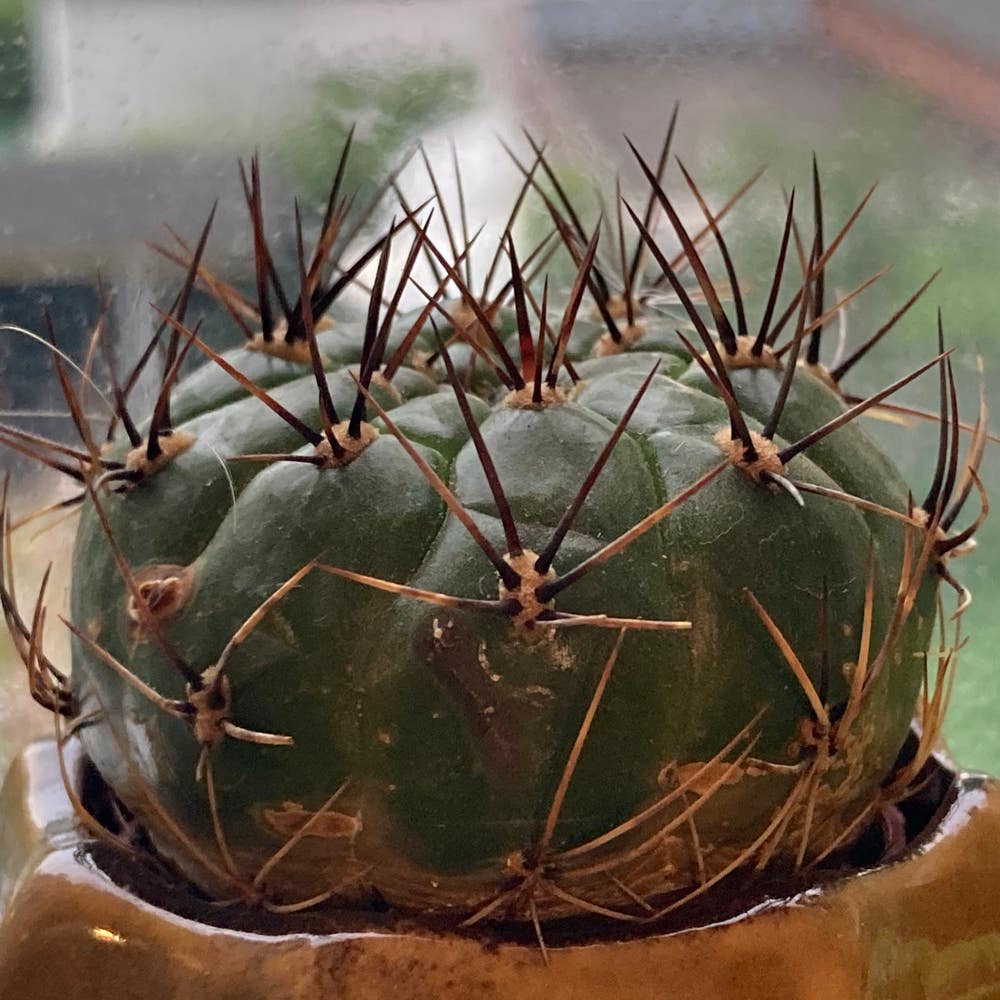
Matucana madisoniorum
By the Greg Editorial Team
Feb 14, 2024•4 min read
This article was created with the help of AI so we can cover more plants for you. May contain errors. See one? Report it here.
Multiply your cacti garden effortlessly with this Matucana madisoniorum propagation guide! 🌵✨
- 🌱 Harvest seeds when ripe and prepare with clean, well-draining soil mix.
- ✂️ Use vigorous stems for cuttings, allow callousing, then plant in indirect light.
- 🌞💦 Bright, indirect light and balanced moisture are key for successful propagation.
Sowing the Future: Seed Propagation
🌱 Collecting the Right Seeds
Harvesting Matucana madisoniorum seeds is all about perfect timing. Snatch them when they're ripe but before they decide to make the great escape to the soil below. Once you've got your treasure, it's prep time. Clean those seeds like you're prepping for surgery—any lingering gunk can spell disaster in the form of mold or disease.
🌱 Planting the Seeds of Success
Step-by-step Sowing Guide
- Mix your substrate: a trifecta of potting soil, coarse sand, and perlite for drainage nirvana.
- Scatter seeds on the surface; overcrowding is a no-go.
- Dust them with soil—think finesse, not a blanket.
🌱 Creating the Perfect Germination Environment
Now, let's set the stage for those seeds to strut their stuff. They crave a sterile setup—think lab, not your backyard shed. Humidity and temperature need to be as controlled as your excitement. Keep the soil moist but not soggy; we're growing cacti, not rice paddies. Patience is your virtue here; germination is slow but worth the wait. When those green shoots appear, it's time for a mini celebration.
Making the Cut: Stem Cuttings
🌱 Choosing Your Champions
Selecting vigorous stems is the cornerstone of successful Matucana madisoniorum propagation. Ensure they are pest-free and exhibit robust growth. The best time for cutting is during the growth phase, typically in spring or early summer.
🌿 Pre-cutting Prep for Optimal Rooting
Before making the cut, aim for a 4-6 inch segment. Strip the lower leaves to expose the nodes, your future root factories, while leaving a few leaves at the top for photosynthesis. A clean, sharp cut below a node increases the chances of rooting. Let the cutting callous over for a few days to minimize rot risk.
🌱 Planting Your Stem Cuttings
🌱 The Right Way to Plant Your Cuttings
Plant your cuttings in well-draining soil. If you're using rooting hormone, now's the time to give your cuttings that extra edge. Insert the cutting so that the nodes where you removed leaves are buried in the soil.
🌱 Ensuring Your Cuttings Take Root
Keep your cuttings in a bright area with indirect sunlight to prevent scorching. Water consistently, allowing the soil to dry slightly between waterings. Patience is key; roots may take a few weeks to develop.
Budding Prospects: Offsets or Pups
🌱 The Art of Separation
When offsets reach about one-third the size of the Matucana madisoniorum parent plant, they're ripe for independence. Look for a robust base and a few roots peeking out, signaling they're ready to go solo.
To detach, gently twist the pup from the mother plant. If resistance is met, a sterilized knife or scissors can make a clean cut. Afterwards, let the cut dry for a day to prevent rot, akin to a plant's version of a band-aid.
🌱 Potting and Parenting Offsets
Pot your offsets in a well-draining succulent mix, ensuring the pot has drainage holes to prevent waterlogged roots. Avoid deep planting; instead, use stakes to support the offset until its roots are established.
Initial care involves placing the pot in a spot with indirect light and maintaining a balance of moist but not soggy soil. Watch for signs of growth, which indicate a successful propagation, and adjust care as needed for these young Matucana madisoniorum plants.
Nurturing Your New Growth
🌱 The Right Environment for Propagation
Creating the ideal conditions for your Matucana madisoniorum propagates is like setting the stage for a star performer. They need a bright spot that mimics the high-altitude, indirect light of their native habitat. Direct sunlight? A no-go. It's the equivalent of a sunburn waiting to happen.
Temperature is another critical factor. Think steady and moderate, with a sweet spot around 65-75°F (18-24°C). Too hot and your plant babies might wilt; too cold and they'll sulk.
Humidity should be on the higher side, but not so damp that you're inviting a fungal free-for-all. Airflow is your friend here, preventing the air from becoming stagnant around your young plants.
🪴 Overcoming Propagation Pitfalls
The road to propagation success isn't always smooth. Overwatering is a common misstep, leading to root rot faster than you can say "drainage." Keep the soil moist but not soggy, and ensure your pots have drainage holes.
Pests can also crash the party. Keep an eye out for uninvited guests like aphids or mealybugs, ready to pounce on stressed plants. Vigilance and a gentle insecticidal soap can go a long way.
Lastly, be patient. Propagation isn't instant gratification. It's a test of resilience and attention to detail. Watch for new growth as a sign of success and adjust your care routine as needed. Remember, every challenge is a chance to grow—not just for your plants, but for you as a gardener.
⚠️ Safety First
This content is for general information and may contain errors, omissions, or outdated details. It is not medical, veterinary advice, or an endorsement of therapeutic claims.
Always consult a qualified healthcare professional before using any plant as food, medicine, or supplement.
Never eat any plant (or feed one to pets) without confirming its identity with at least two trusted sources.
If you suspect poisoning, call Poison Control (800) 222-1222, the Pet Poison Helpline (800) 213-6680, or your local emergency service immediately.
Spotted an error? Please report it here.
Propagate your Matucana madisoniorum seamlessly 🌱 with Greg's custom care plans ensuring your seeds and cuttings flourish in the ideal environment.