Propagating Easter Lily: Step-by-Step Guide
Amaryllis belladonna
By the Greg Editorial Team
Jun 14, 2024•7 min read
This article was created with the help of AI so we can cover more plants for you. May contain errors. See one? Report it here.
Propagate your cherished Easter Lilies for a flourishing garden 🌸 and share the beauty, all while saving money and the planet. 🌍
- Save money and preserve varieties by propagating Easter Lilies at home.
- Propagate via bulbs, seeds, or cuttings—each method has optimal timing.
- Be patient and troubleshoot to overcome common propagation challenges.
Benefits of Propagating Easter Lily
Cost Savings: Propagating your own Easter Lilies is like hitting the jackpot for your wallet. Skip the store and multiply your lilies for free.
Preserving Cultivars: Got a lily with blooms that make your heart skip a beat? Propagation lets you keep that magic going, preserving your favorite varieties for years to come.
Sharing is Caring: Become the neighborhood lily dealer. Propagate and share the love with friends and family.
Educational Experience: Get your hands dirty and your brain buzzing. Propagating is a hands-on learning adventure.
Garden Aesthetics: More lilies mean a more stunning garden. Transform your space into a serene, blooming paradise.
Healing Properties: Easter Lilies aren't just a pretty face; they're used in traditional medicine. Propagate your own and explore their benefits.
Environmental Impact: By propagating at home, you're reducing the demand for commercially grown plants, which often come with a heavy carbon footprint.
Personal Satisfaction: There's something deeply rewarding about watching a plant you propagated thrive and bloom. It's a green-thumbed high five.
Remember, while the Easter Lily is a symbol of purity and renewal, it's also toxic to cats and dogs. Keep your furry friends safe by planting with caution.

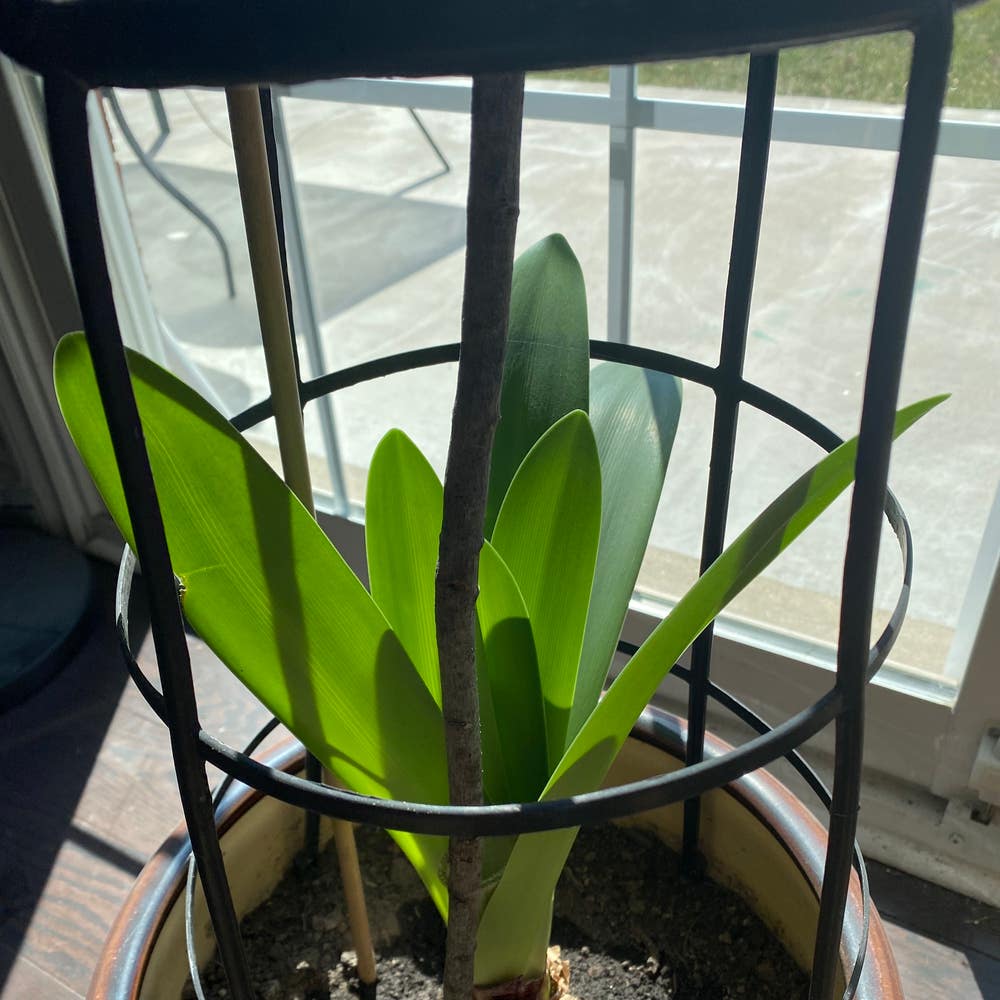
Step-by-Step Guide to Bulb Division
Dividing Easter Lily bulbs is like giving your garden a boost without hitting the garden center. Timing is everything; aim for late summer or early autumn when the plant's growth slows down.
🌱 Getting Your Hands Dirty
First, gently unearth the bulb while whispering apologies for the disturbance. Brush off the soil like you're an archaeologist uncovering a treasure.
🧐 The Art of Separation
Now, observe the bulb. You'll see smaller bulbs, or bulblets, clinging to the mother like toddlers. Detach these bulblets with a careful twist—no need for a dramatic tug-of-war.
🐠 Scales, Not Just for Fish
If you're feeling adventurous, snap off a few scales from the bulb's base. Think of it as giving your bulb a haircut. Place these scales in a bag with a mix of damp peat-substitute and perlite, like a DIY spa treatment.
⏳ The Waiting Game
Patience is a virtue, especially in gardening. Store your scale-filled bag in a warm, dark place and wait for the magic to happen. In about six weeks, bulblets will appear. If you've got a species like Lilium martagon, they'll want an extra six weeks at cooler temperatures.
🌱 Potting On
When roots start to show, it's time for the nursery phase. Pot these babies up individually, covering them with their own depth of compost. If the scales have turned into mush, toss them out. If they're still firm, let them stay attached like a security blanket for the bulblets.
Remember, the best time for this whole operation is when the plant is taking a break from growing—late summer to early autumn. Get it right, and you'll be swimming in Easter Lilies come spring.

Seed Propagation Process
🌼 Collecting Easter Lily Seeds
To harvest Easter Lily seeds, wait until the seed pods mature and turn brown. Gently remove the pods from the plant and extract the seeds. It's a bit like a treasure hunt, except you're after tiny, potential lilies instead of gold.
🌱 Germinating Easter Lily Seeds
Sow the seeds in a cold frame as soon as they're ripe, or if you prefer the great indoors, under lights at a cozy 65-70 degrees Fahrenheit. Think of it as tucking them in under a blanket of soil where they can nap until they sprout.
🕰 Timing is Everything
For the seeds, timing is not just a suggestion, it's a rule. Autumn is collection time, and spring is for sowing. It's like nature's version of a schedule, and you don't want to be the one who's late to the party.
⏳ The Waiting Game
After sowing, keep the soil consistently moist and wait for the magic to happen. In about 2-3 weeks, you'll see signs of life as the seeds germinate. Patience is key here; think of it as waiting for your favorite series to drop a new season.
🌱 The Next Steps
Once your seedlings have established themselves, it's time to move them to their own pots. They'll grow up here, like teenagers in their own rooms, until they're ready to face the real world—or at least your garden.

Propagating from Stem Cuttings
Taking stem cuttings is a straightforward method to propagate Easter Lilies, but it requires precision and attention to detail. Start by selecting a healthy stem with several leaves. Using clean, sharp shears, make an angled cut just below a leaf node, the point on the stem where leaves emerge. This area is rich in growth cells and will encourage rooting.
🌱 Preparing the Cutting
Remove the leaves from the lower half of the cutting to prevent rot and to free up space for roots to develop. For those who enjoy a bit of plant surgery, this is where you get to play doctor. Dip the cut end in rooting hormone to accelerate growth, though it's not a deal-breaker if you skip this step.
🩹 Callousing the Cutting
Allow the cutting to callous over for a day or two in a shaded area. This step is like letting a wound scab over; it helps prevent infection and rot when you plant the cutting.
🏺 Potting the Cutting
Plant the calloused cutting in a well-draining potting mix. Ensure the soil is moist but not waterlogged—think of it as a cozy bed for the cutting, not a swamp.
🕰 Timing is Everything
The best time to take cuttings for optimal success is in the early summer when the plant is actively growing. This is when your Easter Lily is in its prime, full of energy and ready to produce offspring like a proud parent.
Remember, patience is key. Rooting can take several weeks, so don't fret if your cutting doesn't sprout new growth overnight. Keep the soil consistently moist and provide bright, indirect light. Before you know it, you'll have a new plant to brag about—or at least not kill, which, let's be honest, is sometimes just as good.
Overcoming Propagation Challenges
🍄 Addressing Basal Rot
Basal rot, a fungal menace caused by Fusarium oxysporum, can devastate Easter Lily crops. To combat this, discard any bulbs showing chocolate-colored rot immediately. Use low nitrogen fertilizers to avoid exacerbating the issue. Pre-planting, consider a fungicide soak with products containing chlorothalonil or thiophanate methyl, as these are specifically labeled for such use.
💧 Preventing Over-Watering
Over-watering can lead to a host of problems, including root rot. Adjust your watering schedule to ensure the soil remains moist but not waterlogged. Ensure pots have adequate drainage to prevent your Easter Lilies from sitting in excess water.
🐜 Tackling Insect Infestations
Aphids, spider mites, thrips, and scale can all target your Easter Lilies. Keep an eye out for these pests and act swiftly. Pruning faded flowers and brown foliage can help the plant conserve energy and potentially ward off infestations.
⏳ Dealing with Propagation Delays
For bulbs, insufficient cooling or lack of "insurance" lighting can delay flowering. Ensure bulbs have at least six weeks of cooling or 1,000 hours to meet vernalization needs. If you're using case-cooled bulbs, verify they've been treated properly to bloom on schedule.
🌱 Troubleshooting Poor Rooting
If stem cuttings or bulblets are failing to root, check the soil quality and moisture levels. Sometimes, a simple change in the growing medium or environment can make all the difference. Patience is key, as some cuttings take longer to establish roots than others.
🌿 Managing Environmental Stress
Transplant shock and environmental changes can stress Easter Lilies. Gradually acclimate plants to new conditions and provide consistent care to help them recover. Remember, a stressed plant is more susceptible to disease and pests, so keep conditions optimal to avoid additional challenges.
⚠️ Safety First
This content is for general information and may contain errors, omissions, or outdated details. It is not medical, veterinary advice, or an endorsement of therapeutic claims.
Always consult a qualified healthcare professional before using any plant as food, medicine, or supplement.
Never eat any plant (or feed one to pets) without confirming its identity with at least two trusted sources.
If you suspect poisoning, call Poison Control (800) 222-1222, the Pet Poison Helpline (800) 213-6680, or your local emergency service immediately.
Spotted an error? Please report it here.
Turn your garden into a serene sanctuary 🌿 by propagating Easter Lilies with Greg's custom care plans and community support for every step of the way.