🌸 5 Tips for Propagating Your Belladonna Lily
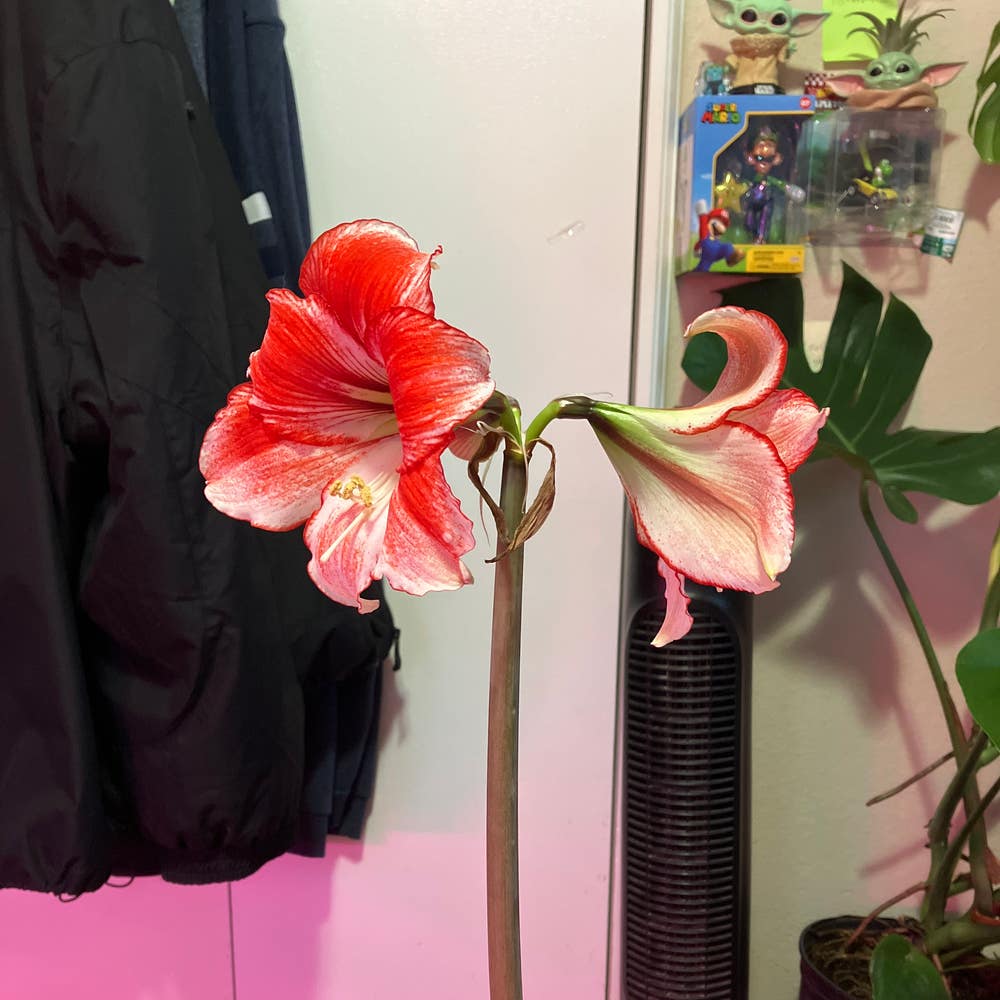
Amaryllis belladonna
By the Greg Editorial Team
Nov 08, 2024•6 min read
This article was created with the help of AI so we can cover more plants for you. May contain errors. See one? Report it here.
Revitalize your garden with stunning belladonna lilies through simple propagation techniques! 🌼
- 🌱 Timing is key: divide bulbs after foliage dies back in late summer or fall.
- ✂️ Use sterilized tools for bulb division to prevent disease and ensure success.
- 💧 Soak seeds for 24 hours to boost germination chances before planting.
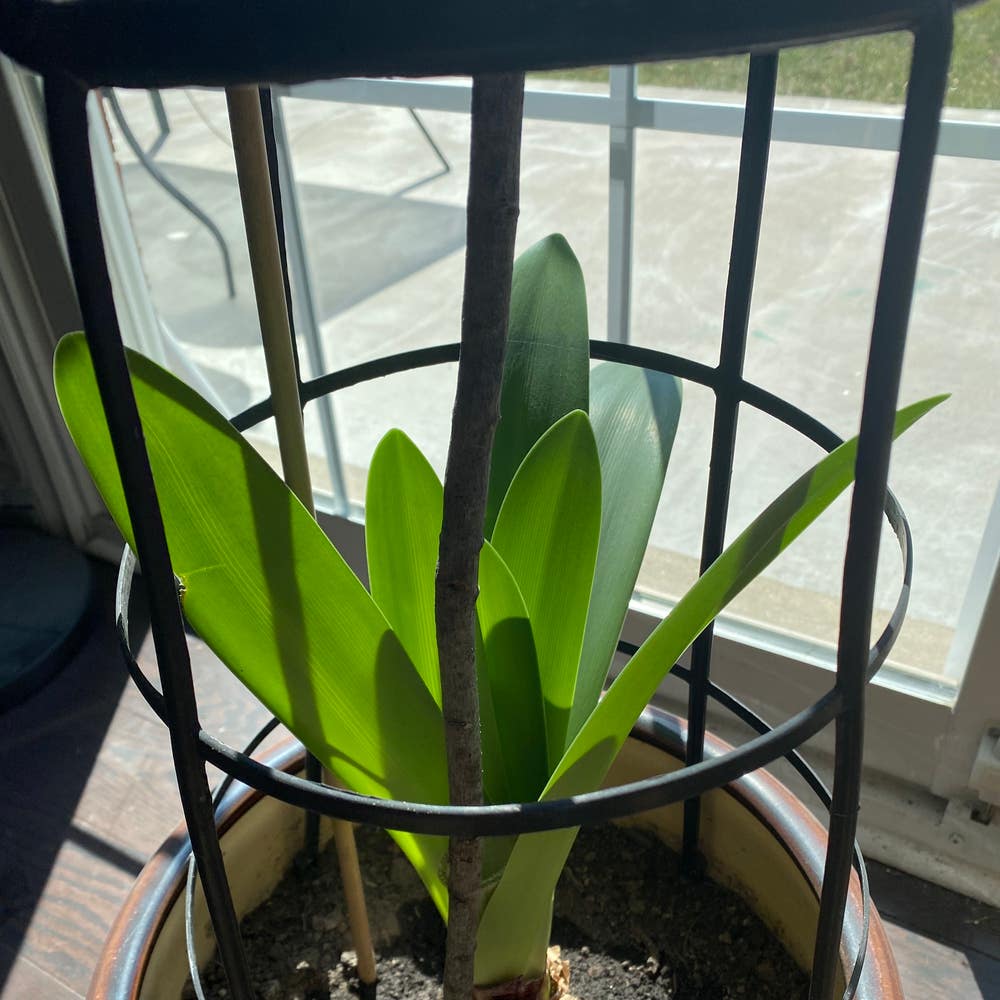
Bulb Division
Step-by-step guide to dividing bulbs 🌱
Dividing belladonna lily bulbs is a rewarding process that can rejuvenate your garden. Start by timing your division right; wait until the foliage has died back in late summer or early fall.
Gather your tools: a sharp spade or garden fork and gloves. These will help you handle the bulbs safely and effectively.
When you're ready, carefully lift the bulbs from the soil. Take your time to avoid damaging them during this crucial step.
Next, gently pull apart the bulbs, ensuring that each division has roots attached. This will help them thrive in their new locations.
Trim away any damaged or rotten parts from the bulbs. This step is essential for promoting healthy growth.
Finally, replant the divided bulbs immediately or store them in a cool, dry place until you're ready to plant. This ensures they remain viable for future growth.
Tips for successful bulb division 🌼
To maximize your success, use sterilized tools to prevent disease. This simple precaution can save you from future headaches.
Allow the bulbs to dry for a few hours before replanting. This helps them acclimate and reduces the risk of rot.
When replanting, space the bulbs 12-18 inches apart. This gives them room to grow and flourish without competing for resources.
With these steps and tips, you’ll be well on your way to successfully propagating your belladonna lilies. Next, let’s explore seed propagation, another effective method for expanding your garden.
Seed Propagation
🌱 How to collect and prepare seeds
Collecting seeds from your belladonna lily is a straightforward process. Wait until the flower heads have dried and turned brown, signaling that the seeds are ready for harvest.
To gather the seeds, cut the seed pods and place them in a paper bag. This allows them to finish drying without risk of mold. Once dried, remove the seeds from the pods and store them in a cool, dry place until you're ready to plant.
🌼 Germination process for seeds
Germinating belladonna lily seeds requires a few simple steps. Start by soaking the seeds in water for 24 hours before planting to enhance their chances of sprouting.
Next, plant the seeds about 1/4 inch deep in seed trays or pots. Under optimal conditions, you can expect germination within 4 to 8 weeks, so be patient and keep an eye on them!
🌡️ Ideal conditions for seed propagation
Creating the right environment is crucial for successful seed propagation. Aim to maintain a warm temperature between 70°F and 75°F to encourage growth.
Moisture is equally important; keep the soil consistently moist but avoid waterlogging. Additionally, provide indirect sunlight or fluorescent light for 12 to 16 hours a day to help your seedlings thrive.
With these steps, you’re well on your way to successfully propagating your belladonna lilies from seeds. Next, let’s explore how to propagate them using offsets!
Offsets Propagation
🌱 Identifying offsets
Offsets are small bulbs or bulblets that grow near the base of the parent bulb. The best time to separate these offsets is in late summer when they reach maturity.
✂️ How to separate and plant offsets
- Digging: Start by carefully lifting the parent bulb to expose the offsets.
- Separation: Gently twist or cut the offsets away from the parent bulb, ensuring minimal damage.
- Planting: Replant the offsets immediately in well-draining soil, spacing them 6-12 inches apart for optimal growth.
💧 Care for newly planted offsets
After planting, water the offsets thoroughly and keep the soil consistently moist.
Place them in full sun to encourage healthy growth.
After about a month, apply a balanced fertilizer to give them a boost.
Offsets propagation is a straightforward method that can yield beautiful results. With the right care, you'll soon enjoy a flourishing display of belladonna lilies.
Next, we’ll explore cutting propagation techniques to expand your garden even further.
Cutting Propagation
🌱 Techniques for Taking Cuttings
To propagate your Belladonna Lily through cuttings, start by selecting healthy stems. Look for stems that have at least two nodes, as these are crucial for successful rooting.
Aim for cuttings that are 4-6 inches in length. This size provides enough material for the plant to establish roots while remaining manageable.
🌿 Rooting Hormone Application
Once you have your cuttings, it's time to enhance their chances of success. Dip the cut end of each stem in rooting hormone powder.
Using rooting hormone is essential; it significantly boosts rooting success and speeds up the process, giving your cuttings a better shot at thriving.
🌡️ Conditions for Successful Rooting
Creating the right environment is key to successful propagation. Maintain high humidity around your cuttings by using a plastic bag or humidity dome.
Keep the cuttings in a warm location, ideally around 70°F. This warmth encourages growth and helps the cuttings establish roots more effectively.
Provide indirect light to prevent scorching. Too much direct sunlight can stress the cuttings, hindering their growth.
By following these steps, you can successfully propagate your Belladonna Lily through cuttings, expanding your garden with ease. Next, let’s explore common challenges you might face during propagation and how to overcome them.
Common Challenges in Propagation
🐛 Pests and Diseases Affecting Propagation
Propagation can be a rewarding endeavor, but it comes with its share of challenges. Common pests like aphids and spider mites can wreak havoc on your seedlings and cuttings, sucking the life out of them.
Fungal infections are another concern, often leading to bulb rot. Keeping an eye out for these issues early can save your plants from significant damage.
🌱 Troubleshooting Poor Germination Rates
If your seeds aren't germinating, several factors could be at play. Start by checking moisture levels, temperature, and light conditions to ensure they meet the ideal requirements.
Adjusting your watering practices can make a world of difference. Also, ensure your seeds are fresh; old seeds may not sprout at all.
🥔 Addressing Bulb Rot and Offsets Issues
Bulb rot is a serious issue that manifests as soft, mushy bulbs with a foul odor. If you notice these signs, it’s crucial to act quickly.
To prevent bulb rot, ensure proper drainage in your planting area. Overwatering is a common mistake that can lead to this problem, so be mindful of your watering habits.
By staying vigilant and addressing these challenges head-on, you can enjoy a successful propagation experience. Next, let’s explore the various methods of propagating your Belladonna Lily.
⚠️ Safety First
This content is for general information and may contain errors, omissions, or outdated details. It is not medical, veterinary advice, or an endorsement of therapeutic claims.
Always consult a qualified healthcare professional before using any plant as food, medicine, or supplement.
Never eat any plant (or feed one to pets) without confirming its identity with at least two trusted sources.
If you suspect poisoning, call Poison Control (800) 222-1222, the Pet Poison Helpline (800) 213-6680, or your local emergency service immediately.
Spotted an error? Please report it here.
Propagate your belladonna lily like a pro 🌱 with Greg's tailored reminders and expert tips, ensuring your bulbs thrive and multiply beautifully in your garden!