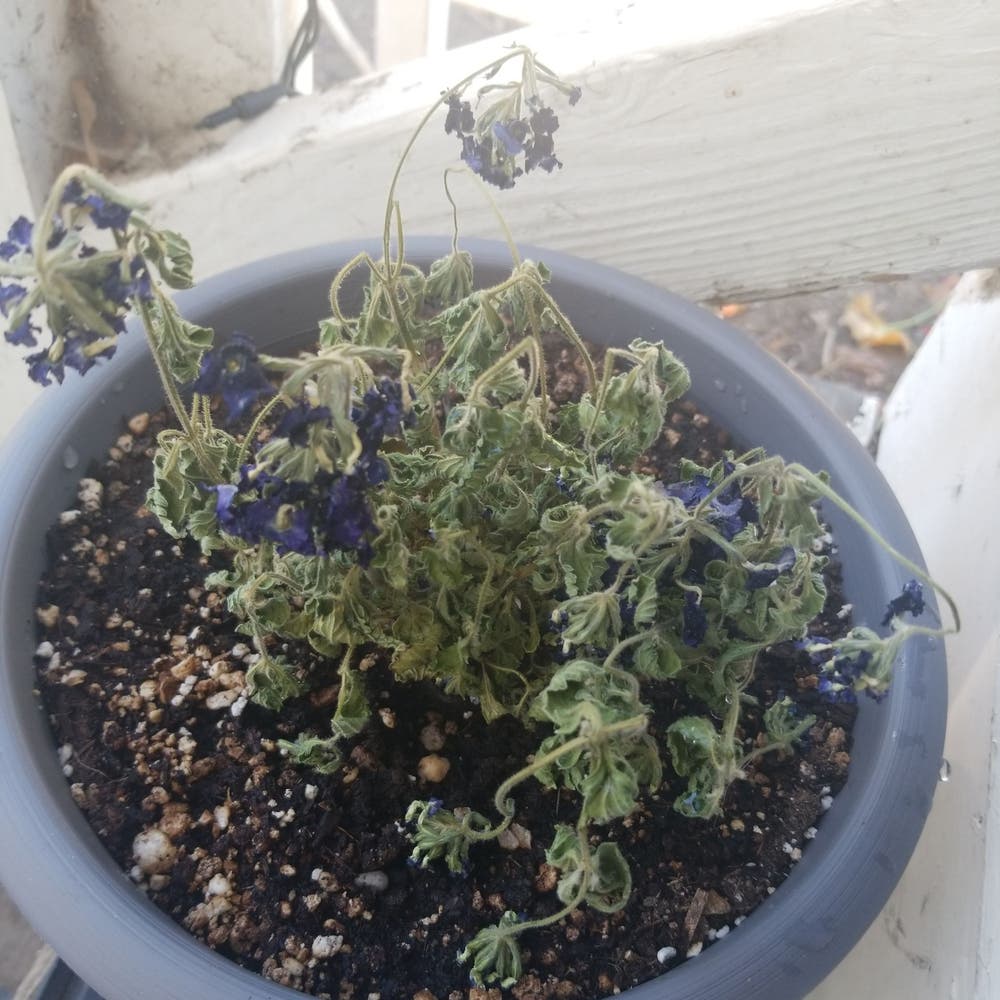
How to Know When to Repot Your Trailing Purple Verbena 🪴
Verbena canadensis
By the Greg Editorial Team
Oct 04, 2024•6 min read
This article was created with the help of AI so we can cover more plants for you. May contain errors. See one? Report it here.
Unlock your verbena's potential by mastering the signs it needs repotting! 🌱
- 🌱 Signs to repot include roots out of drainage holes and yellowing leaves.
- 🏺 Choose a pot 1-2 inches larger with proper drainage for healthy growth.
- 🚫 Avoid overpotting to prevent excess moisture and root rot in your verbena.
Signs That Verbena Needs Repotting
🌱 Recognizing Root-Bound Conditions
One of the first signs that your trailing purple verbena may need repotting is root-bound conditions. Look for roots growing out of the drainage holes or tightly circling around the root ball.
If you notice stunted growth despite providing proper care, it’s a clear indicator that your plant is struggling for space. These signs suggest that your verbena is ready for a new home.
🌼 Verbena Growth Signs
Pay attention to your verbena's flowering patterns. If you see reduced flowering or smaller blooms, it might be time to repot.
Additionally, yellowing leaves or leaf drop can signal stress. If the soil dries out too quickly after watering, your plant may be outgrowing its pot.
🔄 Repotting Frequency for Verbena
As a general guideline, repot your verbena every 1-2 years. This frequency can vary based on growth rate and pot size.
Several factors influence how often you should repot, including growth conditions, pot size, and the overall health of your plant. Keeping these in mind will help ensure your verbena thrives.
With these signs in mind, you’ll be better equipped to assess when your verbena needs a new pot. Next, let’s explore how to check the root health before making that important transition.
Assessing Root Health Before Repotting
Checking Root Condition 🌱
Before you dive into repotting your trailing purple verbena, it's crucial to assess the root health. Start by gently removing the plant from its pot. This step allows you to inspect the roots closely.
Healthy roots should be firm, white, and not overly tangled. If you notice dark, mushy roots, that’s a red flag indicating rot. Additionally, an overly compacted root ball can signal that your verbena is struggling for space.
Taking the time to evaluate root health ensures a successful repotting experience. Healthy roots are the foundation for vibrant growth and blooming.
Importance of Root Inspection 🔍
Inspecting the roots not only helps you determine if it's time to repot but also gives insight into the overall health of your plant. If the roots are in poor condition, it may be time to consider corrective actions before repotting.
Remember, a thriving verbena starts with a solid root system. By prioritizing root health, you set the stage for a flourishing plant.
This careful assessment will lead you smoothly into the next steps of the repotting process, ensuring your verbena continues to thrive.
Step-by-Step Guide to Repotting Verbena
Repotting your trailing purple verbena can seem daunting, but with the right steps, it’s a straightforward process. Follow this guide to ensure your plant thrives in its new home.
🛠️ Preparation Steps
Gather Materials: Start by collecting a new pot, quality potting soil, gardening gloves, and your favorite tools. Having everything on hand makes the process smoother.
Choose the Right Pot: Select a pot that is 1-2 inches larger in diameter than the current one. This gives your verbena room to grow without overwhelming it.
Check for Drainage: Ensure the new pot has adequate drainage holes. Proper drainage is crucial to prevent root rot.
🌱 Repotting Process
Remove the Verbena: Carefully take the verbena out of its current pot. Gently grasp the base and wiggle it free to avoid damaging the roots.
Loosen the Roots: Inspect the roots and loosen any that are tightly bound. Be gentle to avoid causing harm; healthy roots are essential for growth.
Add Soil to the New Pot: Place a layer of potting soil at the bottom of the new pot. This creates a stable base for your verbena.
Position the Verbena: Center the verbena in the pot and fill around it with potting soil. Ensure the root ball is level with the pot rim for optimal growth.
Water Thoroughly: After filling the pot, water the verbena thoroughly. This helps settle the soil and eliminates air pockets, giving your plant a solid start.
Following these steps will set your trailing purple verbena up for success in its new pot. With proper care, it will flourish and bring vibrant color to your space. Next, let’s explore the best pot materials for your verbena to ensure it continues to thrive.
Pot Material Options for Verbena
Choosing the right pot material for your trailing purple verbena can significantly impact its health and growth. Here’s a breakdown of the most common options.
🌱 Benefits of Terracotta Pots
Terracotta pots are a popular choice for many gardeners. They offer excellent drainage and breathability, which is crucial for preventing root rot.
However, they can dry out quickly. This means you'll need to water your verbena more frequently, so keep an eye on the moisture levels.
🥤 Pros and Cons of Plastic Pots
Plastic pots are lightweight and easy to handle, making them a favorite for many plant enthusiasts. They retain moisture well, which can be beneficial in warmer climates.
On the downside, not all plastic pots provide adequate drainage. If the design isn’t right, you risk waterlogging your verbena.
🎨 Metal and Ceramic Pots: Are They Suitable for Verbena?
Metal pots can be visually appealing but come with risks. They can heat up quickly in the sun, potentially harming the roots of your verbena.
Ceramic pots are attractive and can add a decorative touch to your space. Just ensure they have drainage holes to prevent water from accumulating at the bottom.
In summary, each pot material has its unique benefits and drawbacks. Choose wisely to ensure your verbena thrives in its new home.
Next, let’s explore common repotting mistakes to avoid for a successful transplanting experience.
Common Repotting Mistakes to Avoid
🚫 Overpotting: What to Avoid
One of the most common mistakes when repotting trailing purple verbena is choosing a pot that’s too large. Excess soil can retain moisture, leading to root rot and other issues that can jeopardize your plant's health.
💧 Not Checking Drainage: Importance for Verbena
Another critical oversight is neglecting to check the drainage of your new pot. Poor drainage can result in waterlogged soil, which often leads to root rot and stunted growth, making it essential to ensure your pot has adequate drainage holes.
🌱 Ignoring Root Health: How It Affects Repotting Success
Assessing root health before repotting is crucial for success. Healthy roots are the foundation for a thriving plant, so take the time to inspect them; this will set your verbena up for a smooth transition and continued growth.
By avoiding these common pitfalls, you can ensure your trailing purple verbena thrives in its new home. Next, let’s explore the various pot material options that can enhance your plant's growth.
⚠️ Safety First
This content is for general information and may contain errors, omissions, or outdated details. It is not medical, veterinary advice, or an endorsement of therapeutic claims.
Always consult a qualified healthcare professional before using any plant as food, medicine, or supplement.
Never eat any plant (or feed one to pets) without confirming its identity with at least two trusted sources.
If you suspect poisoning, call Poison Control (800) 222-1222, the Pet Poison Helpline (800) 213-6680, or your local emergency service immediately.
Spotted an error? Please report it here.
Keep your trailing purple verbena thriving 🌱 by using Greg's tailored reminders and expert tips to know exactly when it's time to repot!