🐌 How to Know When to Repot a Rex Begonia 'Escargot'?
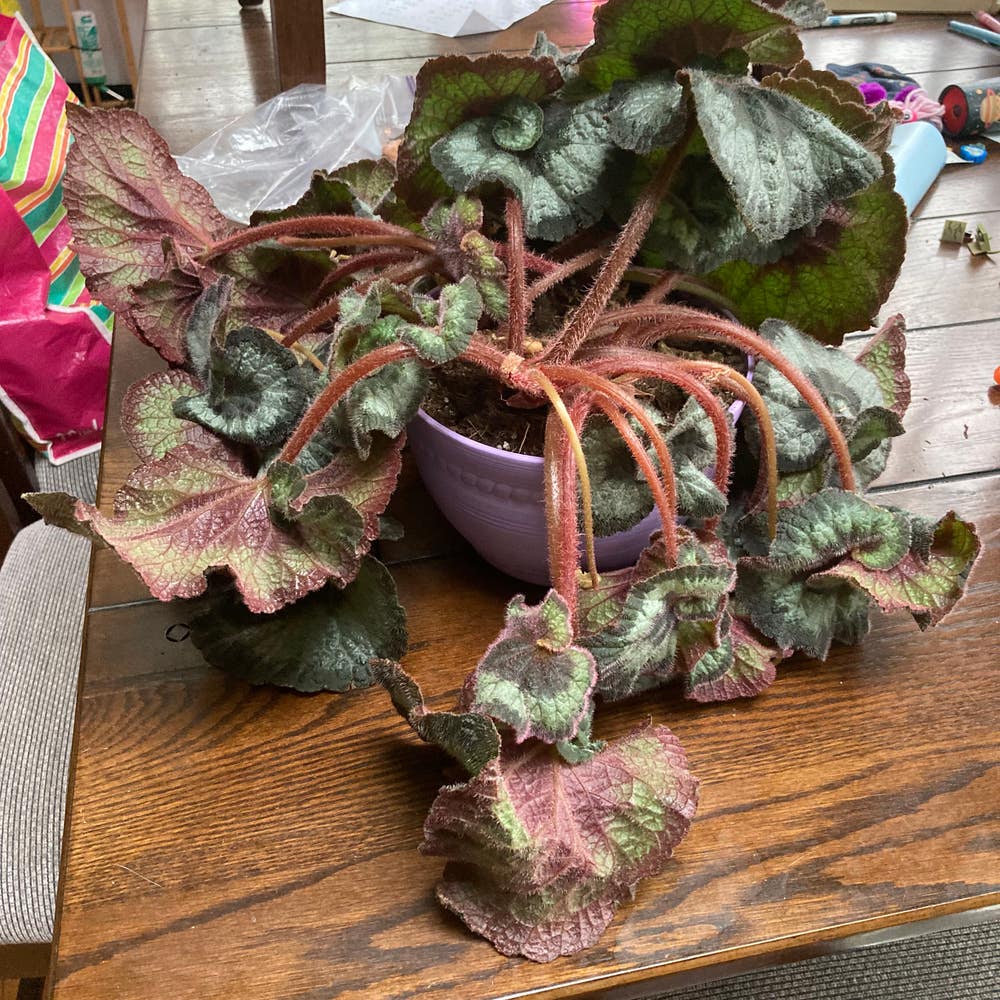
Begonia 'Escargot'
By the Greg Editorial Team
Jun 18, 2024•4 min read
This article was created with the help of AI so we can cover more plants for you. May contain errors. See one? Report it here.
Discover the secret to a flourishing 'Escargot' 🐌 with timely repotting tips for unstoppable growth! 🌿
- Roots peeking out? Time to repot your Rex Begonia 'Escargot'.
- Choose a pot 1-2 inches larger for stability and growth.
- Water pre and post-repotting for a smooth transition.
Spotting the Tell-Tale Signs for Repotting
🌱 Root Revelations
Roots peeking out of drainage holes? Red flag. Your Rex Begonia 'Escargot' is screaming for space. A root-bound plant is like a packed elevator; it's uncomfortable and no one can move. If you notice a dense root network with little soil visible, it's time to act.
🌿 Surface and Stability Clues
Roots surfacing like a sea monster? That's your cue. A top-heavy plant that plays tipping games is another distress signal. It's not trying to be quirky; it's unstable. Visible roots aren't a design feature; they're a plea for a new pot. If your plant looks like it's wearing a pot two sizes too small, it's begging for a change.

Picking the Perfect Pot
🌱 Size Matters
Choosing the right size for your Rex Begonia 'Escargot' pot is like picking a new apartment for your plant—it needs to be just right. Go for a pot that's 1-2 inches larger in diameter than the current one. This size upgrade is the sweet spot, giving your plant room to grow without the risk of drowning in too much soil.
🏺 Material World
When it comes to materials, terracotta is the MVP for moisture management, letting soil breathe and reducing the risk of overwatering. But remember, they're hefty and can dry out faster than you can say "thirsty plant." Plastic pots are the lightweight contenders that keep moisture in, but they might make your plant's roots too cozy, leading to waterlogging. Ceramic pots are the all-rounders, balancing moisture and breathability, but they can be pricey and might need a DIY job to add drainage holes. Choose wisely—your Begonia's life depends on it!

The Repotting Rundown
🌱 Step-by-Step Repotting Guide
Before you start, ensure you have all your tools at the ready: a new pot, fresh potting mix, and a sharp pair of scissors. It's like prepping for surgery, but for your plant.
- Water your Rex Begonia 'Escargot' the day before to make the transition smoother.
- Gently remove the plant from its current pot, being mindful not to damage the roots.
- Inspect the roots closely. Trim any that are dead or excessively long.
- Choose a pot that’s a size up from the old one—think growth spurt.
- Layer the bottom with a fresh potting mix, just enough to elevate the root ball to the previous level.
- Center your plant in the new pot and fill around it with more soil mix.
- Tap the pot to settle the mix and eliminate air pockets, but don't compact it—roots need to breathe.
- Water thoroughly but gently, avoiding a flood. If the soil settles, top it off to cover any exposed roots.
🌿 Soil Mix Mastery
For the ideal soil mix, think about what your 'Escargot' craves: a balance of drainage and moisture retention.
- Start with peat moss or coconut coir for water retention.
- Add perlite and vermiculite to the mix for aeration.
- Skip the garden soil; it's a no-go for indoor plants.
Customize your mix by considering your home's humidity and light levels. More perlite if it's damp and dark, less if it's like a desert in there. Your 'Escargot' will thank you with lush, spiraled leaves.

Post-Repot Pampering
💧 Watering Wisdom
After repotting, your Rex Begonia 'Escargot' is in a vulnerable state. Watering should be done with care. Initially, provide enough water to moisten the new soil without making it soggy. Wait until the top inch of soil dries out before the next watering. This isn't a guessing game; check the soil moisture with your finger.
Remember, lukewarm water is your plant's best friend—it avoids the shock of cold water on the roots. And don't just water and forget; keep a close eye on the soil's moisture level to prevent overwatering and the dreaded root rot.
Immediate Aftercare
The first few days post-repot are critical for your Begonia. Light and temperature conditions should mimic those it enjoyed before the repot. No direct sunlight—bright, indirect light is the way to go. Keep it in a familiar spot to minimize stress and resist the urge to parade it around your home.
Monitoring is key. Watch out for droopy leaves or other signs of distress. These could signal that your plant is not happy with the move. If you notice anything off, adjust your care routine accordingly. Remember, it's about helping your Begonia settle into its new pot with as little drama as possible.
⚠️ Safety First
This content is for general information and may contain errors, omissions, or outdated details. It is not medical, veterinary advice, or an endorsement of therapeutic claims.
Always consult a qualified healthcare professional before using any plant as food, medicine, or supplement.
Never eat any plant (or feed one to pets) without confirming its identity with at least two trusted sources.
If you suspect poisoning, call Poison Control (800) 222-1222, the Pet Poison Helpline (800) 213-6680, or your local emergency service immediately.
Spotted an error? Please report it here.
Repot your Rex Begonia 'Escargot' with confidence and let Greg's tailored reminders 🌱 guide you through the perfect post-repotting care routine.