🌵 6 Tips for Propagating Your Jumping Cholla
Cylindropuntia prolifera
By the Greg Editorial Team
Nov 23, 2024•5 min read
This article was created with the help of AI so we can cover more plants for you. May contain errors. See one? Report it here.
Unlock the secrets to thriving Jumping Cholla propagation 🌵 and transform your garden into a vibrant oasis!
- 🌱 Propagate Jumping Cholla using cuttings or seeds for successful growth.
- 🥇 Select healthy pads and allow cuttings to callous to prevent rot.
- 🌞 Optimal conditions include bright, indirect sunlight and well-draining soil for rooting.
Methods of Propagation
🌱 Propagation by Cuttings
Step-by-step guide for taking cuttings
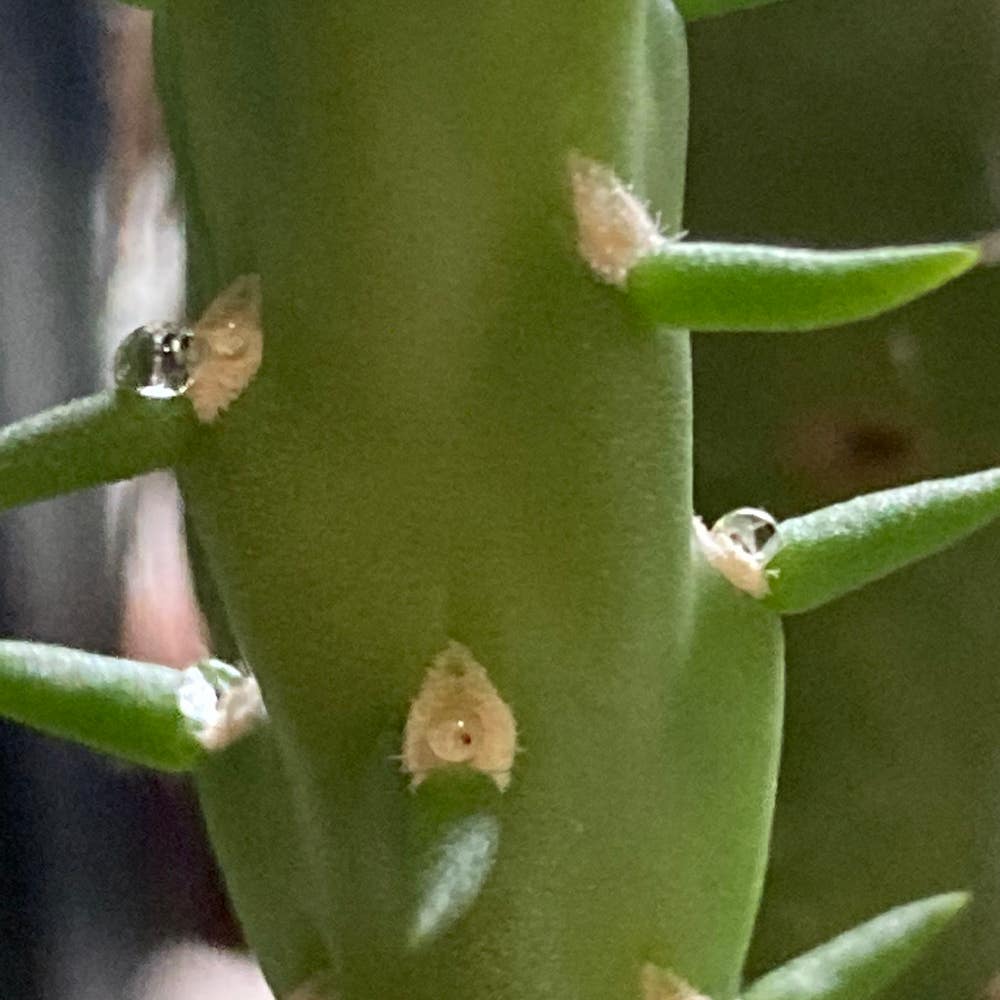
- Select healthy pads: Start by choosing mature, healthy pads from the parent plant. This ensures a better chance of successful rooting.
- Prepare the cutting: Use a clean, sharp knife to cut the pad at the base. This clean cut minimizes damage and promotes healing.
- Allow to callous: Place the cutting in a dry, shaded area for 1-2 days. This allows a callous to form over the cut surface, which is crucial for preventing rot.
Best practices for preparing cuttings
- Avoid excessive moisture: Make sure the cut surface is dry before planting. This step is vital to prevent fungal infections.
- Use gloves: Protect your hands from the spines and potential irritation. Safety first!
Ideal conditions for rooting cuttings
- Soil type: Opt for a well-draining cactus mix or a blend of sand and potting soil. Good drainage is key to healthy roots.
- Temperature: Aim for a warm environment between 70°F to 85°F (21°C to 29°C). This temperature range encourages growth.
- Light exposure: Provide bright, indirect sunlight to promote rooting. Too much direct sunlight can stress the cutting.
🌼 Propagation by Seeds
How to collect and prepare seeds
- Seed collection: Harvest seeds from mature fruit when they turn brown. This indicates they are ready for collection.
- Preparation: Rinse seeds to remove any pulp and allow them to dry completely. Clean seeds are more likely to germinate successfully.
Germination process for Jumping Cholla seeds
- Soak seeds: Soak seeds in water for 24 hours to enhance germination. This step helps soften the seed coat.
- Planting depth: Sow seeds 1/4 inch deep in a well-draining soil mix. Proper depth is essential for successful sprouting.
- Watering: Lightly mist the soil to keep it moist but not soggy. Overwatering can lead to rot.
- Germination time: Expect germination in 2-4 weeks under optimal conditions. Patience is key!
Optimal soil and conditions for seed propagation
- Soil type: Use a specialized cactus or succulent soil mix. This ensures proper drainage and aeration.
- Temperature: Maintain a warm environment between 75°F to 85°F (24°C to 29°C). Consistent warmth promotes healthy growth.
- Light exposure: Provide bright light, avoiding direct sunlight until seedlings are established. This helps prevent sunburn on young plants.
With these methods of propagation, you can successfully grow your Jumping Cholla from cuttings or seeds. Next, let’s explore the best timing for propagation to maximize your success!
Timing for Propagation
Best Seasons for Propagation 🌱
Timing is everything when it comes to propagating your Jumping Cholla. Spring is the prime season for both cuttings and seeds, thanks to warmer temperatures and longer daylight hours that encourage growth.
As you move into early summer, conditions remain favorable for cuttings. The plant is actively growing, making it an excellent time to take advantage of its vitality.
Signs of Successful Propagation 🌟
Recognizing success in propagation is key to your gardening journey. For cuttings, look for new growth or roots emerging from the base. This is a clear indicator that your efforts are paying off.
When it comes to seeds, watch for seedlings developing true leaves. These little green warriors should show signs of vigor, indicating they are ready to thrive in their new environment.
With the right timing and keen observation, you can confidently navigate the propagation process. Next, let’s explore common challenges you might face along the way.
Common Challenges in Propagation
🐛 Pests and Diseases Affecting Cuttings
When propagating Jumping Cholla, be on the lookout for common pests like mealybugs and aphids. These little nuisances can quickly infest your cuttings, hindering their growth and health.
Fungal infections are another risk, often stemming from excess moisture. Keeping an eye on your cuttings can help you catch these issues early.
🛡️ Prevention and Treatment Methods
To combat pests, consider using insecticidal soap. This method is effective and safe for your plants, ensuring they remain healthy and thriving.
Proper air circulation is essential, as it helps prevent disease. Additionally, avoid overwatering your cuttings to minimize the risk of fungal infections.
🌡️ Environmental Factors Impacting Success
Temperature fluctuations can be detrimental to your propagation efforts. Maintaining a consistent warmth is crucial for the success of your cuttings.
Humidity levels also play a significant role. Aim to avoid overly humid environments, as they can lead to rot and other complications.
By being mindful of these challenges and taking proactive measures, you can significantly improve your chances of successful propagation. Next, let’s explore the tools and materials you’ll need for this exciting journey.
Tools and Materials Needed
Essential Tools for Propagation 🌱
To successfully propagate your Jumping Cholla, you'll need a few essential tools. A clean, sharp knife or pruning shears is crucial for taking cuttings without damaging the plant.
Shallow trays or pots are necessary for planting both cuttings and seeds. Additionally, a spray bottle will help you mist the soil during the germination process, keeping it moist without overwatering.
Recommended Soil Mixes for Cactus Propagation 🌵
Choosing the right soil mix is vital for healthy growth. A commercial cactus mix is specifically formulated for optimal drainage and aeration, making it an excellent choice for your Jumping Cholla.
If you prefer a DIY approach, combine equal parts of potting soil, coarse sand, and perlite. This blend ensures proper drainage, which is essential for preventing root rot and promoting healthy growth.
With the right tools and soil, you're well on your way to successful propagation. Next, let’s explore the best seasons for propagation to maximize your efforts.
⚠️ Safety First
This content is for general information and may contain errors, omissions, or outdated details. It is not medical, veterinary advice, or an endorsement of therapeutic claims.
Always consult a qualified healthcare professional before using any plant as food, medicine, or supplement.
Never eat any plant (or feed one to pets) without confirming its identity with at least two trusted sources.
If you suspect poisoning, call Poison Control (800) 222-1222, the Pet Poison Helpline (800) 213-6680, or your local emergency service immediately.
Spotted an error? Please report it here.
Propagate your Jumping Cholla like a pro 🌱 with Greg's tailored watering reminders and pest alerts to ensure your cuttings thrive and flourish!