Best Soil for Your Jumping Cholla 🌵
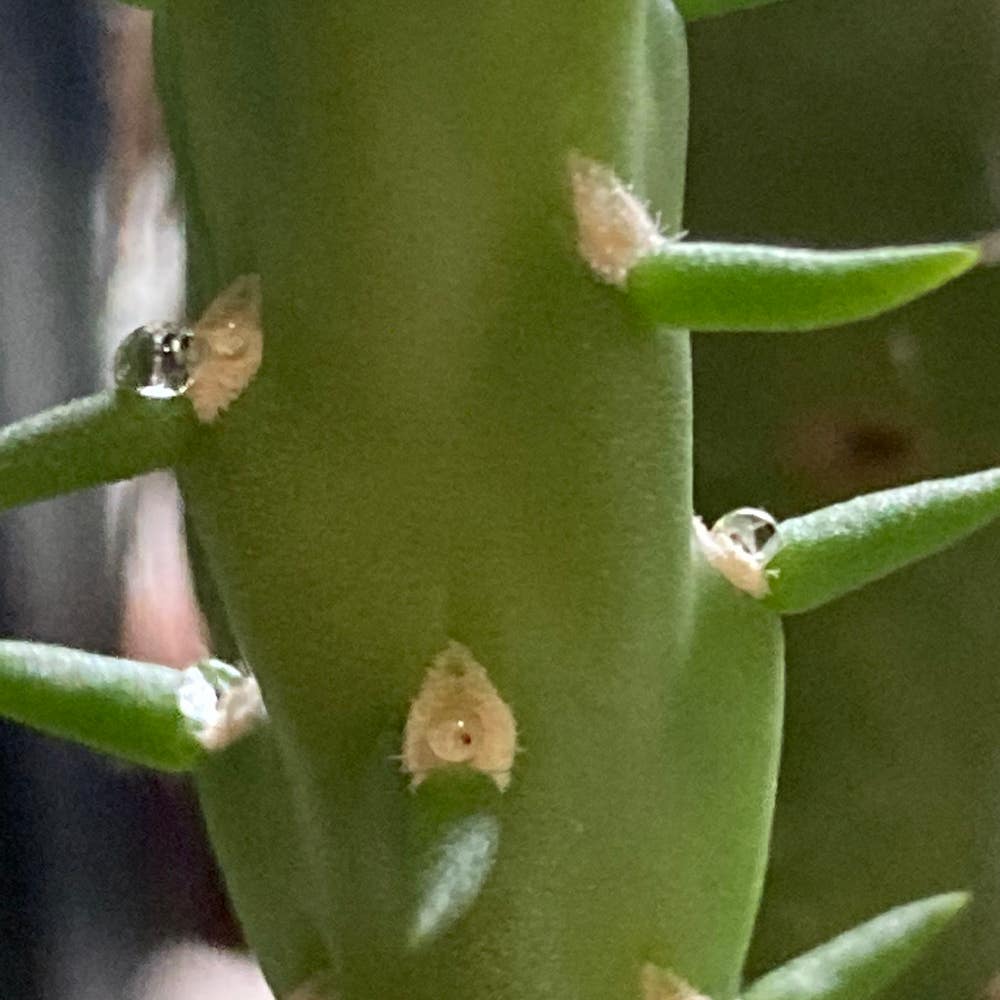
Cylindropuntia prolifera
By the Greg Editorial Team
Nov 23, 2024•7 min read
This article was created with the help of AI so we can cover more plants for you. May contain errors. See one? Report it here.
Unlock your Jumping Cholla's potential with essential tips for maintaining healthy soil! 🌱
- 🌵 Healthy soil is crucial for your Jumping Cholla's growth and vitality.
- 🧪 Regularly test soil pH to prevent nutrient deficiencies and ensure optimal health.
- 🚫💧 Avoid overwatering to prevent mold and root rot in your cactus soil.
Identifying Unhealthy Soil
Signs of Unhealthy Soil 🌱
Recognizing unhealthy soil is crucial for the well-being of your Jumping Cholla. Common indicators include moldy soil, compacted soil, and foul odors.
Moldy Soil: Appearance and Causes
Moldy soil often appears as a fuzzy or slimy layer on the surface. This condition usually arises from overwatering or poor drainage, creating a damp environment that fosters mold growth.
Compacted Soil: Signs and Implications
Compacted soil feels hard and dense, making it difficult for roots to penetrate. This can lead to stunted growth and poor nutrient absorption, ultimately harming your cactus.
Foul Odors: Indications of Anaerobic Conditions
If your soil emits a foul smell, it may indicate anaerobic conditions. This occurs when the soil lacks oxygen, often due to excessive moisture or poor drainage.
How to Test Soil Health for Jumping Cholla 🔍
Testing soil health is essential for maintaining a thriving Jumping Cholla. Start with visual inspection techniques and assess soil texture and moisture.
Visual Inspection Techniques
Look for signs of mold, compaction, or discoloration. A quick glance can reveal a lot about your soil's condition.
Soil Texture and Moisture Assessment
Feel the soil to determine its texture. If it clumps together or feels overly wet, it may need attention.
Solutions for Moldy or Compacted Soil 🛠️
Addressing moldy or compacted soil is vital for your cactus's health. Here are effective solutions for each issue.
Steps to Address Moldy Soil
- Remove the affected soil and replace it with a fresh mix.
- Improve air circulation around the plant to prevent future mold growth.
Solutions for Compacted Soil
To alleviate compacted soil, consider these techniques:
- Aerate the soil using a garden fork or aeration tool.
- Incorporate recommended soil amendments, such as coarse sand or perlite, to improve texture.
By identifying and addressing these soil issues, you can ensure your Jumping Cholla thrives in a healthy environment. Next, let's explore the optimal soil pH levels for your cactus.
Recommended Soil pH Levels
Optimal pH Range for Jumping Cholla 🌵
For your Jumping Cholla to thrive, aim for a soil pH between 6.0 and 7.0. This slightly acidic to neutral range is crucial for optimal nutrient absorption.
Effects of pH on Nutrient Availability 📉
Maintaining the right pH is essential for healthy growth. If the pH strays too far from this range, nutrient availability can diminish, leading to deficiencies that stunt your cactus's development.
How to Test Soil pH 🧪
Testing your soil's pH is straightforward and can be done using various methods. Consider using a pH testing kit, which is widely available at garden centers, or opt for a simple DIY method with household items.
Recommended pH Testing Kits or Methods 🛠️
- pH Testing Kits: These kits often include test strips or liquid reagents that provide quick results.
- DIY Methods: You can mix a small soil sample with distilled water and use litmus paper to gauge pH levels.
By regularly checking your soil's pH, you can ensure your Jumping Cholla remains healthy and vibrant. This proactive approach sets the stage for a flourishing cactus garden.
Next, let’s explore how to create a homemade soil mix that perfectly suits your Jumping Cholla’s needs.
Creating a Homemade Soil Mix
🌵 Step-by-Step Guide to Making Cactus Soil
Creating the perfect soil mix for your Jumping Cholla is straightforward. Start by gathering essential materials: coarse sand, perlite, and organic matter.
Next, mix these components in a clean container. Adjust the ratios based on the specific needs of your Jumping Cholla. Finally, test the final mix to ensure it provides adequate drainage and moisture retention.
🥇 Recommended Ingredients for Optimal Soil Mix
Choosing the right ingredients is crucial for a thriving cactus. For sand, consider using builders sand or horticultural sand, as both have unique benefits.
When it comes to organic matter, coconut coir and peat moss are excellent options. Additionally, you might want to include amendments like gypsum for calcium or lime to adjust pH levels.
⚖️ Ratios for Mixing Soil Components
Getting the ratios right can make all the difference in your cactus soil mix. A balanced mix typically consists of 50% coarse sand, 30% perlite or pumice, and 20% organic matter.
Be sure to adjust these ratios based on your local climate and humidity levels. This customization ensures your Jumping Cholla receives the best possible environment for growth.
With the right soil mix in hand, your Jumping Cholla will be well on its way to thriving. Next, let’s explore how to maintain and care for this unique plant.
Soil Maintenance and Care
How to Refresh or Amend Existing Soil 🌱
Maintaining healthy soil is crucial for your Jumping Cholla's growth. One effective technique is top-dressing with fresh cactus mix, which adds nutrients without the need for repotting.
Incorporating amendments can also improve soil quality. Consider mixing in organic matter or perlite to enhance drainage and aeration.
When to Refresh Soil ⏰
Knowing when to refresh your soil is key. Look for signs like poor drainage, compacted texture, or a noticeable decline in plant health.
If your Jumping Cholla shows stunted growth or yellowing, it might be time for an amendment. Regular inspections can help you catch these issues early.
Seasonal Considerations for Soil Care 🌸
Timing is everything when it comes to soil maintenance. Spring is the ideal season for repotting and refreshing soil, as plants are actively growing.
In contrast, fall is the time to prepare your soil for dormancy. Adjust your care routine based on seasonal changes in moisture and temperature to keep your cactus thriving.
Best Practices for Repotting Jumping Cholla 🌵
Repotting is sometimes necessary, especially if your plant becomes root-bound. Look for signs like roots growing out of the drainage holes or poor water absorption.
When you're ready to repot, follow these steps for success:
- Choose an appropriate pot size that allows for growth.
- Prepare a fresh soil mix tailored for cacti.
- Carefully remove the plant from its old pot, taking care not to damage the roots.
- Place the plant in the new pot and fill it with fresh soil.
- Water lightly to settle the soil around the roots.
By following these practices, you can ensure your Jumping Cholla remains healthy and vibrant. With proper care and attention, your cactus will thrive in its environment, setting the stage for the next section on common soil-related problems.
Common Soil-Related Problems
💧 Overwatering and Its Effects on Soil Health
Overwatering is one of the most common issues for Jumping Cholla. Symptoms include root rot, which manifests as mushy roots and poor soil drainage, leading to a decline in plant health.
To prevent overwatering, establish a proper watering schedule. Allow the soil to dry out between waterings to ensure your cactus thrives.
🌱 Nutrient Deficiencies in Cactus Soil
Jumping Cholla can suffer from various nutrient deficiencies. Signs include yellowing leaves and stunted growth, indicating that your plant isn't getting the nutrients it needs.
To address these deficiencies, consider using specific fertilizers designed for cacti. These amendments can help restore balance and promote healthy growth.
🐛 Pest Issues Related to Soil Quality
Unhealthy soil can attract pests that harm your Jumping Cholla. Common culprits include fungus gnats, which thrive in damp conditions, and root mealybugs, which can weaken your plant.
To combat these pests, regularly inspect your soil for signs of infestation. Maintaining cleanliness and proper soil conditions can deter these unwanted guests and keep your cactus healthy.
By staying vigilant about watering, nutrient levels, and pest management, you can ensure your Jumping Cholla remains vibrant and thriving. Next, let’s explore how to maintain and care for your cactus soil effectively.
⚠️ Safety First
This content is for general information and may contain errors, omissions, or outdated details. It is not medical, veterinary advice, or an endorsement of therapeutic claims.
Always consult a qualified healthcare professional before using any plant as food, medicine, or supplement.
Never eat any plant (or feed one to pets) without confirming its identity with at least two trusted sources.
If you suspect poisoning, call Poison Control (800) 222-1222, the Pet Poison Helpline (800) 213-6680, or your local emergency service immediately.
Spotted an error? Please report it here.
Ensure your Jumping Cholla thrives by tackling soil health issues, and let Greg guide you with tailored care tips 🌵 that keep your cactus flourishing all year round!