🤚 Step-by-Step Guide for How to Plant Finger Fern
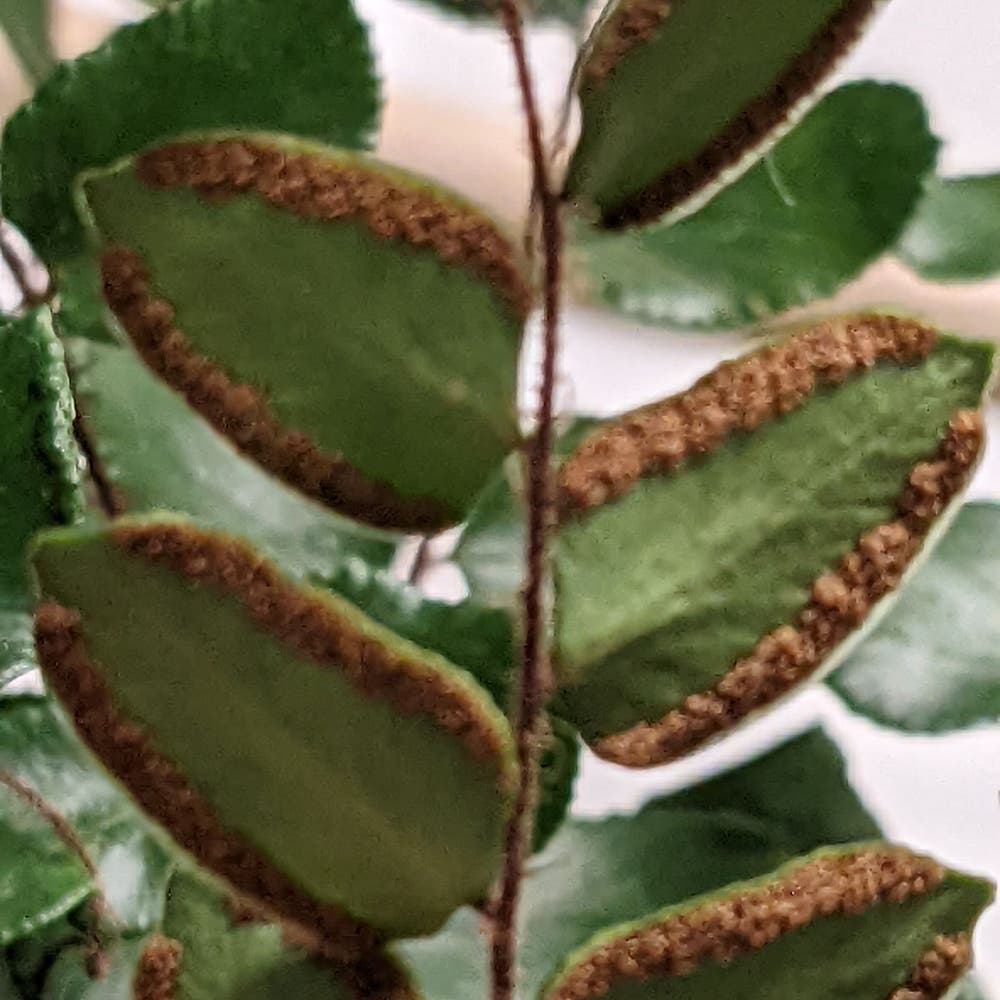
Hemionitis rotundifolia
By the Greg Editorial Team
Oct 16, 2024•5 min read
This article was created with the help of AI so we can cover more plants for you. May contain errors. See one? Report it here.
- 🌱 Transplanted Finger Ferns mature faster, saving you time and enhancing greenery.
- 🌞 Optimal planting time is spring or early summer for best establishment results.
- 💧 Use well-draining soil and maintain humidity for healthy Finger Fern growth.
Planting vs. Transplanting Finger Fern
💰 Key Considerations
When deciding between planting new Finger Ferns and transplanting established ones, cost is a major factor. Purchasing new plants can be more expensive, while transplanting can save you money and give your garden a head start.
Time to maturity is another crucial aspect. New plants often take longer to establish, while transplanted ones can mature more quickly, giving you that lush greenery sooner.
Adaptability also plays a role in your decision. New plants may struggle to acclimate to their environment, whereas established plants are typically better suited to thrive in your specific conditions.
In summary, weigh the costs, growth speed, and adaptability when choosing between planting new or transplanting established Finger Ferns. This will set the stage for a thriving garden.
Next, let’s dive into the specifics of planting new Finger Ferns for optimal growth.
Planting New Finger Fern
🌱 Optimal Timing for Planting
Spring or early summer is the best time to plant your Finger Fern. During these seasons, temperatures are consistently warm, which helps the plant establish itself effectively.
Consider your local climate when planning your planting. Different regions may have varying optimal times, so adjust accordingly for the best results.
🪴 Selecting Soil Mix and Containers
For a thriving Finger Fern, use a well-draining potting mix enriched with organic matter. This combination provides the nutrients and drainage necessary for healthy growth.
When choosing containers, opt for pots with drainage holes. This prevents water from accumulating, which can lead to root rot.
📏 Proper Depth and Spacing
Plant your Finger Fern at a depth of 2-3 inches. This depth allows the roots to establish while keeping the crown of the plant at the right level.
Space your plants 12-18 inches apart. This spacing ensures they have enough room to grow without competing for resources.
🌤️ Maintaining Ideal Growing Conditions
Finger Ferns thrive in indirect light, so avoid placing them in direct sunlight. Too much sun can scorch the leaves and hinder growth.
Humidity is crucial for these ferns; aim for levels between 50-70%. Keeping the soil consistently moist, but not soggy, will help maintain the right conditions.
🌳 Hardening Off Process
Before planting outdoors, it's essential to acclimatize your Finger Fern. This process helps the plant adjust to its new environment.
To harden off, gradually increase outdoor exposure over 7-10 days. Start with a few hours of indirect light and slowly extend the time each day.
Transitioning to the next section on transplanting established Finger Ferns will help you understand how to care for your plants as they grow.
Transplanting Established Finger Fern
🌱 Optimal Timing for Transplanting
Transplanting your Finger Fern is best done in early spring or fall. These seasons are ideal because the plant is not actively growing, reducing stress during the transition.
🛠️ Step-by-Step Instructions for Transplanting
Removing the Plant
- Water the Plant: A day before transplanting, give your fern a good drink. This helps reduce stress on the plant.
- Loosen the Soil: Use a spade to gently loosen the soil around the roots. This makes it easier to lift the plant.
- Lift the Plant: Carefully lift the fern, trying to keep as much soil around the roots as possible. This protects the root system.
Preparing the New Site
- Choose a Location: Find a spot with indirect light and well-draining soil. This is crucial for your fern's health.
- Amend the Soil: If necessary, mix in some organic matter to improve soil quality. This will help your fern thrive.
Ensuring Proper Placement and Spacing
- Dig a Hole: Create a hole that is twice the width of the root ball. This gives the roots room to spread.
- Place the Plant: Position the fern in the hole, ensuring the crown is level with the soil surface. This helps with stability.
- Fill in with Soil: Gently fill in around the roots with soil, firming it lightly. This secures the plant in its new home.
💧 Tips for Newly Transplanted Plants
Water your fern immediately after transplanting to help settle the soil around the roots.
Applying a layer of mulch can retain moisture and suppress weeds, providing a protective barrier.
If your fern is a taller cultivar, consider providing support to keep it upright as it adjusts to its new environment.
With these steps, your Finger Fern will be well on its way to thriving in its new location. Next, let’s explore how to troubleshoot common issues that may arise during this process.
Troubleshooting Common Issues
Addressing Transplant Shock 🌱
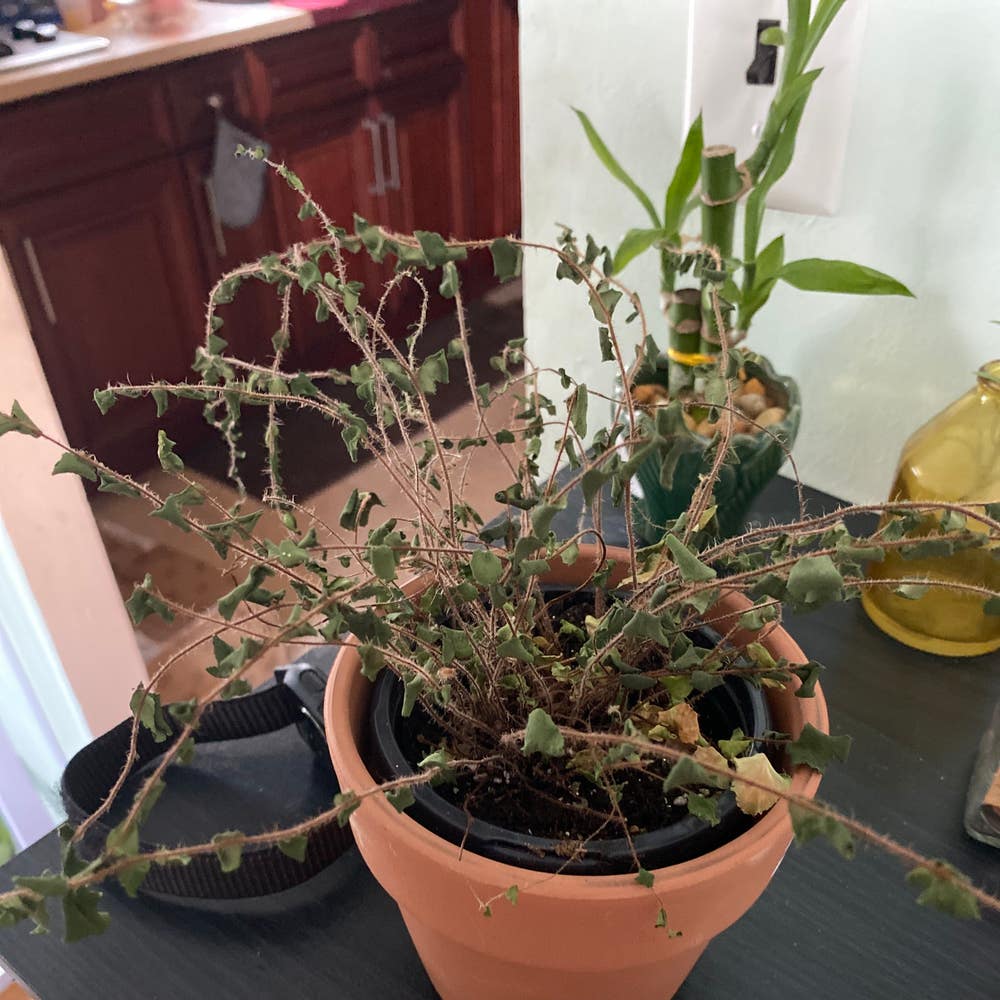
Transplant shock can be a real bummer for your finger fern. Look out for symptoms like wilting, yellowing leaves, and stunted growth.
To combat this, ensure you're watering properly. Avoid fertilizing right after transplanting; give your plant some time to settle in first.
Solutions for Establishment Problems 🛠️
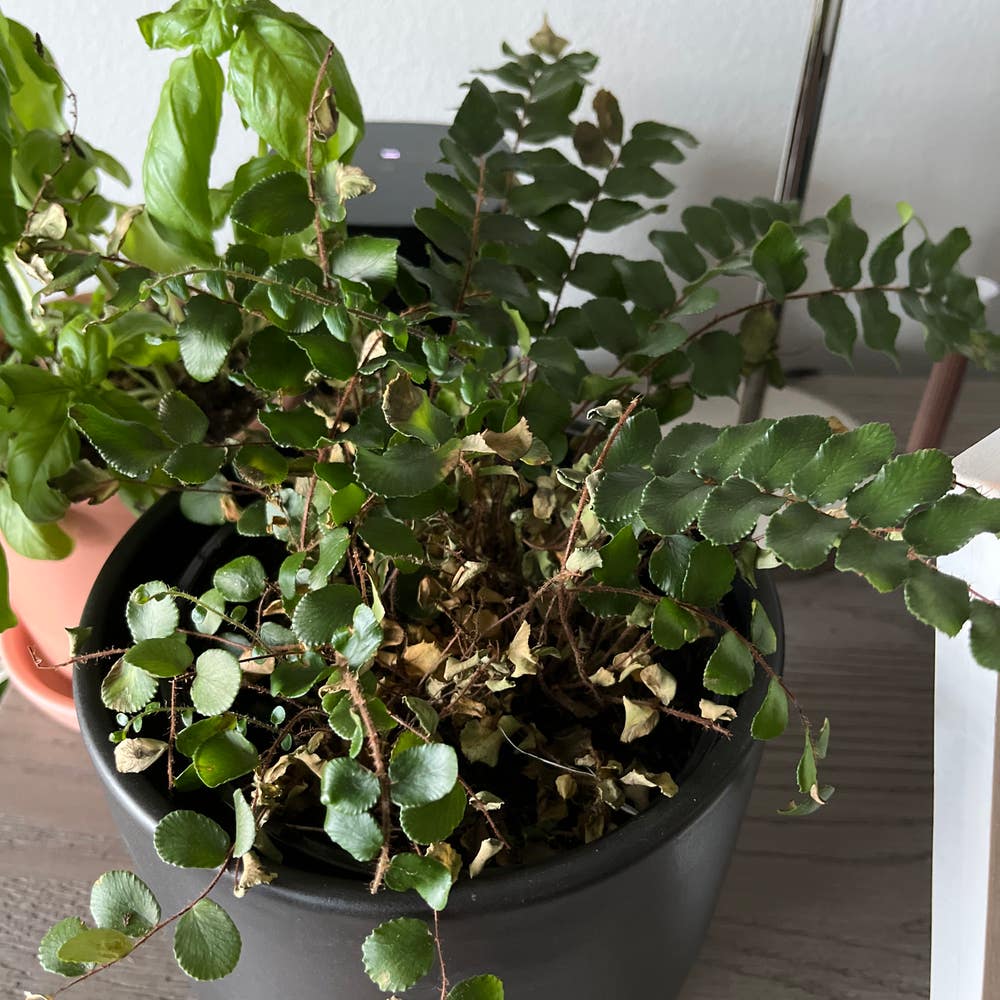
If your finger fern is struggling, you might notice poor growth or leaf drop. These signs indicate establishment issues that need your attention.
Adjust your watering practices to find the right balance. Also, take a moment to check for pests that might be causing trouble.
Common Pests and Diseases 🐛
Aphids and spider mites are common culprits that can impact your fern's health. Identifying these pests early can save your plant from serious damage.
Prevent diseases by maintaining proper watering and humidity levels. Keeping your fern in optimal conditions will go a long way in ensuring its vitality.
With these troubleshooting tips, you can help your finger fern thrive and bounce back from any setbacks. Next, let’s explore how to keep your fern flourishing in its environment!
⚠️ Safety First
This content is for general information and may contain errors, omissions, or outdated details. It is not medical, veterinary advice, or an endorsement of therapeutic claims.
Always consult a qualified healthcare professional before using any plant as food, medicine, or supplement.
Never eat any plant (or feed one to pets) without confirming its identity with at least two trusted sources.
If you suspect poisoning, call Poison Control (800) 222-1222, the Pet Poison Helpline (800) 213-6680, or your local emergency service immediately.
Spotted an error? Please report it here.
Plant your Finger Ferns like a pro 🌿 by using Greg's tailored care tips and reminders to help your plants thrive faster and save you money!