🌼 Top 10 Pot Options to Make Your Helichrysum Thrive
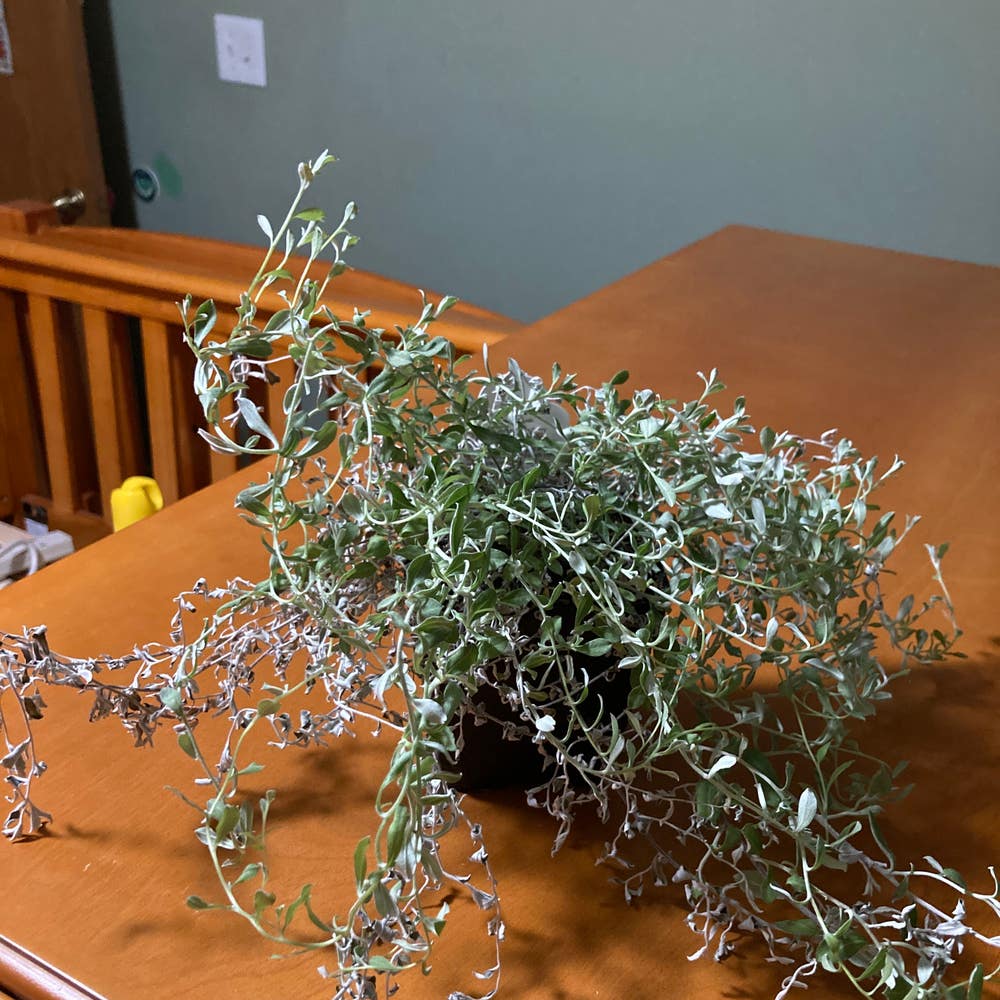
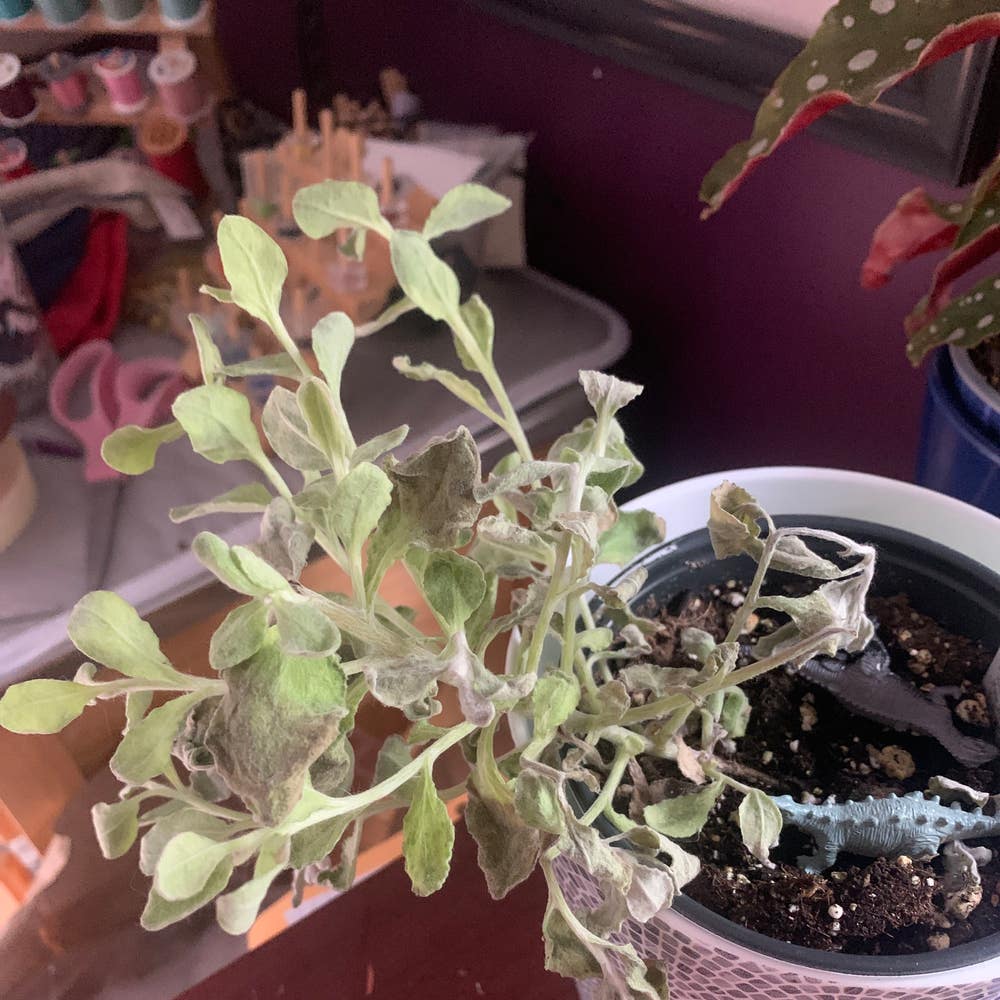
Helichrysum basalticum
By the Greg Editorial Team
Nov 07, 2024•6 min read
This article was created with the help of AI so we can cover more plants for you. May contain errors. See one? Report it here.
Unlock vibrant blooms for your Helichrysum 🌼 by mastering pot size and drainage for every growth stage! 🌱
- 🌱 Choose pot sizes wisely: 4-6 inches for seedlings, 10-14 inches for mature plants.
- 🕳️ Ensure proper drainage: Use pots with holes to prevent root rot and overwatering.
- 🌿 Repot every 1-2 years to maintain healthy growth and prevent root-bound issues.
Importance of Pot Size for Different Growth Stages
🌱 Seedling Stage
For your Helichrysum seedlings, a pot size of 4-6 inches in diameter is ideal. Smaller pots encourage root development while preventing the risk of overwatering, which can be detrimental at this delicate stage.
🌿 Young Plant Stage
As your Helichrysum grows, transition to a pot size of 6-10 inches in diameter. This larger space supports increased root growth and allows for better nutrient uptake, essential for a thriving young plant.
🌼 Mature Plant Stage
When your Helichrysum reaches maturity, opt for a pot size between 10-14 inches in diameter. This size provides adequate space for root expansion and stability, ensuring your plant remains healthy and well-supported as it flourishes.
Understanding the right pot size for each growth stage is crucial for the overall health of your Helichrysum. With the right pot, you set the stage for vibrant growth and beautiful blooms.
Ideal Pot Materials
🌱 Clay Pots
Clay pots are a popular choice for Helichrysum due to their excellent breathability and moisture regulation. They allow air to circulate through the walls, promoting healthy root development.
However, they come with some drawbacks. Clay pots are heavier, making them less portable, and they can dry out faster, which means you’ll need to water your plants more frequently.
🪴 Plastic Pots
On the other hand, plastic pots are lightweight and retain moisture longer, making them a convenient option for busy gardeners. They are often more affordable and come in various sizes and colors.
Yet, plastic pots have their downsides too. They are less breathable than clay, which can lead to root rot if the drainage isn’t managed properly.
⚖️ Comparison of Materials
Here’s a quick comparison of the pros and cons of clay and plastic pots:
| Material | Pros | Cons |
|---|---|---|
| Clay | Breathable, moisture regulation | Heavier, dries out faster |
| Plastic | Lightweight, retains moisture, affordable | Less breathable, risk of root rot |
When choosing the right pot for your Helichrysum, consider the specific variety and growth conditions. For instance, if you live in a dry climate, clay might be better for moisture control. Conversely, if you need something easy to move, plastic could be the way to go.
Understanding these materials will help you create the ideal environment for your Helichrysum to thrive. Next, let’s dive into the crucial topic of drainage considerations, which is essential for maintaining healthy plants.
Drainage Considerations
🌧️ Importance of Drainage Holes
Drainage holes are essential for any pot housing your Helichrysum. They prevent water accumulation, significantly reducing the risk of root rot, which can be detrimental to your plant's health.
For optimal drainage, ensure your pot has at least 1-2 holes, each measuring about 1/2 inch in diameter. This setup allows excess water to escape, keeping the soil from becoming overly saturated.
🌱 How Drainage Affects Root Health
Excess moisture can severely impact Helichrysum roots, leading to a host of problems. When roots sit in waterlogged soil, they can suffocate, resulting in poor nutrient uptake and stunted growth.
Aeration is crucial for healthy root systems. Well-drained soil allows roots to breathe, promoting robust growth and overall vitality.
🚩 Signs of Poor Drainage
Keep an eye out for symptoms indicating poor drainage. Yellowing leaves, wilting despite adequate watering, and visible root rot are all red flags that your Helichrysum may be struggling.
If you notice these signs, consider solutions to improve drainage. Adding perlite or gravel to your potting mix can enhance aeration and prevent water from pooling at the bottom.
By ensuring proper drainage, you set your Helichrysum up for success, allowing it to thrive in its environment. Next, let’s explore the best practices for repotting your beloved plant.
Repotting Helichrysum
🕒 When to Repot
Repotting is essential for maintaining a healthy Helichrysum. Look for signs like root-bound plants, visible roots through drainage holes, and stunted growth as indicators that it’s time for a new pot.
Aim to repot every 1-2 years or whenever your plant outgrows its current container. This ensures your Helichrysum has enough space to thrive.
🪴 How to Choose the Right Pot When Repotting
Selecting the right pot is crucial for your plant's health. Consider factors like size, material, and drainage features to ensure optimal growth conditions.
Maintaining consistent pot depth is also important for Helichrysum. This helps prevent stress on the roots and supports healthy development.
📋 Step-by-Step Guide to Repotting
Repotting might seem daunting, but it’s straightforward. Follow these steps for a smooth transition:
- Prepare the new pot with fresh potting mix to provide a nutrient-rich environment.
- Gently remove the Helichrysum from its current pot, taking care not to damage the roots.
- Inspect roots for damage and trim any unhealthy sections to promote new growth.
- Place the plant in the new pot, ensuring it sits at the same depth as before.
- Fill with potting mix and water thoroughly to help settle the soil around the roots.
By following these steps, you’ll give your Helichrysum the best chance to flourish in its new home.
As you repot, keep an eye on your plant's response to the changes. This will help you refine your care routine and ensure your Helichrysum continues to thrive.
Common Potting Mistakes
🚫 Mistakes to Avoid
Overwatering is the leading cause of root rot in Helichrysum. It's crucial to regularly check soil moisture to prevent this common pitfall.
Another mistake is choosing pots without drainage holes. Without proper drainage, excess water can accumulate, leading to serious health issues for your plant.
🔧 How to Correct Potting Errors
If you find yourself overwatering, adjust your watering habits immediately. Allow the soil to dry out between waterings and consider improving drainage by adding perlite or gravel to your potting mix.
If root rot is detected, repotting is often necessary. Carefully remove the plant from its pot, trim any damaged roots, and place it in fresh, well-draining soil.
👀 Importance of Monitoring Pot Conditions
Regularly check your Helichrysum for signs of stress, such as yellowing leaves or wilting. These symptoms can indicate underlying issues that need addressing.
Keeping a log of your watering and fertilization schedules can greatly improve your plant care routine. This practice helps you stay on top of your plant's needs and fosters a healthier growing environment.
By avoiding these common mistakes and monitoring your plant's conditions, you can ensure your Helichrysum thrives beautifully. Next, let’s dive into the essential aspects of repotting your Helichrysum for optimal growth.
⚠️ Safety First
This content is for general information and may contain errors, omissions, or outdated details. It is not medical, veterinary advice, or an endorsement of therapeutic claims.
Always consult a qualified healthcare professional before using any plant as food, medicine, or supplement.
Never eat any plant (or feed one to pets) without confirming its identity with at least two trusted sources.
If you suspect poisoning, call Poison Control (800) 222-1222, the Pet Poison Helpline (800) 213-6680, or your local emergency service immediately.
Spotted an error? Please report it here.
Keep your Helichrysum thriving 🌱 by choosing the right pot and letting Greg's tailored reminders guide you through watering and repotting for optimal growth!