Propagating Sonoran Jumping Cholla: Step-by-Step Guide
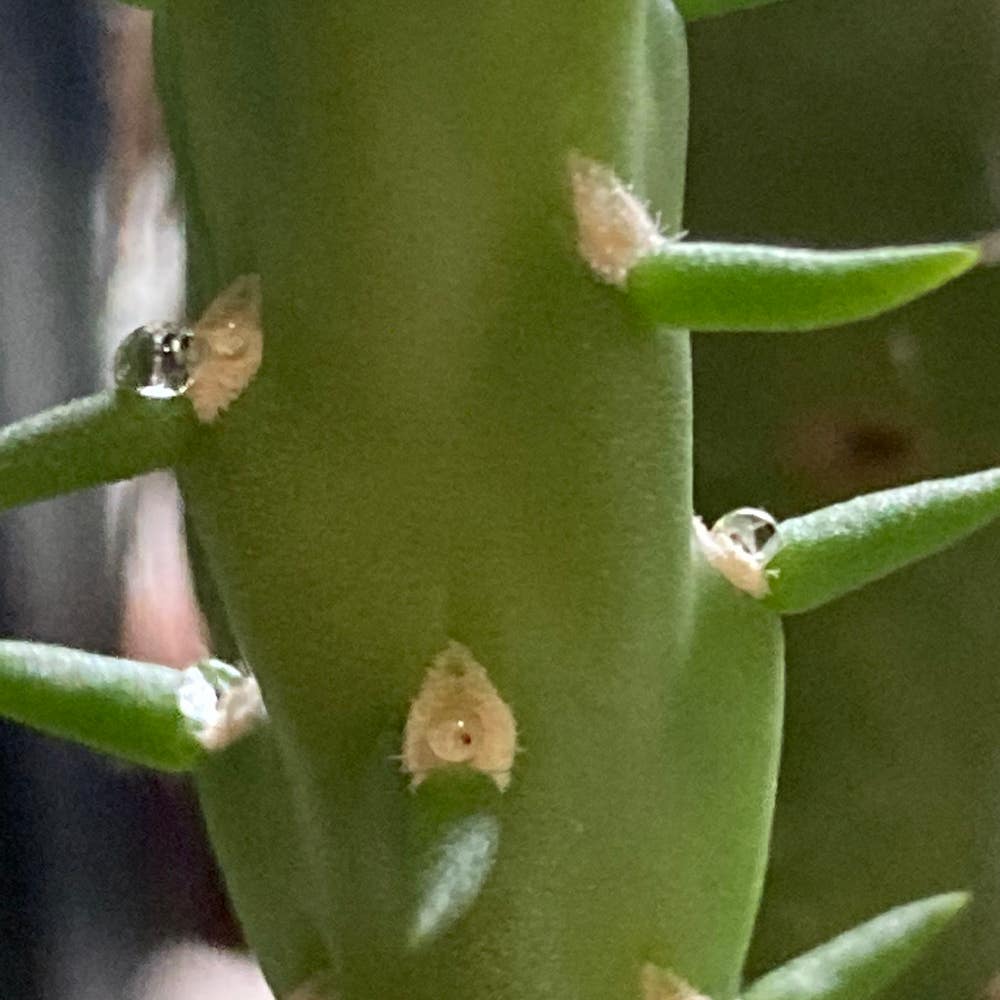
Cylindropuntia fulgida
By the Greg Editorial Team
Mar 13, 2024•5 min read
This article was created with the help of AI so we can cover more plants for you. May contain errors. See one? Report it here.
- Choose healthy stem segments and let cuttings callus to prevent rot.
- Plant in well-draining soil with proper light and water for root development.
- Transplant carefully, acclimating cholla to new light conditions and watering sparingly.
Choosing Your Cholla Champions
🌵 Selecting Healthy Stem Segments
In the thorny world of cholla propagation, the first step is akin to drafting the best athletes for your team. Vigorous and robust stem segments are your MVPs, free from discoloration or signs of weakness. Timing is everything; spring or early summer, when the plant is in its growth spurt, is your window of opportunity.
🛡️ Prepping Your Cuttings for Success
Detaching with Care
To safely detach a segment, arm yourself with a comb or pliers to avoid a prickly situation. A swift flick should free the segment, but keep soap and water handy for any defensive spikes left behind. Remember, sterilize your tools before cutting; it's like a surgeon preparing for operation—non-negotiable.
The Callusing Process
Callusing is your cutting's shield against the dark arts of rot and disease. Let the fresh wound air-dry until it's as tough as old boots, which could take a few days. Skimp on this, and you're practically inviting trouble to your cholla's doorstep.
Planting Your Prickly Pals
🌵 The Perfect Soil Mix
Creating the ideal soil mix for your Sonoran Jumping Cholla is like setting the stage for a rockstar—everything needs to be just right. Drainage is key; you want water to flow through like a crowd at a concert exit. Mix one part potting soil with one part coarse sand and one part perlite for that sweet spot of aeration and moisture control. Remember, no clumping ingredients like vermiculite or peat moss—they're the equivalent of overzealous fans that just won't leave the stage.
🏺 Potting Like a Pro
When choosing a container, think of it as picking out shoes for a marathon—comfort is crucial. Go for a pot with drainage holes to avoid waterlogged roots, which are as bad for your cactus as blisters for a runner. For planting, gently nestle the cutting into the soil, burying it just deep enough to stand upright, like a microphone on stage waiting for the first note. The orientation should mimic how it grew originally—no upside-down performances here.
Nurturing New Roots
💧 Watering Wisely
When it comes to watering your Sonoran Jumping Cholla cuttings, think of Goldilocks – you want it just right. During the root development phase, overwatering is the fast track to root rot, while underwatering will leave your cholla high and dry.
When to Water: Reading Your Cholla's Thirst
Water when the soil is completely dry. Stick your finger in; if it feels like a desert, it's time to quench that thirst. This usually means watering less frequently than you might expect – often only every few weeks.
The Perfect Pour: Watering Techniques and Tips
Give your cholla a mini monsoon; soak the soil until water runs free from the drainage holes. Then, back off and let the soil dry out entirely before even thinking about watering again.
🌞 Let There Be Light (But Not Too Much)
Your cholla cuttings need light, but not the kind that leads to a cactus sunburn.
Ideal lighting conditions for your rooting cholla
Bright, indirect light is your cholla's best friend. If you're growing indoors, a sunny window with a sheer curtain is the sweet spot. Outdoors, aim for a spot that gets morning sun and afternoon shade, especially in scorching climates.
Keeping Your Cholla on Its Feet: Long-Term Care Strategies
As your cholla establishes itself, gradually introduce it to more direct sunlight. But watch for signs of distress – if your cholla starts looking like it's begging for mercy, dial the sunlight back.
Transitioning to a Permanent Home
⏰ Timing the Big Move
When your Sonoran Jumping Cholla has rooted confidently, it's time to think about the big move. You'll know it's ready when you see new growth or when the roots are peeking out of the drainage holes. This is the plant's way of whispering, "I need more space."
🌵 Transplanting Techniques
🛡️ Safety First
Before you start, gear up with thick gloves or use a folded newspaper to handle your spiky friend. Safety isn't just a suggestion; it's a must.
🏺 Choosing the Right Pot
Terracotta pots with drainage holes are your cholla's best pals. They're breathable and reduce the risk of waterlogging. Remember, size matters – a pot too large can leave excess soil moisture, leading to root rot.
🌱 The Right Mix
Mix up a well-draining soil concoction. A blend of sand, perlite, and peat moss will make your cholla feel like it's back in the Sonoran desert.
🌱 Planting Procedure
- Fill the pot with your soil mix, leaving room for the roots.
- Nestle your cholla in the center, covering the roots with soil but not burying it too deep.
- Give it a gentle pat down to secure it in place, like tucking in a child without the bedtime story.
🌞 Acclimating Your Cactus
Ease your cholla into its new digs. Start with indirect sunlight and gradually introduce it to more light. Think of it as acclimating to a new neighborhood, not a witness protection program.
🚰 Post-Transplant Care
Keep the soil dry for the first week to avoid shocking the roots. After that, water sparingly. Your cholla isn't a fan of wet feet. Monitor for signs of distress and adjust care accordingly. With a little patience and attention, your cholla will be standing tall, ready to take on the world—or at least its little corner of it.
⚠️ Safety First
This content is for general information and may contain errors, omissions, or outdated details. It is not medical, veterinary advice, or an endorsement of therapeutic claims.
Always consult a qualified healthcare professional before using any plant as food, medicine, or supplement.
Never eat any plant (or feed one to pets) without confirming its identity with at least two trusted sources.
If you suspect poisoning, call Poison Control (800) 222-1222, the Pet Poison Helpline (800) 213-6680, or your local emergency service immediately.
Spotted an error? Please report it here.
Successfully root your Sonoran Jumping Cholla by adhering to this guide and trust Greg 🌵 to tailor the ideal watering reminders for your cactus's growth.