Best Potting Soil Mix for Sonoran Jumping Cholla
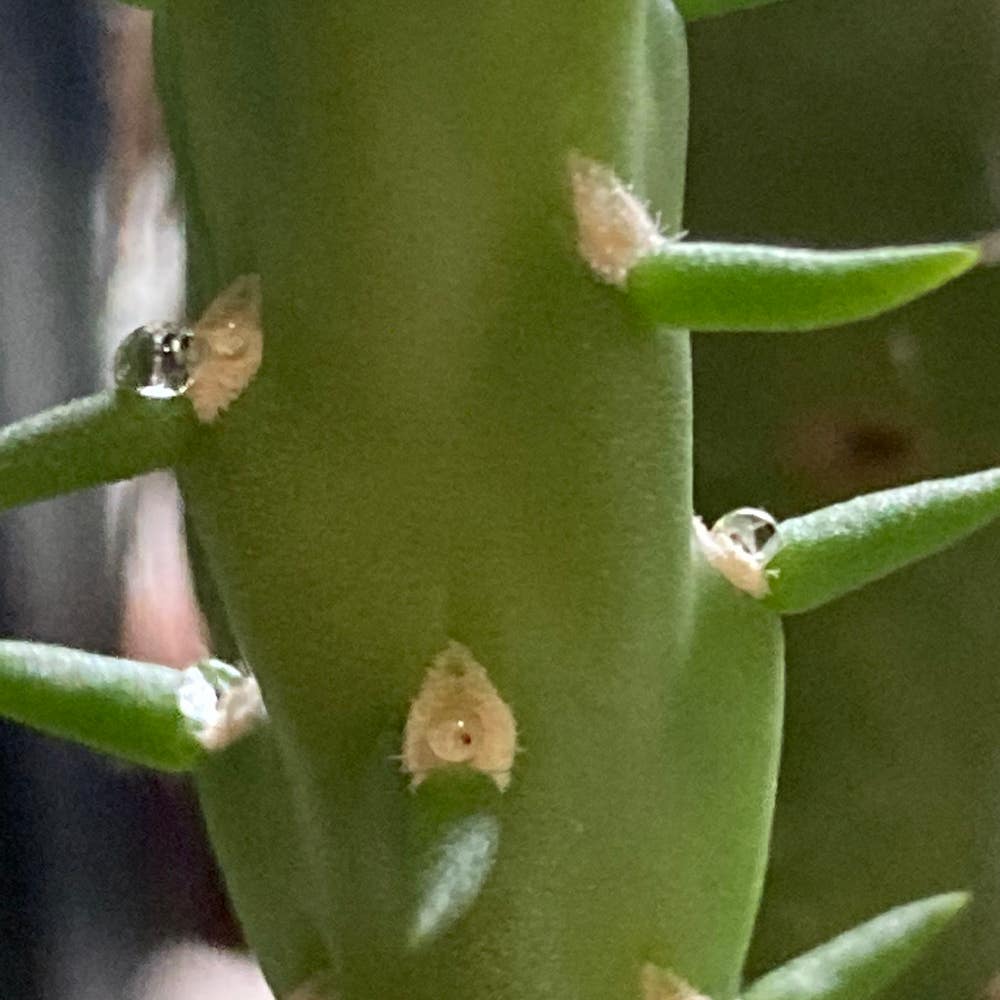
Cylindropuntia fulgida
By the Greg Editorial Team
Mar 13, 2024•4 min read
This article was created with the help of AI so we can cover more plants for you. May contain errors. See one? Report it here.
- 🌵 Mold and droopy leaves signal unhealthy soil; address with dry-out and repotting.
- Craft Cholla-specific soil with pumice, coarse sand, and minimal organic matter.
- Repot in spring when roots show or growth slows, using a well-draining custom mix.
Spotting and Fixing Unhealthy Soil for Your Cholla
🚨 Recognizing the Red Flags
Mold on your Cholla's soil is a no-go. It's a thief, stealing nutrients and leaving a mess. Look for a fuzzy invasion or a soil surface that's throwing a fungus party. If the roots of your Cholla feel like overcooked pasta, it's an SOS. Droopy leaves? They're not just tired; they're screaming for help.
🛠️ Reviving Your Cholla's Foundation
Moldy soil needs a hero. Start by cutting off the water supply and let the soil dry. Scrape off the moldy top layer like you're peeling back the curtain on a bad play. Mix in some perlite or coarse sand to improve drainage; think of it as giving your soil a breath of fresh air.
Compacted soil is a silent killer. It's suffocating your Cholla's roots, so fluff it up with some grit. If you find roots that have given up the ghost, snip them off. It's like a strategic retreat to save the rest of the plant.
Emergency repotting is like an evacuation—do it carefully. Shake off the old soil like a bad dream and give your Cholla a new home with fresh, well-draining mix. Remember to sanitize the pot with a bleach solution; it's like giving your Cholla a clean slate.
Watering habits need a reality check. If you're drowning your Cholla in love, it's time to pull back. Let the soil dry out before you water again. It's not neglect; it's tough love. And make sure your pot's drainage is up to snuff—without it, you're setting up your Cholla for a swampy downfall.
The Perfect Potting Mix Ingredients
🌵 What Your Cholla Craves
Well-draining soil is non-negotiable for Sonoran Jumping Cholla. The roots should feel like they're at a rock concert with ample room to breathe. Include ingredients like pumice or coarse sand to ensure quick drainage. Organic matter is the secret sauce for nutrients, but don't overdo it—think garnish, not main course. Coco coir or chips can improve aeration without retaining too much moisture.
🚫 What to Avoid
Your Cholla isn't a fan of wet feet, so avoid materials like vermiculite that hold onto water like a stage-five clinger. Regular garden soil is a big no; it's like putting your Cholla in quicksand. Too much organic material is the equivalent of a junk food binge for your cactus—tempting but ultimately harmful. And peat moss? It's a diva with sustainability issues, so use it sparingly if at all.
Crafting Your Own Cholla-Approved Soil
🌵 Mixing It Right
Creating the ideal homemade soil mix for your Sonoran Jumping Cholla is straightforward. Here's how to nail it:
- Start with a base of 2 parts all-purpose potting soil.
- Improve drainage by adding 1 part perlite and 1 part coarse sand.
- For moisture and pH balance, mix in 1 part sphagnum peat moss.
- Optional: For extra aeration, consider a sprinkle of pine bark fines.
- Combine thoroughly until the mix is as uniform as your Cholla's spines.
🌱 Fine-Tuning the Texture and Nutrients
Adjusting for perfect drainage and aeration is crucial:
- Aim for a gritty texture, not too sandy. If it's too coarse, add more potting soil.
- Balance pH by adding a dash of lime if needed.
- Enrich with a handful of compost for slow-release nutrients.
- Test the mix by watering it. It should drain quickly without water pooling.
- Store your custom mix in a covered bin to keep it fresh and ready for use.
When to Refresh and Repot
⏰ Timing is Everything
Recognizing the right moment to repot your Sonoran Jumping Cholla is crucial. Look for telltale signs like roots peeking through drainage holes or a noticeable slowdown in growth. Spring, with its natural growth cycle, is the ideal season for this task. It's like syncing your plant's needs with Mother Nature's clock.
The Repotting Process
🛠 Step 1: Prep Work
Ensure the soil is bone-dry to avoid root damage. Gently coax your Cholla out of its pot, taking care not to break its spiky limbs.
🌱 Step 2: Root Care
Inspect the roots closely. Snip off any parts that are dead or rotting. This is like giving your Cholla a much-needed pedicure.
🏡 Step 3: The New Home
Choose a pot that's one size up. A snug fit is better than a mansion; you don't want your Cholla rattling around in too much space.
🌿 Step 4: Soil and Settle
Fill the new pot with your custom Cholla mix, positioning your plant in the center. Backfill gently, ensuring those roots have firm contact with their new environment.
⏳ Step 5: The Waiting Game
Resist the urge to water immediately. Give your plant about a week to acclimate and whisper to the new soil before introducing moisture. This is like letting your Cholla settle into its new digs before throwing a housewarming party.
⚠️ Safety First
This content is for general information and may contain errors, omissions, or outdated details. It is not medical, veterinary advice, or an endorsement of therapeutic claims.
Always consult a qualified healthcare professional before using any plant as food, medicine, or supplement.
Never eat any plant (or feed one to pets) without confirming its identity with at least two trusted sources.
If you suspect poisoning, call Poison Control (800) 222-1222, the Pet Poison Helpline (800) 213-6680, or your local emergency service immediately.
Spotted an error? Please report it here.
Ensure your Sonoran Jumping Cholla flourishes with a custom soil mix 🌵—use Greg to get the perfect watering schedule and tailored soil tips for a healthy, happy cactus!