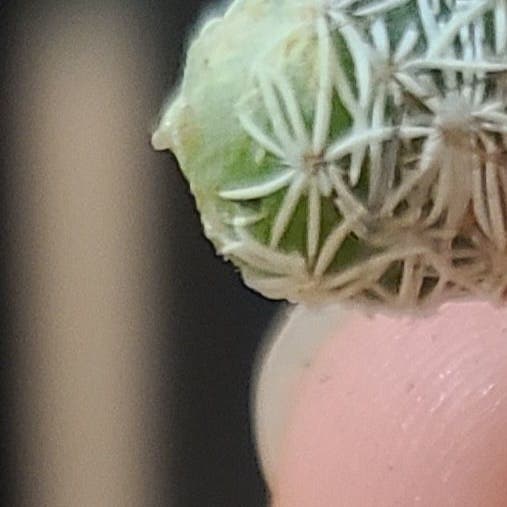
🌵 How Do I Propagate My Coryphantha elephantidens f. cristata?
Coryphantha elephantidens f. cristata
By the Greg Editorial Team
Jun 07, 2024•4 min read
This article was created with the help of AI so we can cover more plants for you. May contain errors. See one? Report it here.
- Start with offsets: Identify, separate with sterilized tools, and let dry.
- Seed propagation: Harvest ripe seeds, disinfect, and sow in fine-grained pumice.
- Grafting success: Choose robust rootstock, sterilize tools, and monitor graft site.
Getting Started with Offsets
🌱 Spotting and Separating Offsets
In the quest to propagate Coryphantha elephantidens f. cristata, identifying offsets is your starting line. These little clones are ripe for independence when they've got some heft to them and a few roots to stand on. Separation is a delicate dance; use a sterilized knife or scissors for a clean cut, keeping as many roots intact as possible. After the snip, let them dry for a day—think of it as a plant's version of a scab.
🌿 Planting and Caring for Offsets
When it's time to plant, soil selection is key. Mix up a well-draining concoction and choose a pot that's snug—like a hug, not a squeeze. Ensure it's got drainage holes to avoid soggy roots. Plant your offset shallowly, just enough to keep it upright. Watering should be sparse; these babies detest wet feet. Place them in a bright spot, but shield them from the harsh afternoon sun to prevent the plant equivalent of a sunburn.
Sowing the Future: Seed Propagation
🌱 1. Harvesting and Preparing Seeds
Harvesting seeds from Coryphantha elephantidens f. cristata is a delicate operation. Timing is crucial; wait for the fruit to ripen on the plant before collecting the seeds. To prevent diseases, consider a pre-sowing ritual of disinfection. Treat both seeds and soil with a disinfectant like Chinosol to ward off fungal and bacterial villains.
🌱 2. Planting and Nurturing Seeds
Soil selection is paramount. A fine-grained pumice is your best bet for sowing success. Plant seeds shallowly; they crave light to kickstart germination. Create a microclimate of constant humidity by using a closed container, and maintain temperatures between 20-32°C. Remember, these seedlings are the future—treat them as such. Keep them in a deep bowl initially to encourage a robust root system, then graduate them to their own pots to avoid a survival-of-the-fittest scenario.
Mastering the Art of Grafting
🌱 1. Choosing Your Rootstock
Selecting a robust rootstock is like picking a reliable teammate; it's essential for the graft's success. Common choices include Hylocereus spp. or Myrtillocactus geometrizans due to their vigorous growth, which is beneficial for supporting the scion. Ensure that both the rootstock and scion are in top health, showing no signs of disease or stress.
🛠 2. The Grafting Process
Grafting is a no-nonsense task. Start by sterilizing your knife or blade—this isn't optional. Make a clean cut on both the rootstock and the scion, ensuring the cambium layers are ready to shake hands. Align them precisely, like two puzzle pieces meant to fit together. Secure the union with grafting tape or a rubber band, but don't strangle them.
After the surgery, place your cactus in a spot with bright indirect light and resist the urge to water. Let the soil go bone-dry before even considering hydration. Keep a vigilant watch over the graft site for any signs of trouble. With proper care, your cactus will soon be the talk of the town.
Overcoming Propagation Pitfalls
🌱 Common Issues with Offsets and Seeds
Root Rot and Pests
Root rot is a common villain in the propagation story. To combat it, ensure sharp drainage and avoid overwatering. If pests decide to crash the party, show them the door with insecticidal soap or other treatments. Remember, cleanliness is your plant’s shield; sterilize your tools to prevent disease spread.
Slow Growth
When offsets and seeds are taking their sweet time, check your soil temperature and moisture levels. They prefer a warm, moist environment, but not so wet that they need a lifeboat. If growth is still sluggish, consider a gentle nudge with rooting hormone or a slight adjustment in light conditions.
🌵 Grafting Glitches
Incompatible Rootstock
A shaky hand or mismatched rootstock can lead to a failed graft. Precision is paramount, and so is compatibility. Think of it as plant matchmaking; the right pair will lead to a successful union.
Aftercare Woes
Once grafted, the cactus needs TLC. Monitor the graft site for signs of trouble like wilting or discoloration. If your graft seems shaky, reassess your technique and ensure your cuts are as clean as a surgeon's. Keep the grafted plant in a stable environment to avoid stressing the new union.
Remember, each propagation hiccup is an opportunity to level up your plant-parenting skills. Keep a detective's notebook, document your process, and learn from each experience. With patience and persistence, you'll overcome these pitfalls and achieve propagation success.
⚠️ Safety First
This content is for general information and may contain errors, omissions, or outdated details. It is not medical, veterinary advice, or an endorsement of therapeutic claims.
Always consult a qualified healthcare professional before using any plant as food, medicine, or supplement.
Never eat any plant (or feed one to pets) without confirming its identity with at least two trusted sources.
If you suspect poisoning, call Poison Control (800) 222-1222, the Pet Poison Helpline (800) 213-6680, or your local emergency service immediately.
Spotted an error? Please report it here.
Propagate your cactus 🌵 effortlessly with Greg's tailored reminders for each step, from cutting to grafting, ensuring your green thumb success!