Propagating Your Cane Cholla: Step-by-Step Guide
Cylindropuntia imbricata
By the Greg Editorial Team
Jun 18, 2024•4 min read
This article was created with the help of AI so we can cover more plants for you. May contain errors. See one? Report it here.
Propagate your own Cane Cholla forest 🌵 with ease using our step-by-step guide—turn your thumb greener!
- 🌱 Timing is key: Harvest seeds after fruit dries, stratify for 2-6 weeks.
- ✂️ Choose vibrant stems: Use disinfected tools for precise cuttings.
- 🌵 Care for offsets: Pot in well-draining soil, water sparingly, provide indirect light.
Sowing the Future: Seed Propagation Steps
Harvesting Cane Cholla seeds is a timing game. Wait until the flowers have faded and the fruit is dry before collecting the seeds. Cleanliness is crucial; ensure your hands and tools are sterilized to avoid introducing pathogens.
💫 Prepping the Seeds: Cleaning and Stratification
Stratification isn't just a fancy word; it's your seeds' pre-game warm-up. Clean the seeds thoroughly, removing any clinging fruit pulp. Then, mimic winter by giving them a cold treatment in your fridge for about 2-6 weeks. This breaks their dormancy and increases germination success.
🚰 Planting the Seeds: Soil Mix and Depth
When it's time to plant, think drainage. A mix of cactus compost and perlite should do the trick. Plant the seeds shallowly, about a quarter inch deep, and keep the soil consistently moist, not soggy. Patience is key here; germination can be slow, but watching those tiny green shoots emerge is worth the wait.

From One, Many: Stem Cutting Techniques
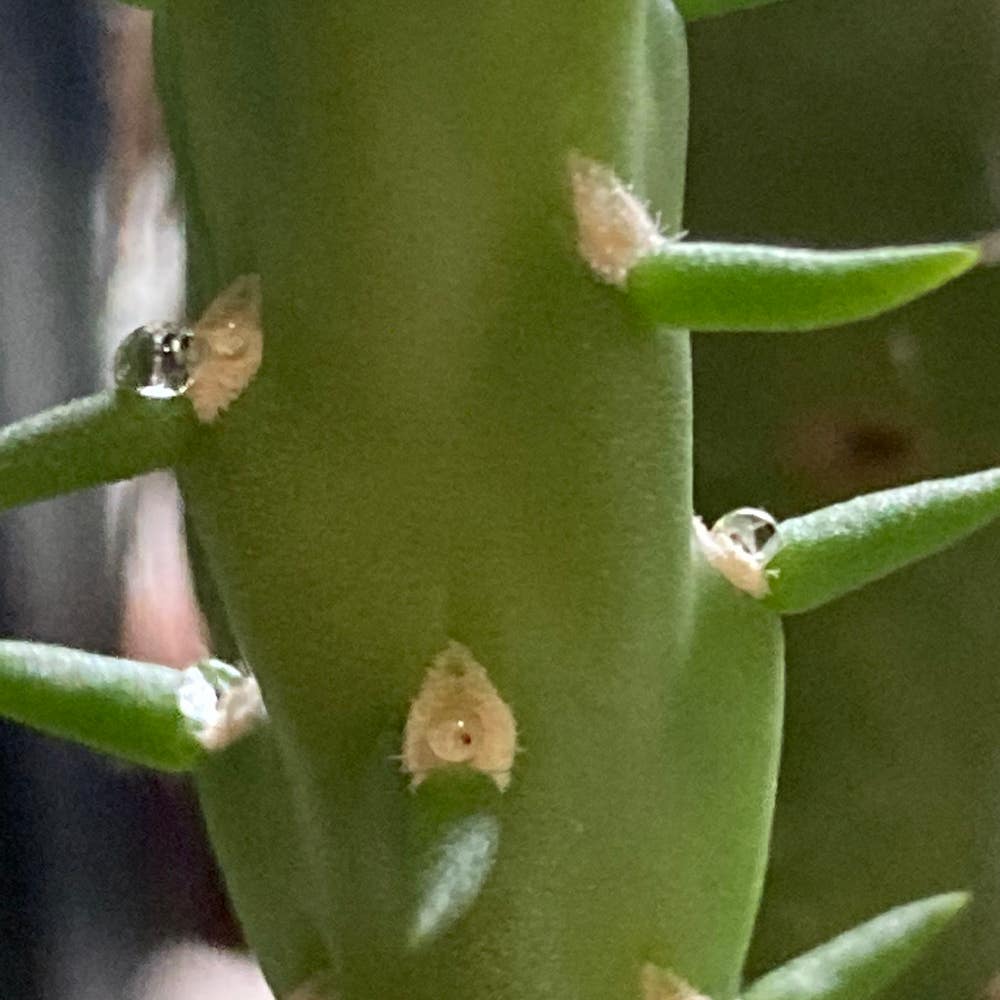
🌱 Choosing the Perfect Stem: What to Look For
When eyeing potential stems for cutting, vibrancy and firmness are your best friends. A stem that looks like it's been on a green juice cleanse is the one you want.
🔪 Making the Cut: Tools and Techniques
Grab your disinfected shears or a knife sharper than your wit, and aim just above a node. This isn't a barbaric chop; it's a surgical strike.
🌱 Rooting Your Cuttings: Soil, Humidity, and Warmth
Now, let's not bake or drown our future chollas. Well-draining soil is a must, and think of humidity as a cozy blanket, not a wet towel. Keep it warm, keep it bright, but no direct sunlight—it's a nursery, not a tanning bed.

Little Ones: Propagating with Offsets
🌱 Spotting and Separating Offsets: A Delicate Task
Offsets are the Cane Cholla's way of cloning itself. These little clones, sometimes called pups, pop up around the parent plant. Identify offsets that have sprouted their own roots—they're ready for a life of their own. Gently wiggle them free from the mother plant. If they're stubborn, a clean cut with a sharp knife might be necessary. Remember, it's like performing plant surgery—precision is key.
🏡 Giving Offsets Their Own Space: Potting and Initial Care
Once separated, it's time for the offsets to fly solo. Pot them in a well-draining soil mix to prevent root rot. Choose a pot that's snug, but not cramped—think of it as their first studio apartment. Water sparingly to settle them in, then place in bright, indirect light. This is their acclimation phase; too much sun or water and you'll have a soggy, sunburnt mess on your hands. Keep pests at bay; these young chollas are pest magnets. A watchful eye and prompt action can save your propagation efforts from becoming an all-you-can-eat bug buffet.

After the Cut: Immediate Post-Propagation Care
💧 The First Few Weeks: Watering and Protecting Young Chollas
After the cutting settles into its new soil home, it's all about balance. Water immediately to celebrate its new residency, but don't throw a pool party. Aim for soil that's moist like a squeezed-out sponge, not a soggy mess. If the top inch of soil feels like a dry desert, it's time to water. Keep your young cholla in a spot that's bright but not baking in direct sunlight. Think of it as a cozy nook with ambient light, perfect for growth without the harsh glare.
🌱 Transitioning to Growth: When to Move to Bigger Pots
Your cholla's roots will eventually crave more space. It's like a growing teen needing a bigger bed. Repotting is on the horizon when you notice roots peeking out of the drainage holes or when growth seems to stall. Choose a new pot that's one size up—no clown shoes here. A snug fit prevents overwatering and gives the roots a sense of security. After the move, resist the urge to fertilize for a few weeks. Let the plant settle in and get comfortable in its new digs before introducing it to the world of nutrients.
⚠️ Safety First
This content is for general information and may contain errors, omissions, or outdated details. It is not medical, veterinary advice, or an endorsement of therapeutic claims.
Always consult a qualified healthcare professional before using any plant as food, medicine, or supplement.
Never eat any plant (or feed one to pets) without confirming its identity with at least two trusted sources.
If you suspect poisoning, call Poison Control (800) 222-1222, the Pet Poison Helpline (800) 213-6680, or your local emergency service immediately.
Spotted an error? Please report it here.
Ace your Cane Cholla propagation 🌵 with Greg's tailored reminders for seed cold treatment, optimal watering, and the perfect repotting time from this guide.