🪴 Ultimate Guide to Soil for Spring Heather
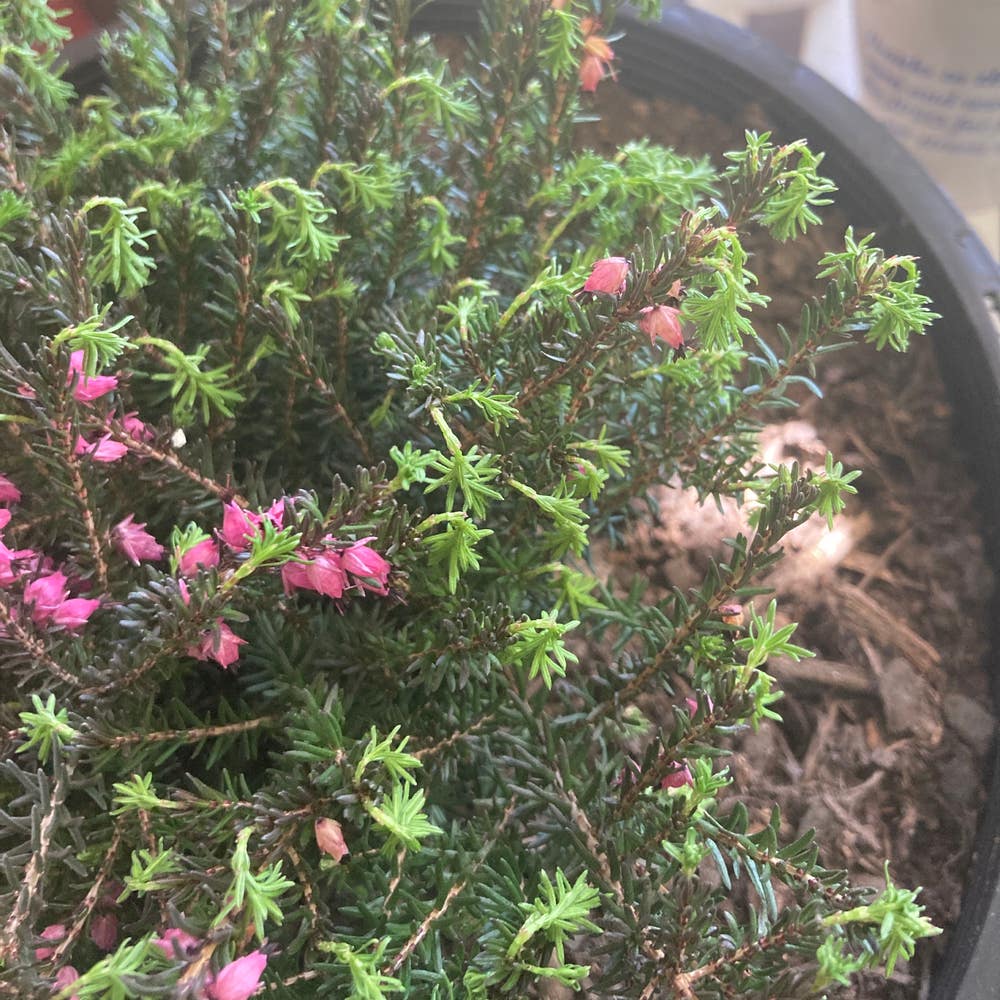
Erica carnea
By the Greg Editorial Team
Oct 16, 2024•6 min read
This article was created with the help of AI so we can cover more plants for you. May contain errors. See one? Report it here.
Unlock vibrant spring heather blooms by mastering soil health with these essential tips! 🌱
- 🌱 Recognize unhealthy soil by checking for mold, compaction, and poor drainage.
- 🧪 Test soil health using pH kits and DIY texture tests for optimal heather growth.
- 🌿 Create a homemade soil mix with peat moss, pine bark, sand, and perlite.
Identifying Unhealthy Soil
Signs of Unhealthy Soil 🌱
Recognizing unhealthy soil is crucial for the success of your spring heather. Common indicators include moldy soil and soil compaction.
Moldy Soil: Appearance and Causes
Moldy soil often appears as a fuzzy, white or green layer on the surface. This condition usually arises from overwatering or poor air circulation, creating an environment ripe for fungal growth.
Soil Compaction: Symptoms and Effects on Root Growth
Soil compaction manifests as a hard, dry surface that resists penetration. This condition restricts root growth, limiting access to water and nutrients.
Other Signs of Poor Soil Health 🚩
In addition to mold and compaction, watch for poor drainage and water pooling. Stunted growth in your heather plants can also signal underlying soil issues.
How to Test Soil Health for Spring Heather 🔬
Testing your soil is essential for understanding its health and suitability for planting. There are several effective methods to assess soil quality.
pH Testing Kits: How to Use and Interpret Results
Using a pH testing kit is straightforward. Simply follow the instructions to collect a soil sample, mix it with the provided solution, and compare the color change to the chart for accurate pH readings.
Soil Texture Tests: Simple DIY Methods
You can also perform a DIY soil texture test. Mix a sample of soil with water in a jar, shake it well, and let it settle. The layers that form will help you determine the soil's texture.
Common Soil Problems and Their Solutions 🛠️
Identifying soil problems is the first step toward effective remediation. Here are some common issues and their solutions.
Moldy Soil Solutions
To tackle moldy soil, first identify the causes, such as overwatering or poor air circulation. Improving drainage and aeration can significantly reduce mold growth.
Compaction Issues
Signs of compaction include a hard, dry surface that feels unyielding. Aeration techniques, like using a garden fork or aerator, along with soil amendments, can help alleviate compaction.
By understanding these signs and testing methods, you can ensure your soil is healthy and ready for your spring heather. Next, we’ll explore how to create a homemade soil mix tailored for optimal growth.
Creating a Homemade Soil Mix ((difficulty:moderate))
Step-by-Step Guide to Making a Suitable Soil Mix 🌱
Creating the perfect soil mix for your spring heather is straightforward. Start by gathering your materials: peat moss, pine bark, sand, and perlite.
Next, follow this mixing ratio: use 2 parts peat moss, 1 part pine bark, 1 part sand, and 1 part perlite.
Combine these ingredients thoroughly to ensure even distribution, which is crucial for healthy plant growth.
Recommended Ingredients for a Homemade Heather Soil Mix 🥬
Each ingredient plays a vital role in your soil mix.
- Peat moss provides acidity and retains moisture, essential for heather plants.
- Pine bark enhances drainage and aeration, preventing waterlogging.
- Sand improves soil texture and drainage, ensuring roots can breathe.
- Perlite increases aeration and prevents compaction, promoting healthy root development.
Tips for Adjusting Soil pH and Texture ⚖️
Adjusting soil pH is key to creating an optimal environment for your heather.
To lower pH levels, consider adding sulfur. This will help maintain the acidic conditions that heather thrives in.
If you need to raise pH, incorporate lime into your mix. Always test the pH after making adjustments to ensure you achieve the desired conditions.
With these steps, you’ll be well on your way to creating a homemade soil mix that supports vibrant spring heather.
Next, let’s explore soil amendments and enhancements to further boost your soil’s health.
Soil Amendments and Enhancements
🌱 Types of Amendments Beneficial for Spring Heather
To create a thriving environment for your spring heather, consider incorporating specific soil amendments.
Organic Matter: Compost and well-rotted manure are excellent choices. They enrich the soil, improve structure, and enhance moisture retention.
Acidifying Agents: Iron sulfate and elemental sulfur help lower soil pH, creating the acidic conditions that heather loves.
🛠️ How to Incorporate Organic Matter into the Soil
Mixing organic matter into your soil can significantly boost its health.
Layering vs. Mixing: Layering involves adding organic matter on top, while mixing integrates it throughout the soil. Mixing is generally more effective for even nutrient distribution.
Timing: The best time to add amendments is in early spring or fall. This allows the organic matter to break down and enrich the soil before planting.
🍂 Using Mulch to Improve Soil Conditions
Mulch is a game-changer for heather plants, providing multiple benefits.
Moisture Retention and Temperature Regulation: A good layer of mulch helps keep the soil moist and maintains a stable temperature, which is crucial for healthy root development.
Preventing Weed Growth and Soil Erosion: Mulch acts as a barrier against weeds and reduces soil erosion, keeping your heather safe and sound.
Recommended Mulch Types: Pine needles, bark chips, or shredded leaves are ideal choices. They not only look great but also contribute to the soil's health as they decompose.
Incorporating these amendments and enhancements will set your spring heather up for success. Next, let’s explore seasonal soil care practices to keep your plants thriving throughout the growing season.
Seasonal Soil Care
Best Practices for Soil Care in Spring 🌱
Spring is the perfect time to prepare your soil for planting. Start by tilling and aerating the soil to enhance its structure and promote healthy root growth.
Regularly monitor moisture levels to ensure your soil is hydrated but not waterlogged. This balance is crucial for the health of your spring heather.
Adjusting Soil Conditions for Seasonal Changes 🌡️
As the seasons change, so should your soil's pH levels. Test your soil regularly and make adjustments as needed to maintain optimal acidity for heather plants.
Nutrient replenishment is also essential. Implement a fertilization strategy that aligns with spring growth to ensure your plants thrive.
Preparing Soil for Spring Heather Before Planting 🌼
Before planting, clear away any debris to create a clean slate. Testing the pH and amending the soil accordingly will set the stage for successful growth.
Timing is everything. Aim to prepare your soil a few weeks before planting to ensure it’s in prime condition for your spring heather.
By following these practices, you'll create a nurturing environment that supports vibrant, healthy plants. Now, let’s dive into the next section on soil amendments and enhancements to further enrich your gardening journey!
⚠️ Safety First
This content is for general information and may contain errors, omissions, or outdated details. It is not medical, veterinary advice, or an endorsement of therapeutic claims.
Always consult a qualified healthcare professional before using any plant as food, medicine, or supplement.
Never eat any plant (or feed one to pets) without confirming its identity with at least two trusted sources.
If you suspect poisoning, call Poison Control (800) 222-1222, the Pet Poison Helpline (800) 213-6680, or your local emergency service immediately.
Spotted an error? Please report it here.
Ensure your spring heather flourishes with healthy soil 🌿—let Greg guide you with tailored tips and reminders for testing and amending your soil conditions!