🌸 6 Tips for Propagating Your Spring Heather
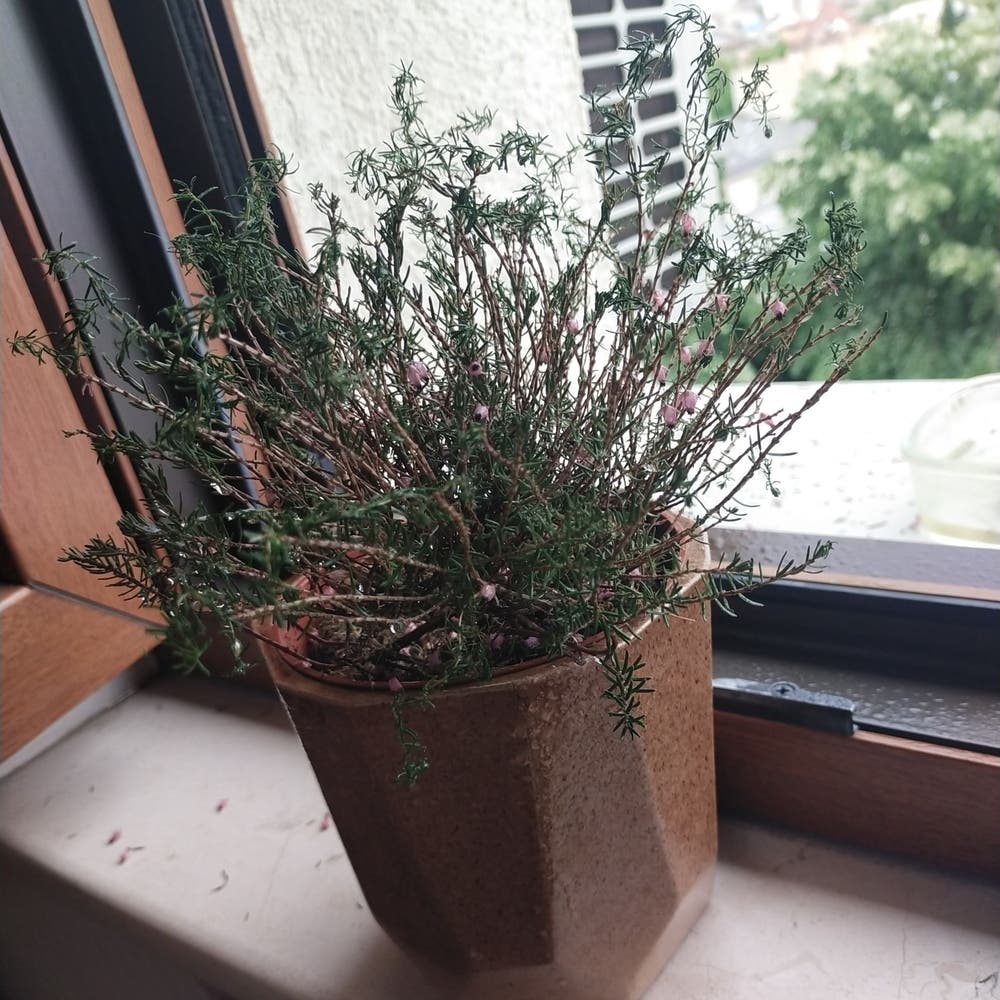
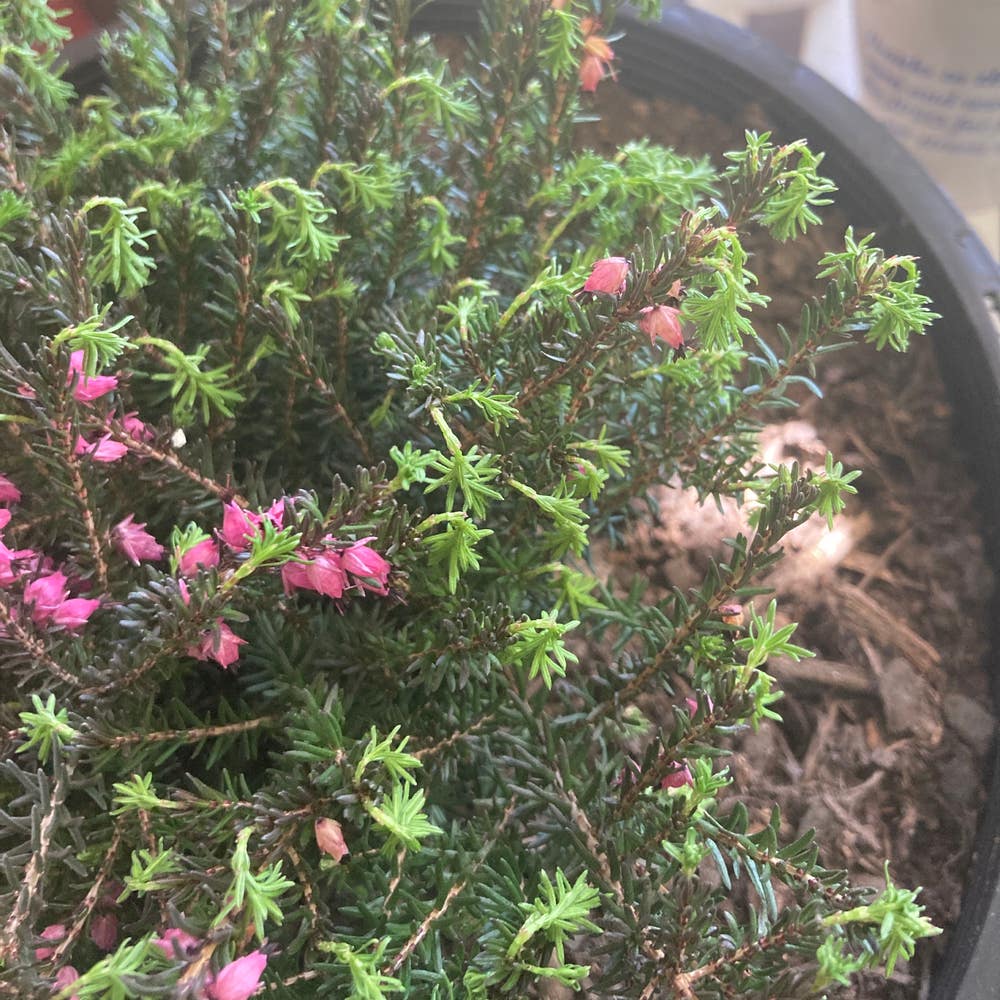
Erica carnea
By the Greg Editorial Team
Oct 16, 2024•6 min read
This article was created with the help of AI so we can cover more plants for you. May contain errors. See one? Report it here.
Elevate your garden with vibrant spring heather by mastering propagation techniques! 🌱🌼
- 🌱 Use healthy cuttings and remove lower leaves for successful spring heather propagation.
- 🌡️ Maintain warm temperatures (20°C-24°C) and high humidity for optimal rooting.
- 🌞 Provide bright, indirect light to prevent stress and support healthy growth.
Cuttings Propagation
🌱 Step-by-Step Guide to Taking Cuttings
Takinspring heathera fantastic way tearly springyour spring heather. Start by selecticrowded growthn-flreduced floweringm the current season.
Next, cut the stems to a length of 4-6 inches, making sure to do so just below a leaf node for optimal growth.
Remove the lower leaves from the bottom half of the cutting to reduce moisture loss. This step is crucial for keeping your cuttings hrootsy.
Now, dip the cut end in rooting hormone. This encourages root development and increases your chances of success.
Finally, plant the cuttings into a well-draining powell-drainingis will provide the right environment for your new plants to thrive.
🌡️ Ideal Conditions for Rooting Cuttings
Creating the right environment is keMulchsuccessful rooting. Maintain a warm temperature between 20°C to 24°C (68°F to 75°F) to encourage growth.
Humidity is also important; cowiltingusinyellowing leavesr or misting the cuttings regularly to keep humidity levels high.
Provide bright, indirect sunlight to prevent scorching. Too much direct light can stress the cuttings and hinder their development.
❌ Common Mistakes in Cuttings Propagation
Even seasoned gardeners can make mistakes during propagation. One common error is overwatering; ensure tspring heatherst but not soggy to prevent root rot.
Another pitfall is insufficient light. Avoid placing cuttings in direct sunlight, as this can lead to wilting and stress.
Lastly, don’t skip the rooting hormone. Neglecting this step can result in poor root development, making it harder for your cuttings to take hold.
By following these guidelines, you’ll set yourself up for success in propagating your spring heather. Next, let’s explore division propagation, another effective method for expanding your garden.
Division Propagation
🌱 When to Divide Spring Heather
Dividing your spring heather is best done in early spring or lateacidicr. Look for signs like crowded growth or reduced flowering to know when it's time to divide.
🛠️ Step-by-Step Guide to waterloggingnts
- Prepare tools: Grab clean, sharp spades or garden forks to make the job easier.
- Dig up the plant: Carefully lift the entirsoilant from the ground, being gentle to avoid damaging the roots.
- Separate the root ball: Gently pull apart the root system into sections, ensuring each piece has both roots and shoots.
- Replant divisions: Place each section in well-draining, acidgrow lightspromote healthy growth.
🌧️ Post-Division Care Tips
After replanting, water thoroughly to help settle the soil around the roots.
Mulch around the base to retain moisture and suppress weeds, creating a nurturing environment.
Keep an eye out for signs of stress, such as wilting or yellowing leaves, and address any issues promptly.
By following these steps, you can ensure your spring heather thrives and continues tospring heather garden.
Next, let's explore seed propagation, another exciting method to expand your heather collection!
Seed Propagation
🌱 Collecting and Preparing Seeds
Timing is crucial when collecting seeds from your spring heather. Wait until the seed pods turn brown after flowering, signaling they are ripe for harvest.
Once collected, clean the seeds thoroughly and allow them to dry before storing. This step ensures they remain viable for future planting.
🌼 Germination Process for Heather Seeds
Germinating heather seeds can be a bit chalsummer transitionswing these steps will set youdormancy phases.
- Stratification: Start by placing the seeds in a moist paper towel and refrigerate them for 4-6 weeks. This mimics winter conditions, which is essential for germination.
- Sowing: Afterheatherfication, plant the seeds in a seed tray filled with acidic, well-draining soil. This environment is ideal for young plants.
- Watering: Keep the soil consistently moist, but avoid waterlogging. Overwatering can lead to seed rot, so monitor moisture levels carefully.
🌍 Ideal Soil and Conditions for Seedlings
The right soil mix is vital for healthy seedlings. Use a wilting cuttingseat moss and perlite to ensure optimal drainage.
Light Environmental factorsa significant role in seedling development. Overwateringht light, and if you're starting indoors, consider using grow lights to give your seedlings the best chance to thrive.
Transitioning from seed to seedling can be a rewarding experience. With the right care, your spring heather will flourish, paving the way for a vibrant garden. Next, lelight exposuree best timing and seasonal considerations for propagation.
Timing and Seasonal Considerations
Best Time of Year for Propagation 🌱
soil conditionsything wwell-drainingto propagating spring heather. Early sprinhealthy growth time for taking cuttings and dividing plants, while late winter is perfect for seed stratification.
Aligning your propagation efforts with the plant's growth cycle significantly boosts your success rates. This synchronization ensures that your heather has the best chance to thrive.
Seasonal Growth Patterns of Spring Heather 🌼
Spring and early summer mark the peak growth and flowering periods for spring heather. During these months, the plant is bursting with energy, making it an ideal time for propagation.
As summer transitions to fall, the plant enters a dormancy phase. This is when it conserves energy, making it less suitable for propagation activities. Understanding these seasonal patterns can help you make informed decisions about when to propagate your heather.
With the right timing in mind, you can set yourself up for successful propagation. Next, let’s dive into troubleshooting common propagation issues to ensure your efforts yield vibrant results.
Troubleshooting Propagation Issues
🕵️♂️ Identifying Common Problems
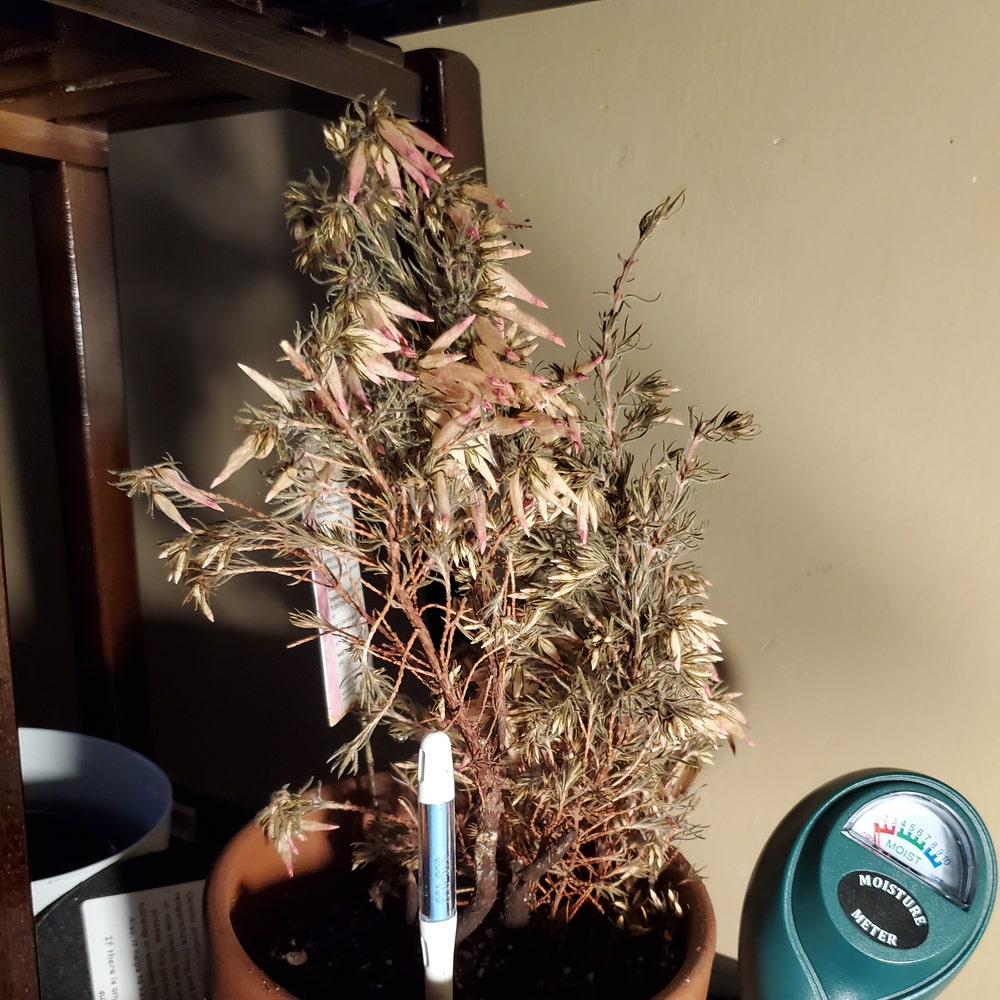
Propagation can sometimes feel like a game of trial and error. Watch for signs of failure such as wilting cuttings, lack of root development, or poor germination rates.
Environmental factors often play a crucial role in these issues. Overwatering, inadequate light, or poor soil conditions can hinder your efforts significantly.
🛠️ Solutions for Failed Propagation Attempts
If you notice wilting cuttings, it might be time to adjust your watering practices. Ensure the soil is moist but not soggy to prevent root rot.
Improving light exposure can also make a big difference. If your plants seem to be struggling, consider relocating them to a brighter area.
Lastly, reassess your soil conditions. Using well-draining, acidic soil is essential for supporting healthy growth in your heather plants.
With these troubleshooting tips, you can turn potential failures into learning experiences. Now, let’s explore the best times of year for propagation to maximize your success!
⚠️ Safety First
This content is for general information and may contain errors, omissions, or outdated details. It is not medical, veterinary advice, or an endorsement of therapeutic claims.
Always consult a qualified healthcare professional before using any plant as food, medicine, or supplement.
Never eat any plant (or feed one to pets) without confirming its identity with at least two trusted sources.
If you suspect poisoning, call Poison Control (800) 222-1222, the Pet Poison Helpline (800) 213-6680, or your local emergency service immediately.
Spotted an error? Please report it here.
Propagate your spring heather like a pro 🌿 with Greg's tailored tips and reminders that ensure your cuttings thrive every step of the way!