💧 Step-by-Step Guide to Treating Root Rot in Spring Heather
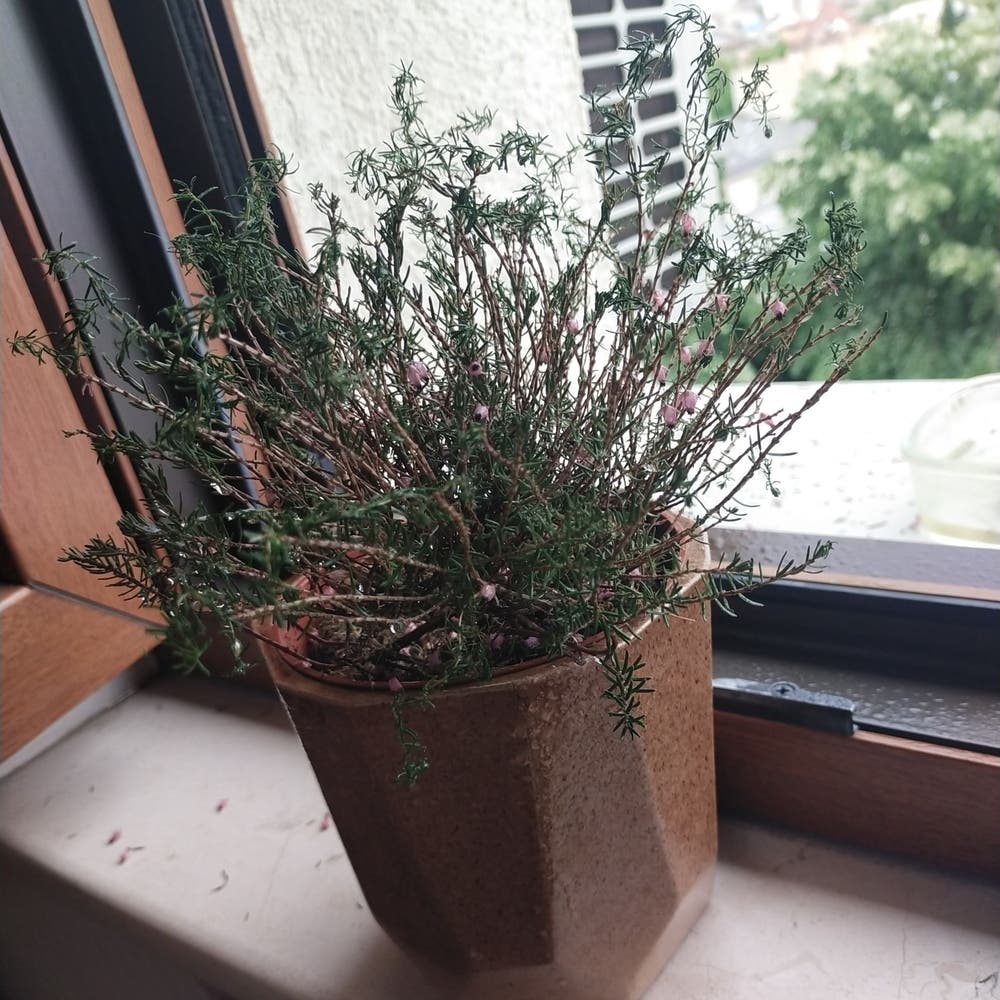
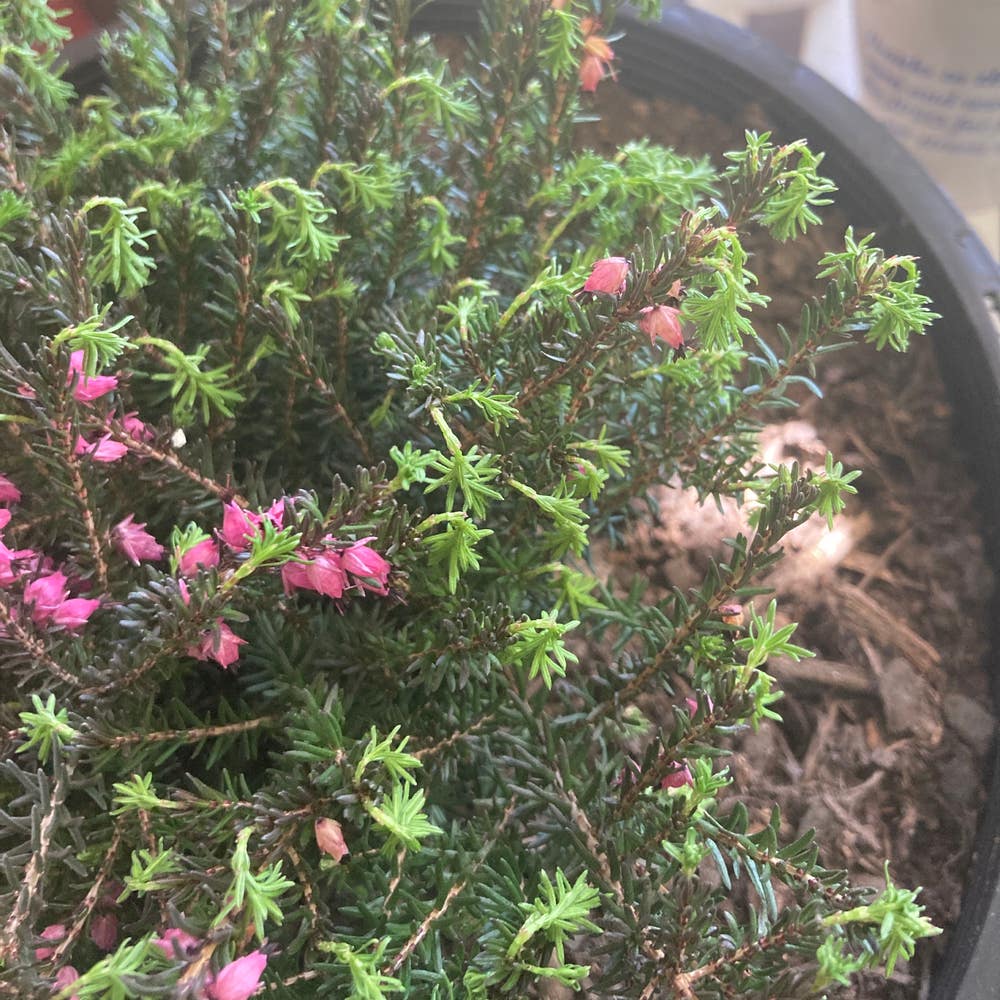
Erica carnea
By the Greg Editorial Team
Oct 16, 2024•4 min read
This article was created with the help of AI so we can cover more plants for you. May contain errors. See one? Report it here.
Rescue your Spring Heather from root rot 🌱 and cultivate a flourishing garden with these simple, effective steps! 🌼
- 🌱 Treat root rot by gently removing the plant and inspecting roots for damage.
- 💧 Use well-draining soil and pots with drainage holes to prevent future rot.
- 🔍 Regularly check for signs of root rot to catch issues early and ensure health.
Treating Root Rot
Step-by-Step Treatment Process 🌱
Remove the plant from its pot: Start by gently loosening the soil around the roots. This helps minimize stress on the plant.
Inspect the roots: Look for any blackened or mushy sections. Trim these away with sharp pruning shears to prevent further decay.
Clean the remaining healthy roots: Rinse the healthy roots with clean water. This removes any lingering soil and debris.
Prepare a new potting mix: Use a well-draining soil mix suitable for Spring Heather. This is crucial for promoting healthy growth.
Repot the plant: Place the plant in a clean pot with drainage holes. Ensure the roots are spread out to encourage proper growth.
Water sparingly: After repotting, allow the soil to dry slightly before the next watering. This helps prevent future root rot.
Tools and Materials Needed for Treatment 🛠️
Clean pot with drainage holes: Essential for preventing future rot. Without proper drainage, water can accumulate and cause issues.
Sharp pruning shears: Necessary for trimming damaged roots. A clean cut helps the plant heal more effectively.
Well-draining potting mix: Specifically formulated for acidic-loving plants like Spring Heather. This mix supports optimal growth conditions.
Watering can or spray bottle: Ideal for controlled watering. This allows you to manage moisture levels carefully.
By following these steps and using the right tools, you can effectively treat root rot in your Spring Heather. This proactive approach not only saves your plant but also sets the stage for healthier growth moving forward.
Next, let’s explore how to prevent root rot from occurring in the first place.
Preventing Root Rot
🌱 Best Soil Types for Spring Heather
To keep your Spring Heather thriving, use acidic, well-drained soils. Aim for a pH range of 4.5 to 6.0 to create the perfect environment for growth.
For optimal results, consider soil mixes that incorporate peat moss, perlite, and pine bark. These components enhance drainage and provide essential nutrients.
🚰 Watering Techniques to Avoid Root Rot
Watering frequency is crucial. Allow the top inch of soil to dry out between waterings to prevent excess moisture.
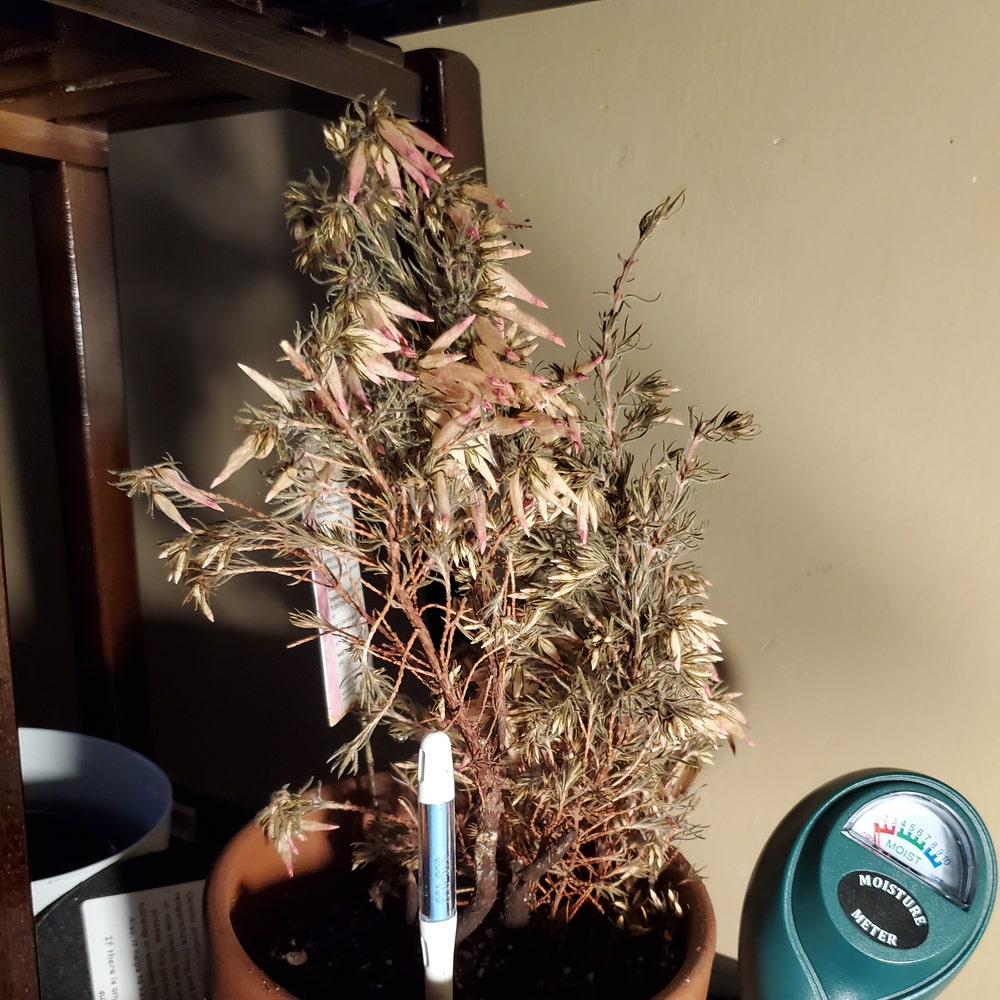
Using a moisture meter can help you gauge soil moisture levels accurately. This tool ensures you’re not overwatering, which is a common mistake.
Be vigilant for signs of overwatering, such as yellowing leaves or wilting. Recognizing these symptoms early allows you to adjust your care routine effectively.
🥣 Importance of Drainage in Pots and Garden Beds
Proper drainage is essential for preventing root rot. Ensure your pots have adequate drainage holes to avoid water accumulation.
When preparing garden beds, incorporate organic matter to improve soil structure. This practice enhances drainage and promotes healthy root development.
Consider using raised beds, especially in heavy soils. Elevation helps improve drainage and reduces the risk of root rot.
By following these guidelines, you can create a thriving environment for your Spring Heather. Next, let’s explore how to monitor plant health effectively.
Monitoring Plant Health
🕵️♂️ Regular Checks for Signs of Root Rot
To keep your Spring Heather thriving, conduct weekly inspections. Look for yellowing leaves or wilting, as these can be early indicators of root rot.
During repotting, take the time to assess root health. A quick check can reveal any underlying issues that need addressing.
🌦️ Seasonal Considerations for Spring Heather Care
As the seasons change, so should your watering routine. In cooler months, reduce watering frequency to prevent excess moisture.
Fertilization is also key. Use a balanced fertilizer during the growing season to support healthy growth and resilience.
🌍 Adjusting Care Based on Environmental Conditions
Humidity can impact your plant's health significantly. In high humidity environments, increase air circulation to prevent mold and rot.
Temperature fluctuations can stress your Spring Heather. Protect it from extreme cold or heat to ensure it remains healthy and vibrant.
By staying vigilant and adjusting care based on these factors, you can help your Spring Heather flourish. Next, let’s explore how to prevent root rot effectively.
⚠️ Safety First
This content is for general information and may contain errors, omissions, or outdated details. It is not medical, veterinary advice, or an endorsement of therapeutic claims.
Always consult a qualified healthcare professional before using any plant as food, medicine, or supplement.
Never eat any plant (or feed one to pets) without confirming its identity with at least two trusted sources.
If you suspect poisoning, call Poison Control (800) 222-1222, the Pet Poison Helpline (800) 213-6680, or your local emergency service immediately.
Spotted an error? Please report it here.
Treating root rot in your Spring Heather can lead to a thriving 🌿 plant, and with Greg's tailored watering alerts and moisture tracking, you'll have everything you need to keep it healthy and happy!