🌸 Best Practices for Repotting Spring Heather
Erica carnea
By the Greg Editorial Team
Oct 16, 2024•5 min read
This article was created with the help of AI so we can cover more plants for you. May contain errors. See one? Report it here.
Revitalize your spring heather 🌸 with this quick repotting guide for stunning blooms all season long!
- 🌱 Repot in early spring for best growth and blooming results.
- 🧼 Use a clean pot with drainage holes to prevent waterlogging.
- 🔍 Inspect roots and trim damaged ones for healthier plants.
Repotting Process for Spring Heather
🌱 Step-by-Step Guide to Repotting
Choose the Right Time: The best time to repot spring heather is early spring, just before blooming begins. This timing helps the plant adjust and thrive in its new environment.
Prepare the New Pot: Ensure your new pot is clean and has adequate drainage holes. This will prevent waterlogging, which can harm your plant.
Remove the Plant: Gently loosen the soil around the edges of the old pot. Carefully lift the plant out, taking care not to damage the roots during this process.
Inspect the Roots: Check for any dead or damaged roots and trim them away. If the plant is root-bound, gently tease apart the roots to encourage growth.
Place in New Pot: Position the plant at the same depth it was in the old pot. Fill in with fresh potting mix, ensuring there are no air pockets that could hinder root growth.
Water Thoroughly: After repotting, water the plant until water drains from the bottom. This helps the soil settle and ensures the roots have access to moisture.
🪴 Choosing the Right Pot
Best Materials for Pots
-
- Pros: Breathable and helps with moisture control.
- Cons: Can dry out quickly and may crack in frost.
-
- Pros: Lightweight and retains moisture well.
- Cons: Less breathable, which can lead to root rot if drainage is inadequate.
Ceramic:
- Pros: Offers aesthetic appeal and retains moisture.
- Cons: Heavy, often expensive, and may lack drainage holes.
⚖️ Pros and Cons of Each Pot Material for Spring Heather
- Terracotta: Ideal for cooler climates; however, it requires close monitoring of moisture levels.
- Plastic: Great for beginners, but ensure proper drainage to avoid issues.
- Ceramic: Best for decorative purposes; always check for drainage options before purchasing.
Understanding the right pot and materials is crucial for the health of your spring heather. With the right preparation and care, your plant will flourish in its new home.
Next, we’ll explore the ideal soil mix and drainage considerations to ensure your spring heather thrives.
Soil and Drainage Considerations
Ideal Soil Mix for Repotting Spring Heather 🌱
Creating the right soil mix is crucial for the health of your spring heather. Aim for a blend that consists of 50% peat moss or coconut coir, 25% perlite for aeration, and 25% pine bark to maintain acidity.
Maintaining a pH level between 4.5 and 6.0 is essential for optimal growth. This specific range supports nutrient absorption, ensuring your plant thrives.
Importance of Drainage and How to Achieve It 🚰
Proper drainage is vital to prevent waterlogging, which can lead to root rot. Always ensure your pot has drainage holes to facilitate excess water flow.
To enhance drainage, consider using a layering technique. Place gravel or small stones at the bottom of the pot before adding your soil mix.
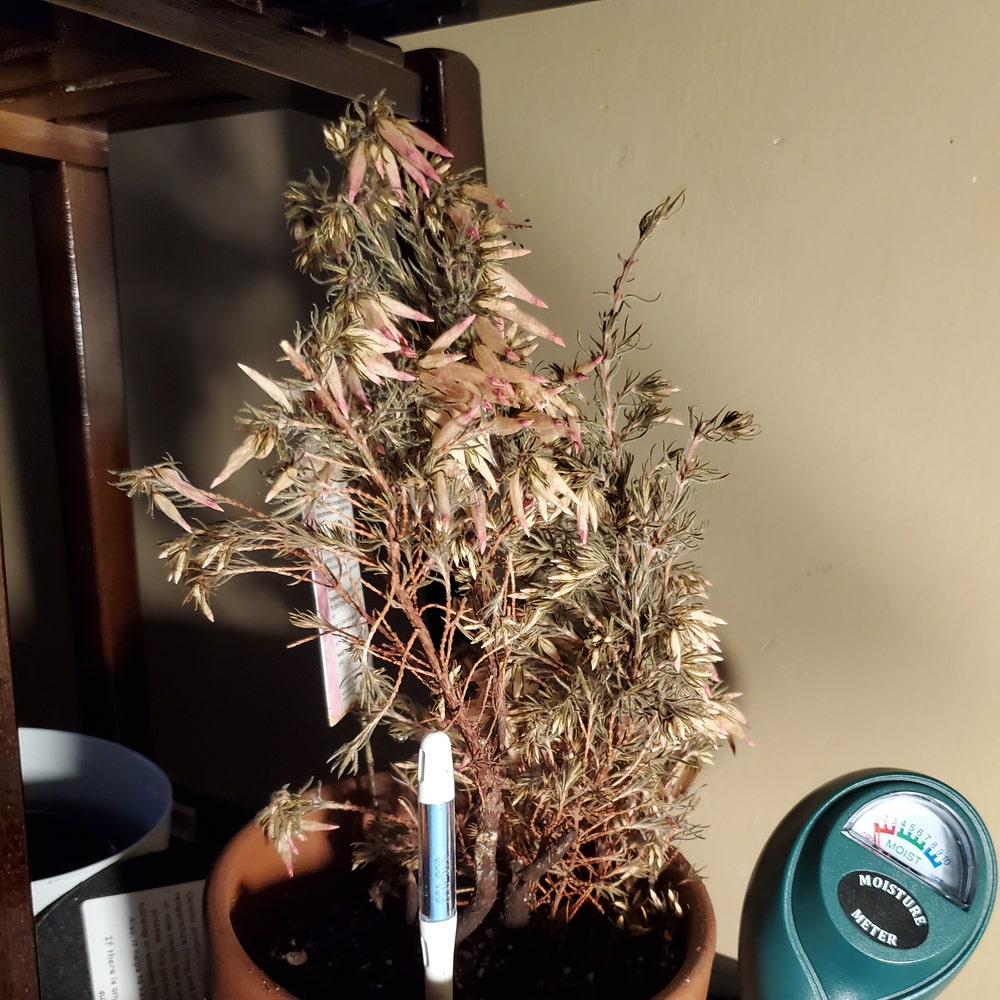
Monitoring moisture levels is equally important. A moisture meter can be a handy tool to help you gauge when your spring heather needs watering, ensuring it stays healthy and vibrant.
With the right soil mix and drainage practices in place, your spring heather will be set up for success. Next, let’s explore post-repotting care to keep your plant flourishing.
Post-Repotting Care
🧐 Common Issues to Watch for After Repotting
After repotting your spring heather, it's crucial to keep an eye out for potential issues. One of the most common signs of trouble is wilting or yellowing leaves, which often indicate overwatering or stress.
Another concern is pest infestations. Be vigilant for signs of pests like aphids or spider mites, as they can quickly damage your newly repotted plant. Regularly inspect the leaves and stems to catch any infestations early.
🔍 Quick Tips for Monitoring Plant Health
- Check Soil Moisture: Use your finger to feel the soil; it should be moist but not soggy.
- Observe Leaf Color: Healthy leaves should be vibrant and green. Any discoloration is a red flag.
- Inspect for Pests: Look closely at the undersides of leaves and along stems for any unwanted visitors.
By staying proactive and attentive, you can help your spring heather thrive after its transition. This vigilance will set the stage for a healthy growing season ahead.
Next, let’s dive into troubleshooting common repotting issues to ensure your plant remains in top shape.
Troubleshooting Repotting Issues
🌱 Addressing Root-Bound Problems
Recognizing root-bound issues is crucial for your spring heather's health. If you notice roots tightly coiled and unable to absorb water, it’s a clear sign your plant needs attention.
To resolve this, repot your heather into a larger container. Trim any excessively long or damaged roots to encourage new growth and improve water absorption.
😟 Signs of Stress After Repotting and How to Mitigate
After repotting, your heather may show signs of stress. Common indicators include dropping leaves and a lack of blooms, which can be concerning.
To help your plant recover, adjust your watering routine. Providing some shade can also reduce stress, and it's best to avoid fertilizing until your heather shows signs of improvement.
By staying vigilant and responsive, you can ensure your spring heather thrives post-repotting. Next, let’s explore the essential post-repotting care to keep your plant healthy and vibrant.
⚠️ Safety First
This content is for general information and may contain errors, omissions, or outdated details. It is not medical, veterinary advice, or an endorsement of therapeutic claims.
Always consult a qualified healthcare professional before using any plant as food, medicine, or supplement.
Never eat any plant (or feed one to pets) without confirming its identity with at least two trusted sources.
If you suspect poisoning, call Poison Control (800) 222-1222, the Pet Poison Helpline (800) 213-6680, or your local emergency service immediately.
Spotted an error? Please report it here.
Repot your spring heather like a pro 🌼 by using Greg's tailored reminders and moisture checks to keep it thriving all season long!