🌼 Propagating Malva: Step-by-Step Guide
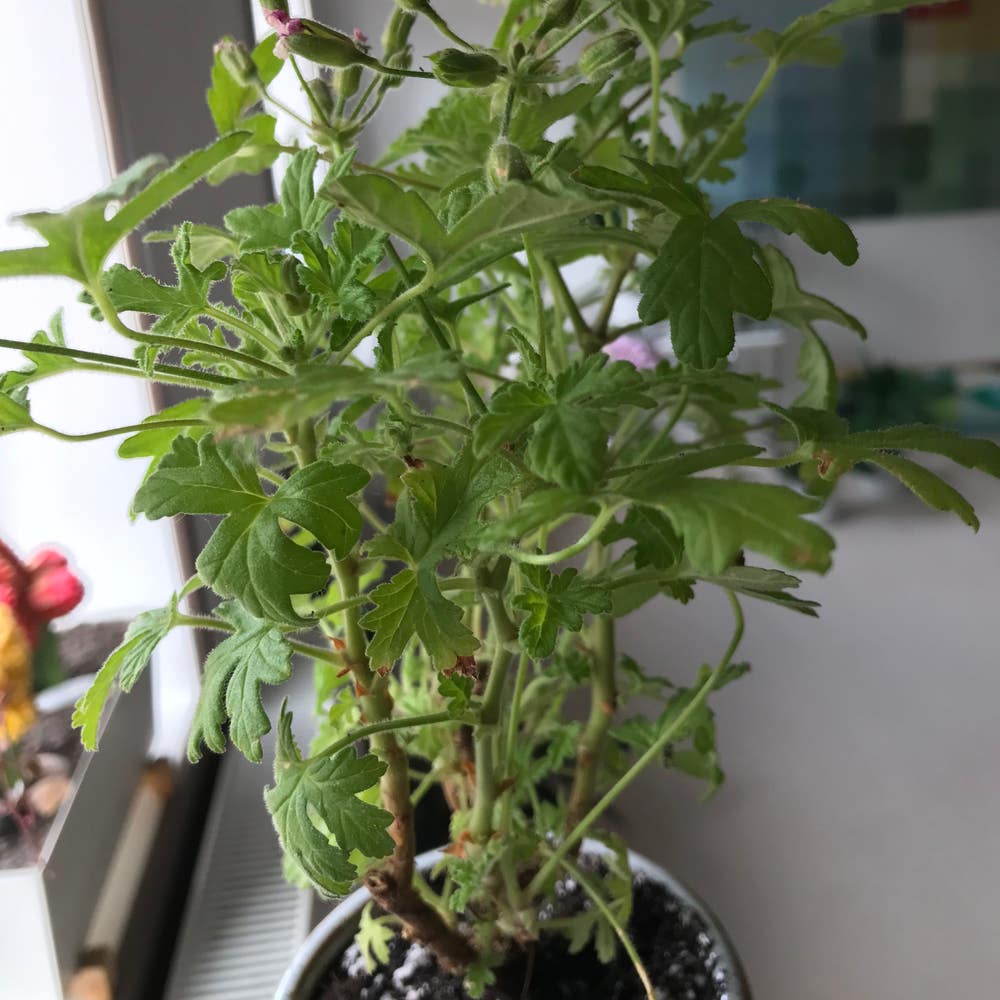
Malva clementii
By the Greg Editorial Team
Nov 08, 2024•6 min read
This article was created with the help of AI so we can cover more plants for you. May contain errors. See one? Report it here.
- 🌱 Harvest Malva seeds in late summer for optimal germination success.
- 🌞 Sow seeds in spring or late summer for best growth results.
- 🌿 Use fresh cuttings and humidity to enhance propagation success.
Propagating from Seeds
🌱 Step-by-Step Guide for Seed Collection
Collecting seeds from Malva is straightforward and rewarding. The best time to gather seeds is late summer to early fall, when the seed pods are dry and ready for harvest.
To collect seeds, follow these steps:
- Identify mature seed pods on the plant.
- Use clean, sharp scissors to cut the pods.
- Place the pods in a paper bag to dry further for 1-2 weeks.
- Once dry, gently crush the pods to release the seeds.
🌞 Ideal Conditions for Seed Germination
Creating the right environment for seed germination is crucial for success. Start with well-draining, fertile soil that has a pH between 6.0 and 7.0.
Seeds thrive in full sun, so ensure they receive 6-8 hours of sunlight daily. Additionally, maintain a temperature range of 18°C to 24°C (65°F to 75°F) for optimal germination results.
⏰ Timing for Sowing Seeds
Timing your sowing can significantly impact your plant's growth. The best time to sow Malva seeds is early spring after the last frost or late summer for a fall planting.
Here’s how to sow your seeds effectively:
- Prepare the seedbed by loosening the soil and removing any debris.
- Sow seeds 1/4 inch deep, spacing them 12 inches apart.
- Water gently to avoid displacing the seeds.
With these steps, you’ll be well on your way to cultivating beautiful Malva plants from seeds. Next, let’s explore how to propagate Malva through cuttings for even more growth opportunities.
Propagating from Cuttings
🌱 Selecting the Right Cuttings
To successfully propagate Malva, start by selecting cuttings that are 4-6 inches long from healthy stems. The best time to take these cuttings is early morning when the plants are well-hydrated and full of vigor.
✂️ Preparing Cuttings for Propagation
Preparation is key for successful rooting. Trim the lower leaves from the bottom half of each cutting to reduce moisture loss. Make a clean cut at an angle just below a node; this encourages rooting and increases your chances of success.
🌿 Rooting Hormone Application
Using rooting hormone can significantly boost your propagation efforts. Simply dip the cut end of the cutting into rooting hormone powder before planting. This step enhances root development, giving your cuttings a better chance to thrive.
🌞 Ideal Conditions for Rooting Cuttings
Creating the right environment for your cuttings is crucial. Use small pots or trays filled with a well-draining potting mix to prevent waterlogging.
To maintain humidity, cover the cuttings with a plastic bag or dome, which helps create a mini-greenhouse effect. Additionally, provide indirect sunlight to avoid scorching the delicate cuttings while they establish roots.
By following these steps, you’ll set your Malva cuttings up for success. Next, let’s explore how to propagate Malva through division, another effective method for expanding your garden.
Propagating by Division
🌱 Identifying the Right Time for Division
The best time to divide your Malva plants is during early spring or fall. This timing is crucial as it allows the plants to recover without the stress of active blooming.
Look for signs that indicate your plants are ready for division. Overcrowded growth or reduced flowering are clear indicators that it’s time to give your Malva some space.
🛠️ Step-by-Step Division Process
- Prepare your tools: Grab a clean, sharp spade or garden fork to ensure a smooth process.
- Carefully dig around the plant: Gently lift the entire root ball from the ground, being cautious not to damage the roots.
- Divide the root ball: Use your spade to cut the root ball into sections, ensuring each piece has both roots and shoots.
- Replant immediately: Place the divisions in prepared holes, ensuring they are spaced 12-18 inches apart for optimal growth.
🌿 Post-Division Care
After dividing, your Malva will need some extra TLC. Keep the soil consistently moist for the first few weeks to help them establish.
Consider applying a layer of mulch around the plants. This will help retain moisture and suppress any pesky weeds that might compete for resources.
Finally, keep an eye on your newly divided plants. Watch for signs of stress, such as wilting or yellowing leaves, and address any issues promptly to ensure a healthy recovery.
With the right timing and care, your Malva will thrive in its new arrangement, setting the stage for a vibrant display in your garden. Next, let’s explore some common challenges you might face during propagation and how to overcome them.
Common Challenges in Propagation
🌱 Issues with Seed Germination
Seed germination can be a tricky process, and several factors can lead to poor results. Common reasons include using old seeds, inadequate moisture, or incorrect temperature settings.
Common Reasons for Poor Germination Rates
- Old Seeds: Seeds lose viability over time, making them less likely to sprout.
- Inadequate Moisture: Seeds need consistent moisture to germinate effectively.
- Incorrect Temperature: Each seed type has a specific temperature range for optimal germination.
Solutions to Improve Germination
To enhance your chances of successful germination, consider these tips:
- Use Fresh Seeds: Always opt for seeds that are within their viability period.
- Pre-soak Seeds: Soaking seeds for 24 hours before planting can jumpstart the germination process.
- Maintain Consistent Moisture: Keep the soil evenly moist but not waterlogged to support healthy growth.
🌿 Problems with Rooting Cuttings
Rooting cuttings can also present challenges, especially if conditions aren't ideal. Recognizing the signs of unsuccessful rooting early can help you take corrective action.
Signs of Unsuccessful Rooting
Look out for these indicators that your cuttings may not be thriving:
- Wilting: A clear sign that the cutting is not absorbing enough water.
- Yellowing Leaves: This can indicate stress or poor health in the cutting.
- Mold Growth: Excess moisture can lead to mold, which is detrimental to rooting.
Troubleshooting Tips for Cuttings
If you notice any of these signs, try these solutions:
- Ensure Proper Humidity Levels: Cover cuttings with a plastic bag or dome to maintain humidity.
- Check for Adequate Drainage: Make sure your potting mix allows excess water to escape.
- Avoid Overwatering: Too much water can lead to root rot, so water sparingly.
✂️ Division Challenges
Dividing plants can rejuvenate them, but it can also lead to stress if not done correctly. Recognizing stress symptoms early can help you mitigate issues.
Recognizing Stress in Divided Plants
Watch for these symptoms that indicate your divided plants may be struggling:
- Wilting: Indicates that the plant is not taking up enough water.
- Stunted Growth: A lack of new growth can signal stress.
- Leaf Drop: Losing leaves can be a sign that the plant is in distress.
Recovery Strategies for Divided Plants
To help your plants recover after division, consider these strategies:
- Provide Extra Care: Ensure consistent watering and consider adding nutrients to the soil.
- Avoid Direct Sunlight: Keep newly divided plants in a shaded area until they establish.
- Monitor for Pests or Diseases: Stress can make plants more susceptible to pests and diseases, so keep a close eye on their health.
With these insights, you can navigate the common challenges in propagating Malva and set your plants up for success. Next, let’s explore the exciting world of propagating from cuttings!
⚠️ Safety First
This content is for general information and may contain errors, omissions, or outdated details. It is not medical, veterinary advice, or an endorsement of therapeutic claims.
Always consult a qualified healthcare professional before using any plant as food, medicine, or supplement.
Never eat any plant (or feed one to pets) without confirming its identity with at least two trusted sources.
If you suspect poisoning, call Poison Control (800) 222-1222, the Pet Poison Helpline (800) 213-6680, or your local emergency service immediately.
Spotted an error? Please report it here.
Transform your garden into a Malva paradise 🌼 with Greg's tailored watering alerts and expert tips that ensure your propagation efforts bloom beautifully!