🩹 How to Fix Root Rot in Your Malva
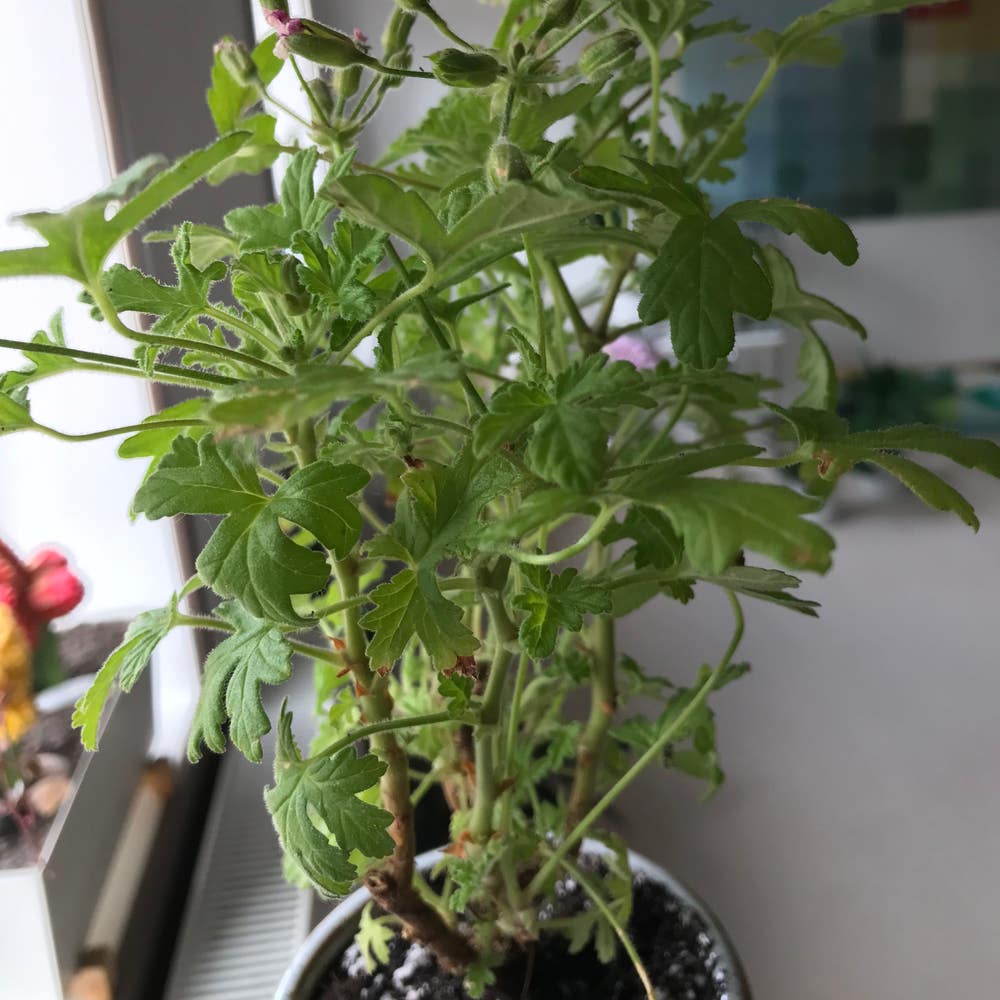
Malva clementii
By the Greg Editorial Team
Nov 08, 2024•6 min read
This article was created with the help of AI so we can cover more plants for you. May contain errors. See one? Report it here.
- 🌱 Yellowing leaves and wilting signal root rot in your Malva.
- 🧪 Inspect roots: healthy ones are firm and white; dark, mushy roots indicate rot.
- 🥣 Repot in well-draining soil and adjust watering to prevent future root rot.
Identifying Root Rot in Malva
🟡 Symptoms of Root Rot
Recognizing root rot in your Malva starts with observing its leaves. Yellowing leaves are often the first sign of root health issues, indicating that something is amiss below the surface.
Another telltale symptom is wilting, even when you’ve watered adequately. This paradox can be frustrating, but it’s a clear sign of root distress. Additionally, stunted growth can signal that root rot is impacting your plant's overall vigor, preventing it from thriving.
🔍 How to Inspect Roots for Rot
To confirm root rot, you’ll need to inspect the roots directly. Begin by gently removing the plant from its pot, taking care to avoid further damage during this process.
Once out, examine the root system closely. Healthy roots should be firm and white, while dark, mushy roots indicate rot. Next, assess the soil condition; excessive moisture and compactness can contribute to root rot, making it crucial to check for these factors.
⚖️ Differentiating Root Rot from Other Issues
It's essential to differentiate root rot from other potential problems. Start by comparing symptoms; nutrient deficiencies can mimic root rot, so look for specific signs that point to one issue over the other.
Pest infestations can also create symptoms similar to root rot. Therefore, a thorough root inspection is vital to confirm a diagnosis. By examining the roots physically, you can ensure you’re addressing the right problem and not misdiagnosing your Malva's distress.
With these insights, you’re better equipped to tackle root rot effectively. Next, we’ll explore how to treat this condition and restore your Malva to health.
Treating Root Rot in Malva
🛠️ Step-by-Step Guide to Treatment
Dealing with root rot in your Malva can feel daunting, but with a clear plan, you can revive your plant. Start by gently removing the affected plant from its pot, taking care not to damage the roots further.
Next, inspect the root system closely. Trim away any dark, mushy roots using sterilized scissors to prevent spreading pathogens. This step is crucial for the plant's recovery.
Once you've removed the rotten roots, disinfect the remaining healthy roots. Soak them in a fungicide solution for 10-15 minutes to eliminate any lingering threats.
Finally, repot your Malva in fresh, well-draining soil. Make sure to choose a pot with drainage holes to prevent future issues.
🧴 Recommended Treatments and Products
When it comes to treating root rot, the right products can make all the difference. Fungicides are a primary option; look for those specifically designed for root rot and follow the application instructions carefully.
Soil amendments can also help. Adding materials like perlite or sand improves drainage, creating a healthier environment for your Malva.
For those who prefer organic solutions, consider natural remedies. Ingredients like cinnamon or neem oil can be effective in combating root rot without harsh chemicals.
🌱 How to Repot Malva Affected by Root Rot
Repotting is a critical step in your Malva's recovery. Start by selecting a suitable pot that has adequate drainage to prevent future rot.
Prepare a fresh soil mix by combining potting soil with drainage-enhancing materials. This will create a supportive environment for your plant.
When replanting, position the Malva at the same depth as before to ensure it continues to thrive.
After repotting, water lightly to avoid overwatering. This cautious approach helps your plant adjust without overwhelming it.
With these steps, you can effectively treat root rot and set your Malva on the path to recovery. Next, let’s explore how to prevent root rot from occurring in the first place.
Preventing Root Rot in Malva
🌊 Best Practices for Watering
Establishing a proper watering schedule is crucial for preventing root rot in Malva. Aim to water your plant when the top inch of soil feels dry, typically every 5 to 7 days, depending on environmental conditions.
Be vigilant for signs of overwatering, such as yellowing leaves or a soggy soil surface. Adjust your watering habits if you notice these symptoms to keep your Malva thriving.
🧪 Importance of Soil Drainage
Well-draining soil is essential for the health of your Malva. The ideal soil composition includes a mix of potting soil, perlite, and sand to promote airflow and prevent water retention.
To test soil drainage, perform a simple drainage test by watering the soil and observing how quickly excess water flows out of the drainage holes. If water pools on the surface, it’s time to amend your soil.
Amending soil for better drainage can involve mixing in materials like perlite or coarse sand. This adjustment helps create a more suitable environment for your plant's roots.
🪴 Choosing the Right Pot
Selecting the right pot is another key factor in preventing root rot. Ensure your pot is appropriately sized; a pot that’s too small can overcrowd the roots, leading to stress and potential rot.
Always choose pots with adequate drainage holes. This feature allows excess water to escape, reducing the risk of waterlogged soil and promoting healthy root growth.
By following these best practices, you can significantly reduce the risk of root rot in your Malva. With proper care and attention, your plant will flourish, setting the stage for a smooth transition into monitoring for early signs of root rot.
Monitoring for Early Signs of Root Rot
👀 Regular Visual Checks
Keeping an eye on your Malva is crucial for early detection of root rot. Start by observing the leaves; yellowing or wilting can signal underlying issues.
Next, monitor growth patterns. If your plant seems stunted or is not thriving, it may be time to investigate further.
🌧️ Soil Moisture Testing
Soil moisture testing is another essential practice. Using moisture meters can help you gauge the soil's wetness accurately, preventing overwatering.
This simple tool can save your plant from drowning in excess moisture, a common cause of root rot.
📓 Keeping a Care Journal
Documenting changes in your plant's health can be a game-changer. A care journal allows you to track watering schedules, growth patterns, and any symptoms of distress.
This record not only helps you identify issues early but also enhances your overall plant care routine. By staying organized, you can make informed decisions that keep your Malva thriving.
Incorporating these monitoring practices will empower you to catch root rot before it takes hold. With vigilance and care, your Malva can flourish beautifully.
⚠️ Safety First
This content is for general information and may contain errors, omissions, or outdated details. It is not medical, veterinary advice, or an endorsement of therapeutic claims.
Always consult a qualified healthcare professional before using any plant as food, medicine, or supplement.
Never eat any plant (or feed one to pets) without confirming its identity with at least two trusted sources.
If you suspect poisoning, call Poison Control (800) 222-1222, the Pet Poison Helpline (800) 213-6680, or your local emergency service immediately.
Spotted an error? Please report it here.
Revive your Malva from root rot and keep it thriving 🌱 with Greg's tailored watering reminders and soil moisture tests to ensure your plant's health!