5 Tips for Propagating Your Living Stone 🪨
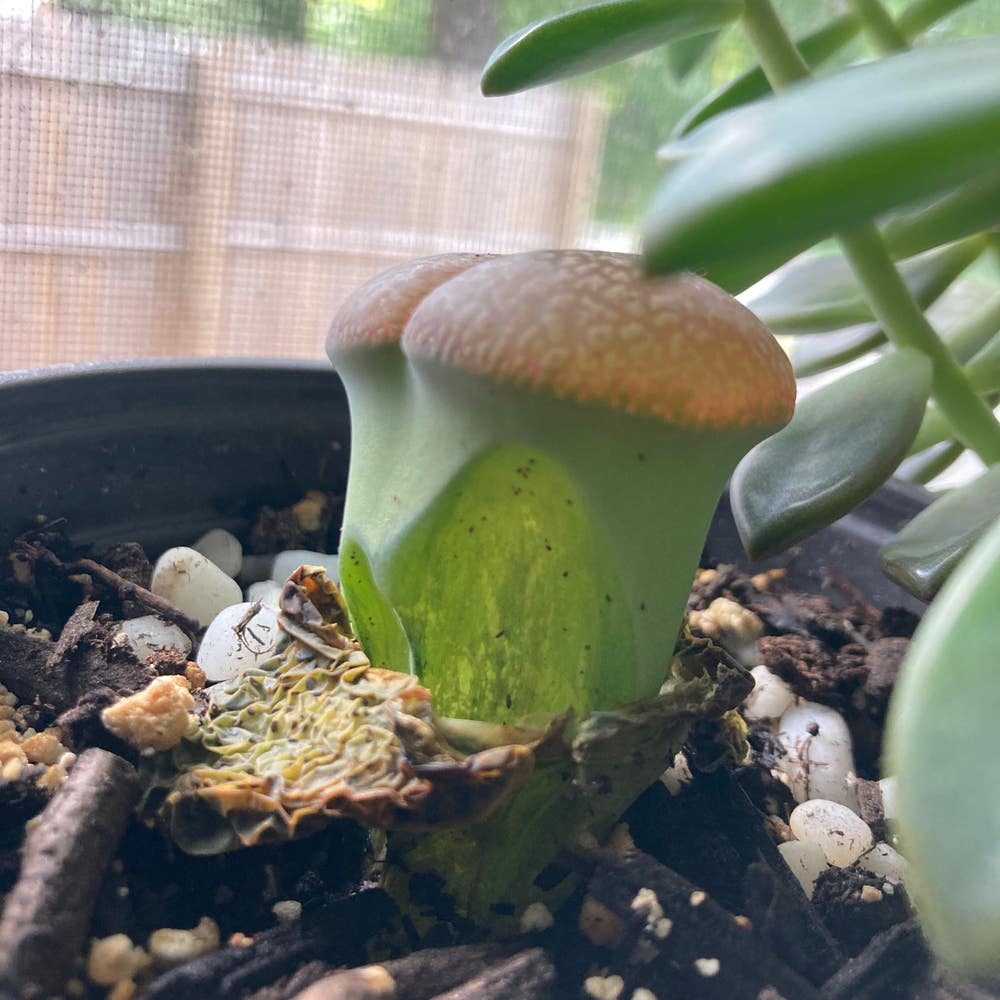
Lithops aucampiae
By the Greg Editorial Team
Oct 18, 2024•5 min read
This article was created with the help of AI so we can cover more plants for you. May contain errors. See one? Report it here.
Master Lithops propagation 🌱 with expert tips on seeds, cuttings, and divisions for a thriving collection!
- 🌱 Gather seeds from reputable sources for successful Lithops propagation.
- 🌞 Maintain bright, indirect sunlight to prevent scorching young seedlings.
- 💧 Water sparingly and let soil dry to avoid overwatering and root rot.
Propagating Lithops from Seeds
🌱 Step-by-Step Instructions
1. Gathering Seeds
Start by sourcing seeds from reputable suppliers or collect them from mature Lithops. This ensures you have viable seeds for successful propagation.
2. Preparing the Soil
Use a well-draining soil mix, ideally a cactus or succulent blend. Aim for a slightly acidic to neutral pH, between 6.0 and 7.0, to create the best environment for growth.
3. Sowing Seeds
Sow the seeds directly on the surface of the soil without covering them. Lightly mist the soil with a spray bottle to avoid displacing the seeds.
4. Creating Ideal Conditions
Cover the container with a clear plastic lid or plastic wrap to maintain humidity. Place it in a warm spot with bright, indirect sunlight for optimal growth.
5. Germination Timeline
Under ideal conditions, expect germination within 2 to 3 weeks. Patience is key as you watch your seeds transform into seedlings.
🌞 Ideal Conditions for Germination
Temperature
Maintain a temperature range of 20°C to 25°C (68°F to 77°F). This warmth encourages healthy growth.
Humidity
Keep humidity levels high until the seedlings are well-established. This helps prevent them from drying out.
Light
Provide bright, indirect sunlight to prevent scorching. Too much direct light can harm young seedlings, so monitor their exposure closely.
By following these steps and conditions, you'll be well on your way to successfully propagating Lithops from seeds. Next, let’s explore how to propagate these fascinating plants through leaf cuttings.
Leaf Cuttings for Propagation
🌿 How to Select and Prepare Cuttings
Choosing the right leaves is crucial for successful propagation. Opt for healthy, mature leaves from the parent plant, steering clear of any that show signs of damage or disease.
Once you've selected your leaves, it's time to prepare them. Use a clean, sharp knife to cut the leaves at the base. After cutting, allow the cuttings to callous for 1-2 days in a dry, shaded area to prevent rot.
🌱 Rooting Process and Care
Planting cuttings
Place your cuttings in a well-draining soil mix, burying them slightly to secure them in place.Watering techniques
Water sparingly; it's essential to let the soil dry out completely between waterings to avoid overwatering.Creating a suitable environment
Position the cuttings in bright, indirect sunlight. To maintain humidity, cover them with a clear plastic bag for the first few weeks.Rooting timeline
Expect roots to develop within 3-4 weeks under optimal conditions. Keep an eye on them, and you'll soon see new growth!
By following these steps, you'll be well on your way to successfully propagating Lithops through leaf cuttings. Next, let’s explore division propagation, another effective method for expanding your collection.
Division Propagation
🌱 Identifying Suitable Plants for Division
When considering division propagation, look for mature Lithops that boast multiple heads or offsets. A healthy, well-established plant is crucial for successful division, ensuring each part can thrive independently.
✂️ Step-by-Step Division Process
Preparing the plant
Gently remove the plant from its pot, taking care not to damage the roots. This step is vital for maintaining the plant's health.Dividing the plant
Use a clean knife to separate the offsets or heads. Make sure each division has roots attached to increase the chances of survival.Replanting divisions
Plant each division in its own pot filled with a well-draining soil mix. This helps prevent root rot and promotes healthy growth.Post-division care
Water lightly after replanting and place the pots in a location with bright, indirect light. This will help the divisions acclimate and establish themselves.
By following these steps, you can successfully propagate your Lithops through division, ensuring a thriving collection of these unique plants. Next, let’s explore common mistakes to avoid during propagation to enhance your success rate.
Common Mistakes in Lithops Propagation
💧 Overwatering Issues
Overwatering is a common pitfall for many Lithops enthusiasts. Symptoms include yellowing leaves and a mushy texture, signaling that your plant is in distress.
To prevent this, allow the soil to dry out completely before watering again. Lithops thrive in dry conditions, so err on the side of caution.
🌱 Incorrect Soil Types
Using the wrong soil can lead to serious problems. Well-draining soil is crucial; it prevents root rot and promotes healthy growth.
Opt for cactus or succulent-specific soil blends. These mixes are designed to provide the right balance of drainage and moisture retention, ensuring your Lithops flourish.
📝 Final Thoughts
By avoiding these common mistakes, you can significantly improve your success in propagating Lithops. Next, let’s explore the best time of year for propagation to maximize your efforts.
Best Time of Year for Propagation
🌱 Seasonal Considerations for Successful Propagation
Timing is everything when it comes to propagating Lithops. The ideal seasons for this process are late spring to early summer, as these are the periods when your plants are actively growing.
Avoid attempting propagation during dormancy, which typically occurs in late fall to winter. This is crucial for ensuring higher success rates, as the plants are less likely to thrive during their resting phase.
🌡️ Monitoring Environmental Conditions
Keep a close eye on environmental conditions during propagation. Ensure that temperatures are warm and humidity levels are conducive to growth, as these factors significantly impact the success of your efforts.
By paying attention to these seasonal cues and conditions, you set yourself up for a thriving Lithops propagation experience. Next, let’s explore common mistakes to avoid in this journey.
⚠️ Safety First
This content is for general information and may contain errors, omissions, or outdated details. It is not medical, veterinary advice, or an endorsement of therapeutic claims.
Always consult a qualified healthcare professional before using any plant as food, medicine, or supplement.
Never eat any plant (or feed one to pets) without confirming its identity with at least two trusted sources.
If you suspect poisoning, call Poison Control (800) 222-1222, the Pet Poison Helpline (800) 213-6680, or your local emergency service immediately.
Spotted an error? Please report it here.
Propagating your Living Stones can be a breeze 🌿 with Greg's personalized tips and reminders, ensuring you nurture your plants to thrive from seed to sprout!