Step-by-Step Guide to Repotting Your Living Stone
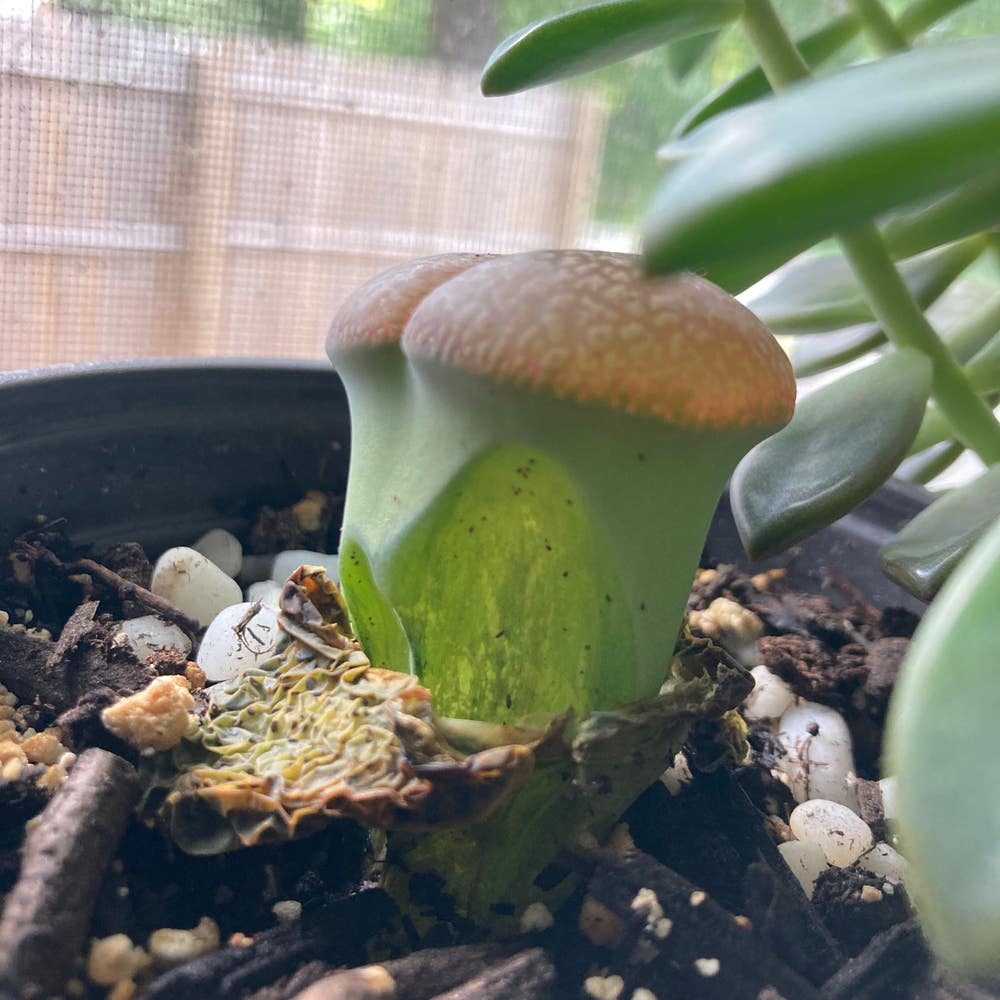
Lithops aucampiae
By the Greg Editorial Team
Oct 18, 2024•6 min read
This article was created with the help of AI so we can cover more plants for you. May contain errors. See one? Report it here.
Unlock your Lithops' full potential 🌱 by mastering repotting—essential for their health and growth!
- 🌱 Signs your Lithops needs repotting: Look for visible roots and stunted growth.
- ⏰ Best time to repot is early spring, just before the growing season.
- 🏺 Choose terracotta pots for breathability; avoid plastic to prevent root rot.
Signs That Your Living Stone Needs Repotting
🪴 Indicators of a Root Bound Lithops
If your Lithops is showing signs of being root bound, it’s time to consider repotting. Look for roots visible through the drainage holes; this is a clear sign that your plant is cramped.
Another indicator is stunted growth or a lack of new leaves. If your Lithops seems to be standing still while the seasons change, it’s likely struggling for space.
Additionally, if the soil dries out too quickly after watering, your plant may be outgrowing its pot. This rapid drying can indicate that the roots are taking up all the available space.
⏰ Timing for Repotting
The best time to repot your Living Stone is early spring, just before the growing season kicks in. This timing allows your plant to settle into its new home while it’s gearing up for growth.
Avoid repotting during dormancy, which typically occurs in late fall to winter. During this time, your Lithops is conserving energy and may not handle the stress of repotting well.
Recognizing these signs and timing your repotting appropriately will ensure your Lithops thrives in its new environment. Next, let’s explore how to choose the right pot for your plant.
Choosing the Right Pot
🌱 Benefits of Terracotta Pots
Terracotta pots are a top choice for your Lithops. Their excellent breathability and moisture regulation help keep your plant healthy.
These pots also prevent overwatering by allowing excess moisture to evaporate. Plus, their rustic aesthetic beautifully complements the unique appearance of your living stones.
🚫 Drawbacks of Plastic Pots
While plastic pots are lightweight and inexpensive, they come with significant downsides. They tend to retain moisture longer, which can increase the risk of root rot.
Additionally, plastic pots are less breathable than terracotta, making it harder for your Lithops to thrive.
🏺 Alternative Pot Materials and Their Suitability
If you're considering alternatives, ceramic pots offer good insulation but can retain moisture, so use them cautiously.
Metal pots are generally not recommended due to their heat retention and poor drainage, which can stress your plant.
Biodegradable pots can be suitable for temporary use, but they may break down too quickly, leaving you with a mess.
Choosing the right pot is crucial for your Lithops' health. With the right material, you can create an ideal environment for these unique plants to flourish.
Next, let’s dive into the perfect potting soil and drainage techniques to ensure your Lithops thrive.
Potting Soil and Drainage
Ideal Soil Mix for Repotting Lithops 🌵
For your Lithops, the right soil mix is crucial. A recommended blend consists of 50% cactus mix, 25% perlite, and 25% coarse sand.
This combination ensures excellent drainage while providing the necessary nutrients. Additionally, maintaining a slightly acidic to neutral pH (around 6.0-7.0) is vital for optimal growth.
Importance of Drainage in Pot Selection 🚰
Drainage holes are non-negotiable when selecting a pot. They prevent water accumulation, which can lead to root rot.
Look for pots with adequate drainage features to ensure your Lithops thrive. A well-draining pot is essential for maintaining healthy roots.
How to Create a Well-Draining Potting Mix 🧪
Creating a well-draining potting mix is straightforward. Follow these steps:
- Combine equal parts of cactus mix, perlite, and coarse sand.
- Ensure the mix is light and airy to promote root health.
- Test the drainage by watering and observing how quickly it flows through.
This mix will help your Lithops flourish, providing them with the right environment to grow strong and healthy.
With the right soil and drainage in place, you're well on your way to successfully repotting your Lithops. Next, let’s dive into the step-by-step repotting process to ensure a smooth transition for your plant.
Step-by-Step Repotting Process ((difficulty:moderate))
🌱 Preparing the New Pot and Soil
- Start by selecting a pot that is 1-2 inches larger in diameter than your current pot. This extra space allows your Lithops to grow comfortably.
- Next, fill the bottom of the new pot with a layer of well-draining potting mix. This foundation is crucial for healthy root development.
🌼 Transplanting Lithops: Step-by-Step Instructions
- Gently remove your Lithops from the old pot, being careful not to damage the roots. A little patience here goes a long way.
- Shake off any excess soil from the roots to give them a fresh start. This helps prevent any old soil from causing issues.
- Place the Lithops in the center of the new pot, ensuring the roots are spread out evenly. This positioning helps the plant establish itself better.
- Fill around the roots with the potting mix, leaving the top of the plant exposed. This allows the Lithops to breathe and thrive.
- Lightly press the soil to eliminate air pockets. A firm but gentle touch ensures the roots have good contact with the soil.
🌿 Post-repotting Care
- Water your Lithops sparingly for the first 2-3 weeks. This allows the roots to acclimate without the risk of overwatering.
- Place the pot in indirect sunlight for a few days to reduce stress on the plant. This gentle transition helps your Lithops adjust to its new home.
With these steps, your Lithops will be well on its way to thriving in its new pot. Next, let’s explore some common mistakes to avoid during the repotting process.
Common Mistakes in Repotting
💧 Overwatering After Repotting
One of the most common mistakes is overwatering your Lithops right after repotting. This can lead to root rot and fungal infections, which are detrimental to your plant's health.
To avoid this, follow a simple watering schedule: wait until the soil is completely dry before giving your Lithops any water. This allows the roots to acclimate without drowning.
🪴 Choosing the Wrong Pot Size
Another pitfall is selecting a pot that’s too large. A pot that’s too big can retain excess moisture, which is a recipe for disaster.
Aim for a pot that’s slightly larger than the root ball. This ensures your plant has enough room to grow without the risk of overwatering.
🔍 Ignoring Root Health During Repotting
Don’t overlook the condition of the roots when repotting. Inspect them carefully for any signs of rot or damage before replanting.
If you find unhealthy roots, trim them with sterilized scissors. This simple step can make a significant difference in your plant's recovery and overall health.
By avoiding these common mistakes, you’ll set your Lithops up for a thriving future. Next, let’s explore the essential post-repotting care to ensure your plant continues to flourish.
⚠️ Safety First
This content is for general information and may contain errors, omissions, or outdated details. It is not medical, veterinary advice, or an endorsement of therapeutic claims.
Always consult a qualified healthcare professional before using any plant as food, medicine, or supplement.
Never eat any plant (or feed one to pets) without confirming its identity with at least two trusted sources.
If you suspect poisoning, call Poison Control (800) 222-1222, the Pet Poison Helpline (800) 213-6680, or your local emergency service immediately.
Spotted an error? Please report it here.
Repotting your Living Stone is a breeze 🌱 with Greg's tailored reminders and expert soil mix tips, ensuring your Lithops flourish in their new pot!