3 Tips for Choosing Soil for Your Living Stone
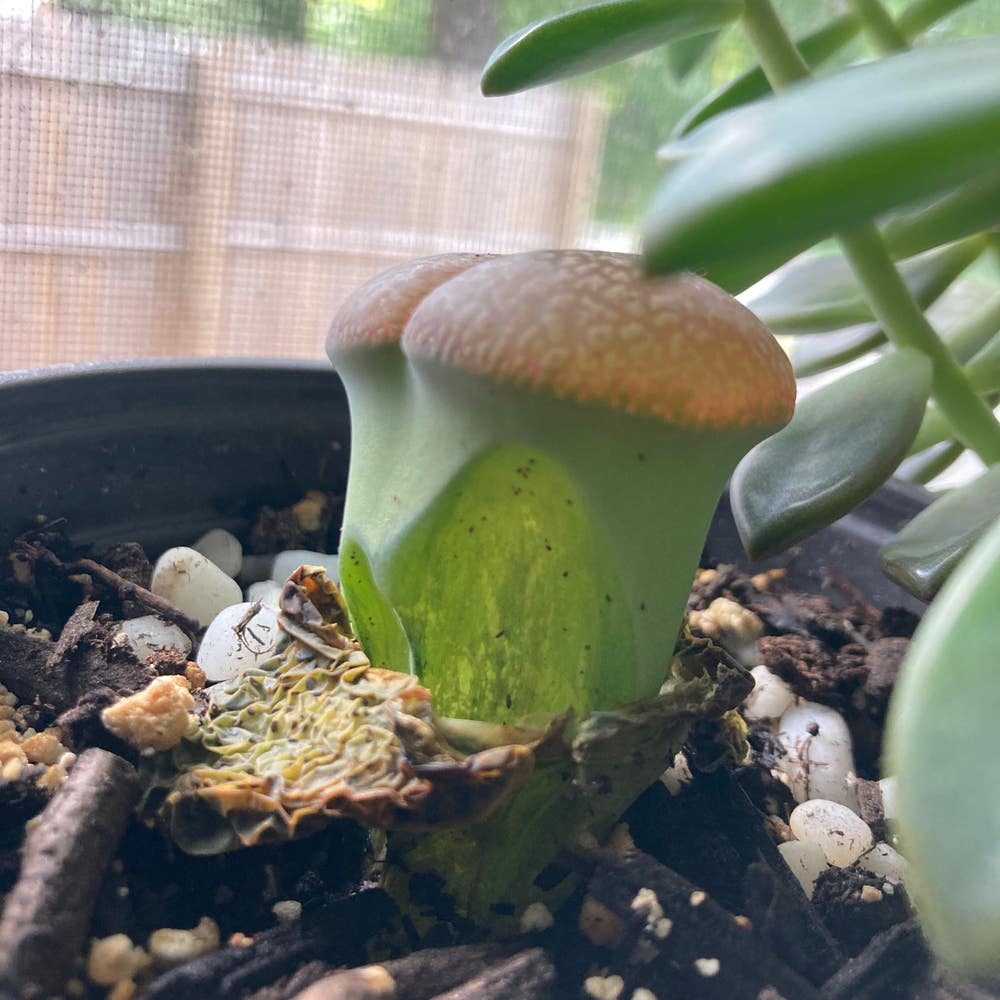
Lithops aucampiae
By the Greg Editorial Team
Oct 18, 2024•4 min read
This article was created with the help of AI so we can cover more plants for you. May contain errors. See one? Report it here.
Master the perfect soil for thriving Lithops 🌵 and watch your unique plants flourish like never before!
- 🌱 Well-draining soil prevents root rot, essential for healthy Lithops growth.
- 🏜️ Sandy or rocky textures mimic natural habitats, ideal for Lithops.
- 🧪 Nutrient-poor soil is best, as rich soils can overwhelm these unique plants.
Ideal Soil Composition
🌱 Soil Characteristics
Choosing the right soil for your Lithops is crucial. First and foremost, it must be well-draining to prevent root rot, which can be a death sentence for these unique plants.
A sandy or rocky texture is ideal, as it mimics their native habitat. Lithops thrive in nutrient-poor environments, so avoid rich soils that can overwhelm them.
🧪 Recommended Soil Mixes
When it comes to soil mixes, you have several options. A cactus soil mix is a popular choice, readily available in stores and designed specifically for these types of plants.
Succulent soil mixes also work well as suitable alternatives. If you're feeling adventurous, consider creating a custom blend by combining various ingredients for optimal results.
Soil pH Levels
Ideal pH Range 🌱
For your Lithops to thrive, aim for a soil pH between 6.0 and 7.0. This range is crucial because it directly influences nutrient availability, ensuring your plants get what they need to flourish.
Maintaining the right pH balance is not just a technicality; it’s essential for the overall health of your Lithops. If the pH strays too far from this range, nutrient deficiencies can occur, leading to stunted growth or even plant death.
Testing Soil pH 🔬
To keep tabs on your soil's pH, consider using pH test kits or digital meters. These tools make it easy to measure acidity and alkalinity accurately.
It's wise to test your soil annually or whenever you notice signs of nutrient deficiency. Regular checks help you catch potential issues before they escalate, keeping your Lithops in top shape.
Identifying and Resolving Unhealthy Soil
🚨 Signs of Unhealthy Soil
Recognizing unhealthy soil is crucial for the well-being of your Lithops. Common indicators include moldy soil, compaction, and foul odors.
Visual signs are equally telling. If your Lithops are wilting or yellowing, it’s a clear signal that something’s off.
🛠️ Solutions for Unhealthy Soil Conditions
Addressing moldy soil is your first step. Remove the affected soil and improve air circulation around your plants to prevent future issues.
For compacted soil, aeration techniques can help. If the problem persists, consider replacing the soil entirely to give your Lithops a fresh start.
By staying vigilant and proactive, you can ensure your Lithops thrive in a healthy environment. Next, let’s explore how to create a homemade soil mix tailored for these unique plants.
Creating a Homemade Soil Mix
Ingredients for a Suitable Mix 🌱
Creating the perfect soil mix for your Lithops is essential for their health. The key components include:
- Coarse sand (50%): This ensures excellent drainage.
- Perlite or pumice (25%): These materials help aerate the soil.
- Peat or coconut coir (25%): These provide a bit of moisture retention without overwhelming the roots.
You can also consider optional amendments like small amounts of crushed granite or charcoal. These can enhance drainage and add beneficial minerals.
Step-by-Step Mixing Guide 🛠️
Making your own soil mix is straightforward and rewarding. Follow these easy steps:
- Gather materials: Collect sand, perlite, peat, and any optional amendments.
- Measure proportions: Use a 1:1:1 ratio for a balanced mix, ensuring each component is well-represented.
- Combine ingredients: Mix everything thoroughly in a large container, ensuring even distribution.
- Test texture: The final mix should feel gritty and loose, promoting healthy root growth.
With your custom soil mix ready, your Lithops will thrive in an environment that mimics their natural habitat. This preparation sets the stage for successful growth and vibrant plants.
Next, let’s explore how to maintain soil health to keep your Lithops flourishing.
Soil Maintenance
Refreshing or Replacing Soil 🌱
Keeping your Lithops happy often means refreshing or replacing their soil. Watch for signs like soil compaction, mold presence, or nutrient depletion.
When it’s time to replace the soil, follow these steps:
- Remove your Lithops carefully from the pot.
- Shake off the old soil gently to avoid damaging the roots.
- Replant in a fresh mix, ensuring the proper depth for optimal growth.
Monitoring Soil Moisture Levels 💧
Proper moisture management is crucial for your Lithops' health. Use techniques like the finger test or a soil moisture meter to assess moisture levels.
Aim to let the soil dry out completely between waterings. This practice mimics their natural habitat and helps prevent root rot, ensuring your plants thrive.
With these maintenance tips, your Lithops will flourish, setting the stage for a vibrant display. Next, let’s explore how to create a homemade soil mix tailored to their needs.
⚠️ Safety First
This content is for general information and may contain errors, omissions, or outdated details. It is not medical, veterinary advice, or an endorsement of therapeutic claims.
Always consult a qualified healthcare professional before using any plant as food, medicine, or supplement.
Never eat any plant (or feed one to pets) without confirming its identity with at least two trusted sources.
If you suspect poisoning, call Poison Control (800) 222-1222, the Pet Poison Helpline (800) 213-6680, or your local emergency service immediately.
Spotted an error? Please report it here.
Crafting the ideal soil mix 🌿 for your Lithops is essential, and with Greg's tailored tips and pH testing guidance, you'll ensure these unique plants flourish in their perfect environment!