How to Propagate Your Cathedral Window Haworthia
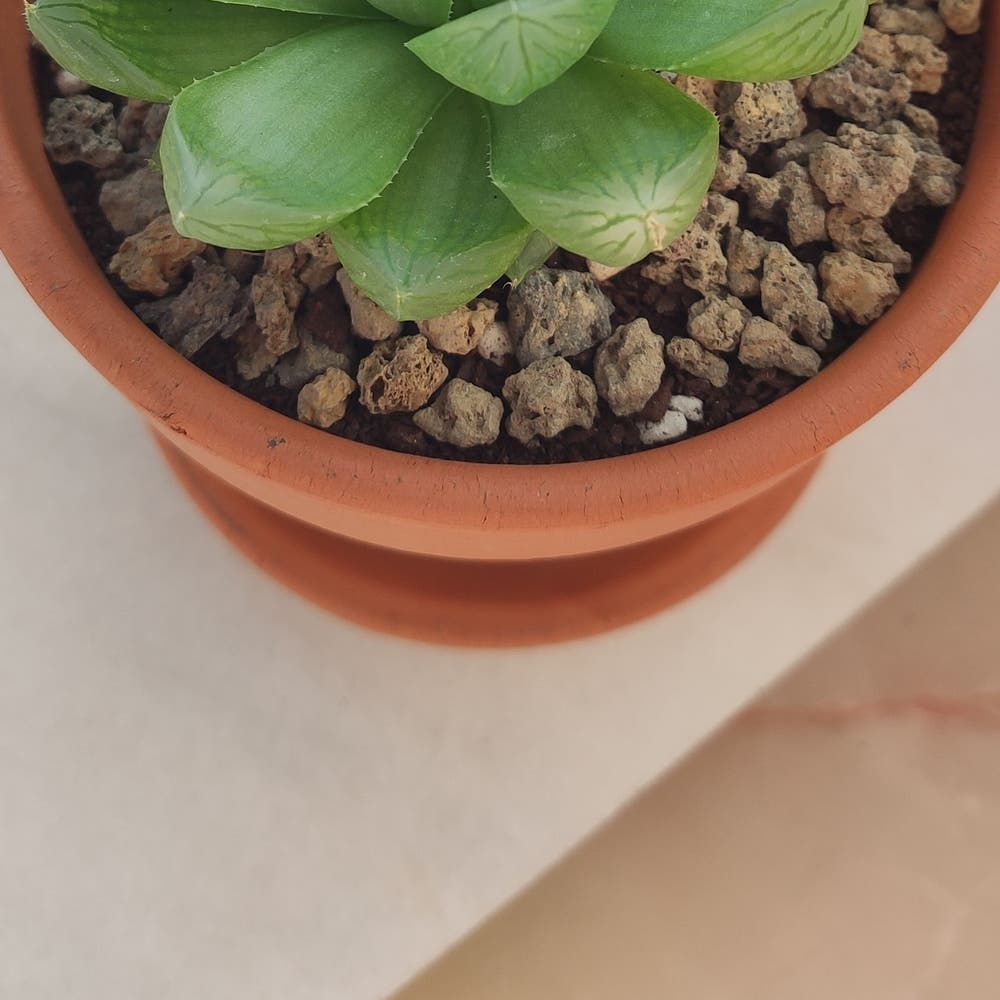
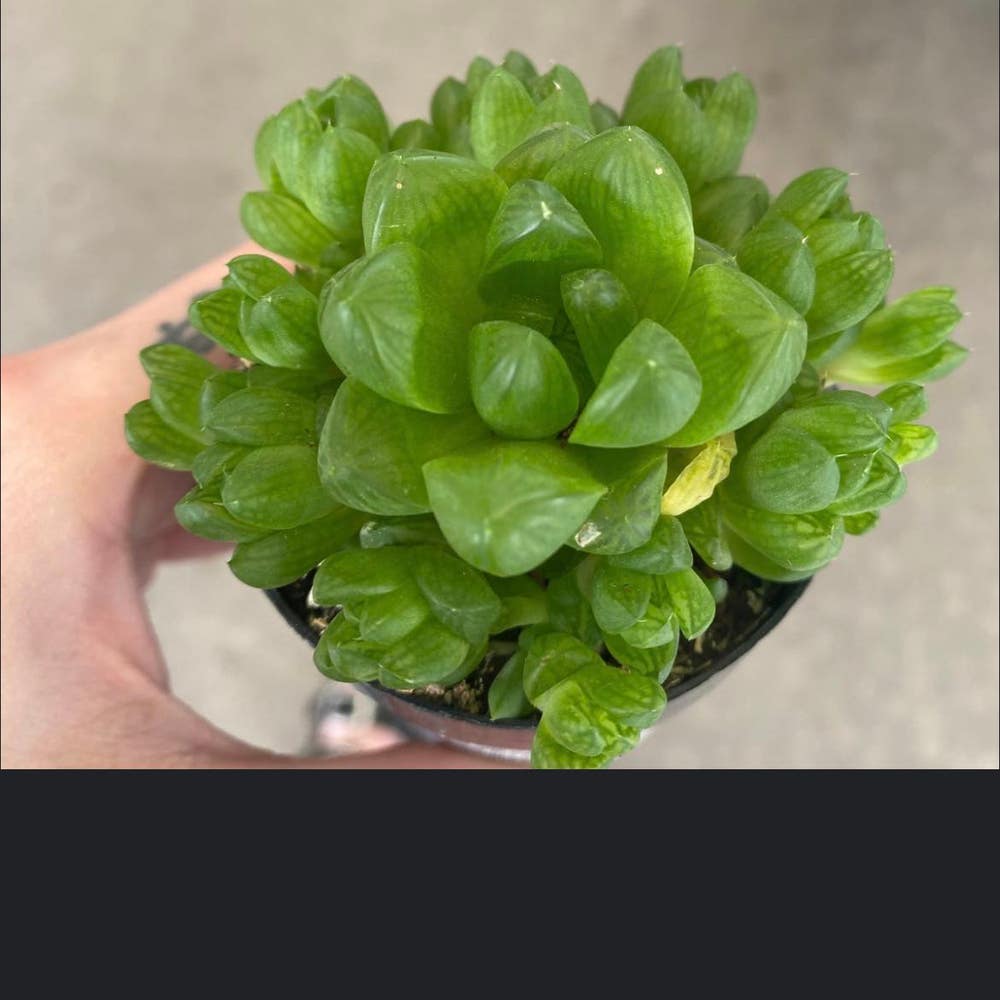
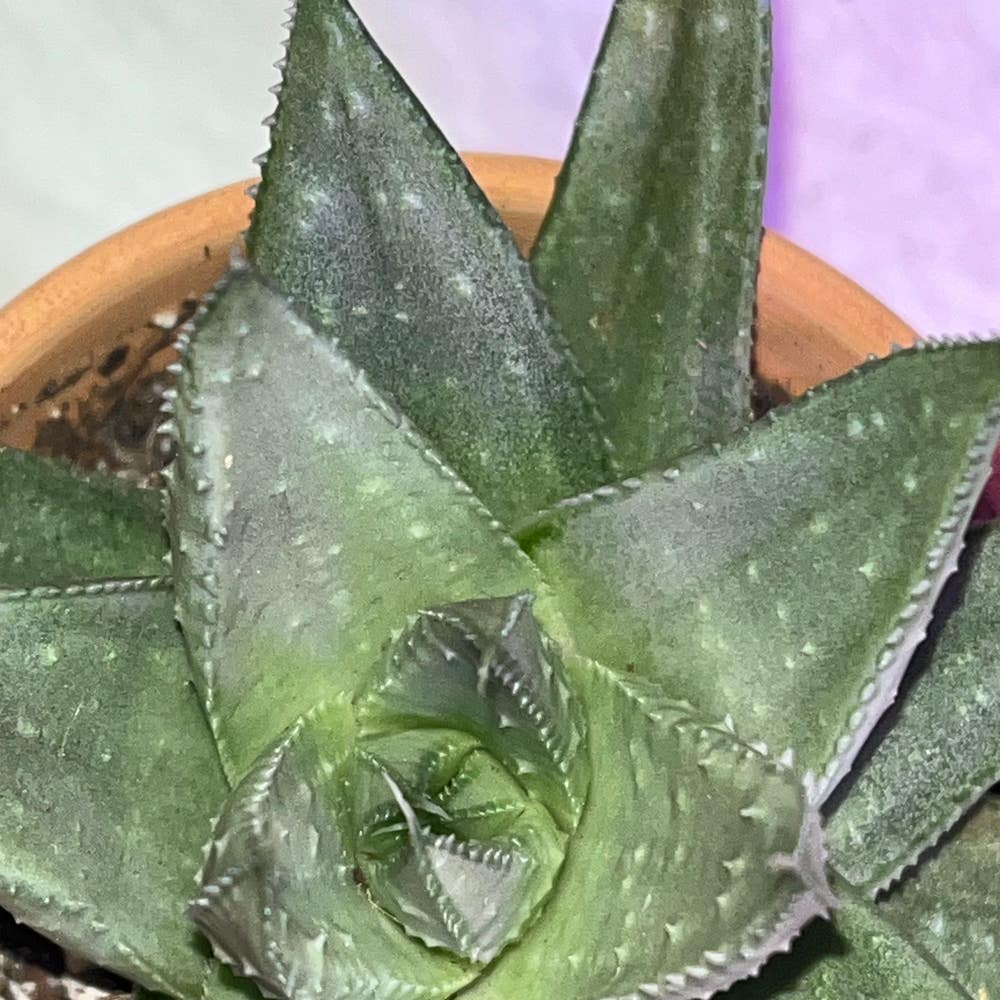
Haworthia cymbiformis
By the Greg Editorial Team
Jun 18, 2024•5 min read
This article was created with the help of AI so we can cover more plants for you. May contain errors. See one? Report it here.
Propagate rare Cathedral Window Haworthias 🌵 effortlessly with this expert guide to multiplying your succulents!
- Offsets need callusing to prevent rot; plant in well-draining soil.
- Leaf propagation: select healthy leaves, allow cut end to callous.
- Division in spring/fall; post-division, mimic greenhouse conditions.
Kickstarting Propagation with Offsets
🌱 Spotting and Snipping the Right Offsets
Offsets are your ticket to propagation town. Look for the plump little pups clinging to the mother plant like overgrown chicks. Size matters; aim for offsets that have developed their own roots, making them ready to face the world solo. Use a clean, sharp instrument to sever the connection, practicing the snip-and-wait technique. Post-separation, let the offset dry out for a day or two, allowing the wound to callus. This is crucial—it's the plant's natural band-aid, preventing infection and rot.
🌱 Planting Offsets for Success
Once your offsets have callused, it's time to get them settled. Choose a well-draining soil mix—think cacti and succulent blend—and a snug pot that says 'home sweet home' without drowning the little guy in space. Bury the offset just deep enough to stand tall and proud. Indirect sunlight is their jam, so find a spot that's bright but not blinding. Water sparingly; these babies dislike soggy shoes. Keep the soil slightly moist, and before you know it, you'll witness the magic of roots taking hold.

Leaf Propagation: A Step-by-Step Guide
🍃 Choosing and Preparing Leaves
Selecting the right leaf is crucial for propagation success. Look for plump, healthy leaves, free from damage or disease. Using sterilized scissors, snip the leaf as close to the stem as possible to include a bit of the stem tissue—a pro tip for encouraging root growth.
Preparing your leaves involves letting the cut end callous over. This process, which takes a few days, helps prevent rot when the leaf is planted. Store the leaves in a warm, dry place away from direct sunlight and resist the urge to water them during this stage.
🌱 The Waiting Game: Rooting Your Leaves
For optimal rooting conditions, use a well-draining soil mix and a shallow container. Place the calloused end of the leaf on top of the soil, without burying it. The soil should be kept slightly moist—think of it as a sponge that's been wrung out.
Roots typically appear in a few weeks, but patience is key. When you spot tiny roots or a new rosette forming, that's your cue to celebrate—but keep the party low-key. Continue with the same care routine, allowing the new plant to establish itself. Avoid direct sunlight and overwatering, as baby Haworthias are particularly sensitive.

Division Propagation: Multiplying Your Haworthia
🌱 The Division Dance: When and How to Divide
Spring or fall, timing is crucial for the division dance. Your Haworthia is ready to multiply when it's not blooming and looks like it's outgrowing its space. Water your plant a couple of days before to make the roots more pliable, like prepping for a big event. Gently coax the plant out of its pot—think of it as inviting it to a dance.
Identify natural divisions or offsets that have their own roots. Use clean, sharp tools to separate them, ensuring each new plant has a piece of the root system. It's like plant surgery, but without the need for a medical degree.
🌿 Post-Division Care and Potting
After the division, it's time for some TLC. Pot each new Haworthia in a container with well-draining cactus mix. Water the divisions sparingly at first to avoid root rot. Place them in bright, indirect sunlight, like giving them a spot to bask in the morning sun without the harsh afternoon glare.
Monitor the soil moisture like you're checking in on a napping baby—too much attention can be as bad as too little. Resist the urge to overwater; these succulent babies dislike soggy feet. With the right care, your newly divided Haworthias will soon flourish, rewarding you with fresh growth and the satisfaction of propagation success.

Aftercare for Propagated Plants
🌱 The First Few Weeks
After the delicate process of propagation, your Cathedral Window Haworthia enters the critical aftercare phase. In these initial weeks, you're the plant's personal meteorologist, tweaking humidity and temperature to mimic the cozy greenhouse vibes it craves.
Watering is a balancing act; too much and the roots might rot, too little and the plant could dehydrate. Aim for the sweet spot where the soil is barely whispering for moisture. As for feeding, think of it as a gentle welcome to the world—hold off on the fertilizer for now. Your baby plants are just getting used to their new digs.
🌿 Growth and Transition
As your Haworthia starts to strut its stuff, you'll notice a shift. It's time to transition to a normal care routine. This means gradually introducing it to the light conditions it will live in long-term, but don't rush it—nobody likes to be thrown into the deep end without a floatie.
When it comes to repotting, patience is a virtue. Wait until the plant looks snug as a bug in its pot before giving it more room to grow. Expect this to be a bit like a plant graduation ceremony—it's a big step. Growth patterns will vary, but with the right care, your Haworthia will soon be the belle of the succulent ball.
⚠️ Safety First
This content is for general information and may contain errors, omissions, or outdated details. It is not medical, veterinary advice, or an endorsement of therapeutic claims.
Always consult a qualified healthcare professional before using any plant as food, medicine, or supplement.
Never eat any plant (or feed one to pets) without confirming its identity with at least two trusted sources.
If you suspect poisoning, call Poison Control (800) 222-1222, the Pet Poison Helpline (800) 213-6680, or your local emergency service immediately.
Spotted an error? Please report it here.
Propagate your Cathedral Window Haworthia effortlessly 🌱 with Greg's tailored care reminders ensuring perfect watering and light conditions for your new offsets.