🐍 How Do I Propagate My Bromeliad Medusa?
Neoregelia 'Medusa'
By the Greg Editorial Team
Jun 18, 2024•5 min read
This article was created with the help of AI so we can cover more plants for you. May contain errors. See one? Report it here.
Propagate your Bromeliad Medusa 🌿 and watch your indoor jungle thrive!
- Pups signal renewal, separate with a sterile tool, and let cut dry.
- 🌱 Pot pups in moist peat, water sparingly, and provide bright indirect light.
- Division in spring, water before separating, and maintain warm, humid conditions post-division.
Pup Propagation: Making New Plants from Offsets
🌱 Spotting the Right Time to Harvest Pups
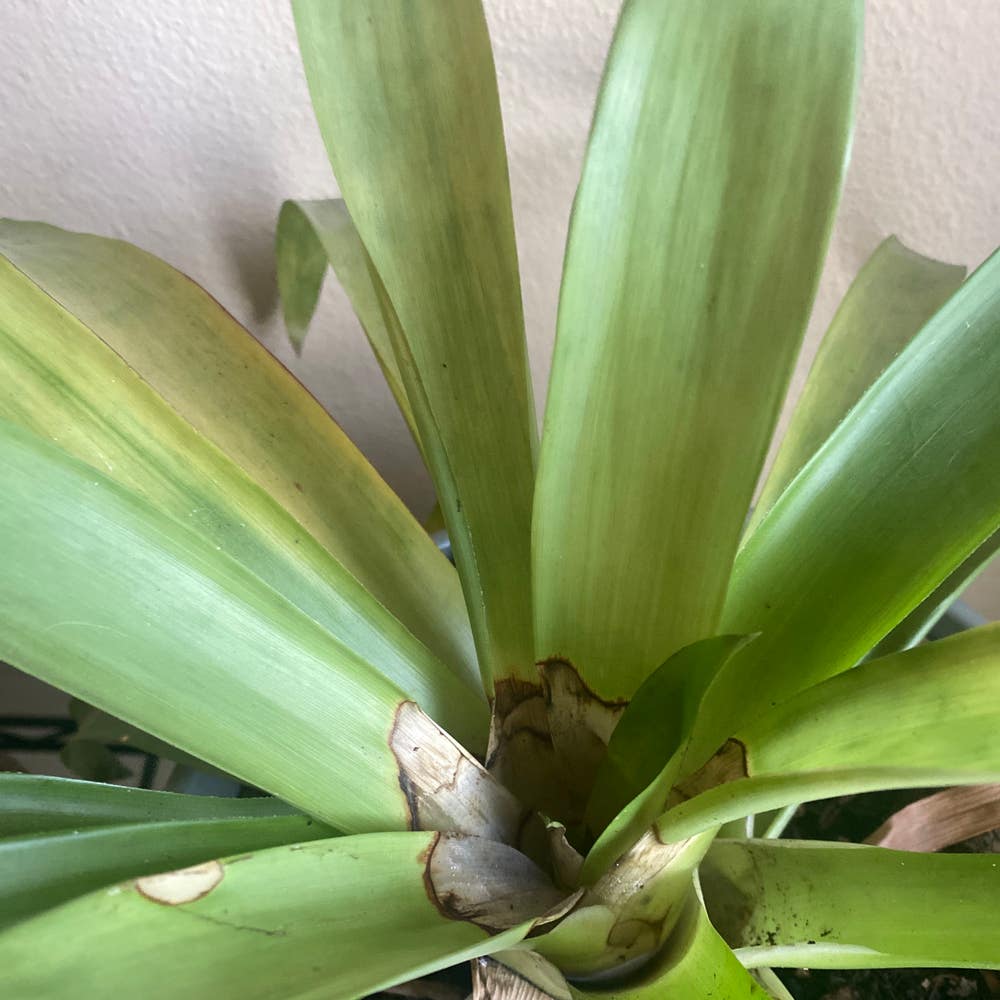
In the lifecycle of a Bromeliad Medusa, the appearance of pups signals a time of renewal. These offsets are ready for independence when they reach about one-third to half the size of the mother plant. Don't rush; patience ensures they've stored enough energy to survive on their own. Yellowing leaves on the parent are a natural sign of its energy shift towards the pups, not a cry for help.
The Separation Tango
🛠️ Tools of the Trade
First, arm yourself with a sterile, sharp knife or pair of scissors. Clean cuts prevent infections, much like a well-placed band-aid.
Separation Steps
- Gently coax the pup from the mother plant. If it resists, a firm but careful cut will do.
- Aim to include a bit of the mother's base with the pup to boost its chances.
- Let the cut end dry for a day in the shade—this helps prevent rot and gives the pup a fighting chance.
Planting Your New Bromeliad Babies
🌱 Potting Protocol
Choose a container twice the size of the pup's base and fill it with a moist peat mixture. This ensures the pup has room to grow and a nurturing environment.
Rooting Without Roots
If your pup lacks roots, no panic—tie it to a cork board or branch. Bromeliads are epiphytic, so they're used to clinging to things other than soil.
Watering Wisdom
Water sparingly at first, letting the medium dry out a bit between waterings. Overzealous hydration is a rookie mistake.
Mother Plant Motivation
If the mother plant still has some pep, repot her. She might reward you with more pups, proving that the plant world too believes in second chances.

Division: Doubling Your Bromeliad Joy
🌱 When to Divide: Timing is Everything
Spring ushers in the optimal time for division, as your Bromeliad Medusa gears up for a growth spurt. If you notice overcrowding or stress signs, don't wait—divide anytime.
The Division Dance
🚿 Preparing for Division
Water your plant a day or two before to soften the roots. Gently remove the Bromeliad from its pot, treating it like a delicate dance partner.
Steps to Divide
- Inspect the root ball and identify natural separations.
- Use your fingers or a clean, sharp knife to separate the sections, ensuring each has roots and leaves.
- Pot each division in fresh soil, tucking them in snugly.
Post-Division Care
🚰 Immediate Aftercare
Water the new divisions and mother plant well, settling them into their new homes. Keep them in indirect light and maintain even moisture.
Long-Term Success
Monitor for new growth as a sign of successful division. Maintain a warm environment and high humidity to encourage your Bromeliad Medusa to thrive.

Seed Propagation: A Labor of Love
🌱 Collecting Bromeliad Medusa Seeds
Harvesting seeds from your Bromeliad Medusa is like a treasure hunt. Wait for the flowers to fade and the seed pods to mature. Patience is key; collect the seeds only when they're dry and ready to fall. Use tweezers for precision and avoid damaging the tiny seeds.
🌱 Sowing the Seeds of Tomorrow
To sow Bromeliad Medusa seeds, create a sterile mix of two parts moss to one part coarse sand. Spread the seeds on the surface; there's no need to bury them. Mist the soil well and cover the container with a plastic bag or humidity dome. Provide bright indirect light and gradually introduce more air over a week or two to acclimate the seedlings. Keep the soil lightly moist but not waterlogged. With the right care, you'll see the first signs of life from your Bromeliad Medusa seeds.

After Propagation: Ensuring Success
🌱 The Perfect Environment for New Starts
Creating the ideal conditions for your newly propagated Bromeliad Medusa is crucial to their success.
💡 Light and Location
Place your plants in a bright spot without direct sunlight. East-or west-facing windows are your best bet. This diffused light mimics their natural, under-canopy habitat.
🚰 Soil and Pot Selection
Choose a pot with drainage holes; think of it as a lifeline against root rot. The pot should offer a snug fit—enough room to grow but not too spacious. Opt for a well-draining potting mix, and consider adding perlite or sand to keep it breathable.
🌿 Long-Term Care for Continued Growth
Long-term care for your Bromeliad Medusa is about striking the right balance in their care routine.
💧 Watering Wisdom
Keep the soil consistently moist—like a wrung-out sponge. Overwatering is a no-go; it's the fast track to root rot. Use the finger-test method before watering to ensure the soil isn't already damp.
🌡️ Temperature and Humidity
Maintain a warm environment with high humidity, but avoid creating a wind tunnel around your plants. Gentle airflow is key to preventing the soil from drying out too quickly.
🕵️ Monitoring and Adjustments
Watch for signs of stress and adjust care as needed. Patience is your ally during this transition period. With attentive care, your Bromeliad Medusa will thrive, showcasing their striking form.
⚠️ Safety First
This content is for general information and may contain errors, omissions, or outdated details. It is not medical, veterinary advice, or an endorsement of therapeutic claims.
Always consult a qualified healthcare professional before using any plant as food, medicine, or supplement.
Never eat any plant (or feed one to pets) without confirming its identity with at least two trusted sources.
If you suspect poisoning, call Poison Control (800) 222-1222, the Pet Poison Helpline (800) 213-6680, or your local emergency service immediately.
Spotted an error? Please report it here.
Ensure your Bromeliad Medusa pups thrive 🌱 with Greg's personalized care reminders, perfect potting mix tips, and ideal watering schedules from this propagation guide.