How to Know When to Repot Button Fern
Hemionitis rotundifolia
By the Greg Editorial Team
Oct 11, 2024•6 min read
This article was created with the help of AI so we can cover more plants for you. May contain errors. See one? Report it here.
- 🌱 Signs to repot: Look for roots out of drainage holes and stunted growth.
- 🕒 Best time to repot: Spring or early summer during active growth is ideal.
- 🧰 Prepare materials: Gather pot, soil, and tools before starting the repotting process.
Signs That Your Button Fern Needs Repotting
Indicators of Root Bound Conditions 🌱
Recognizing when your button fern needs repotting is crucial for its health. Here are some clear signs that indicate root-bound conditions:
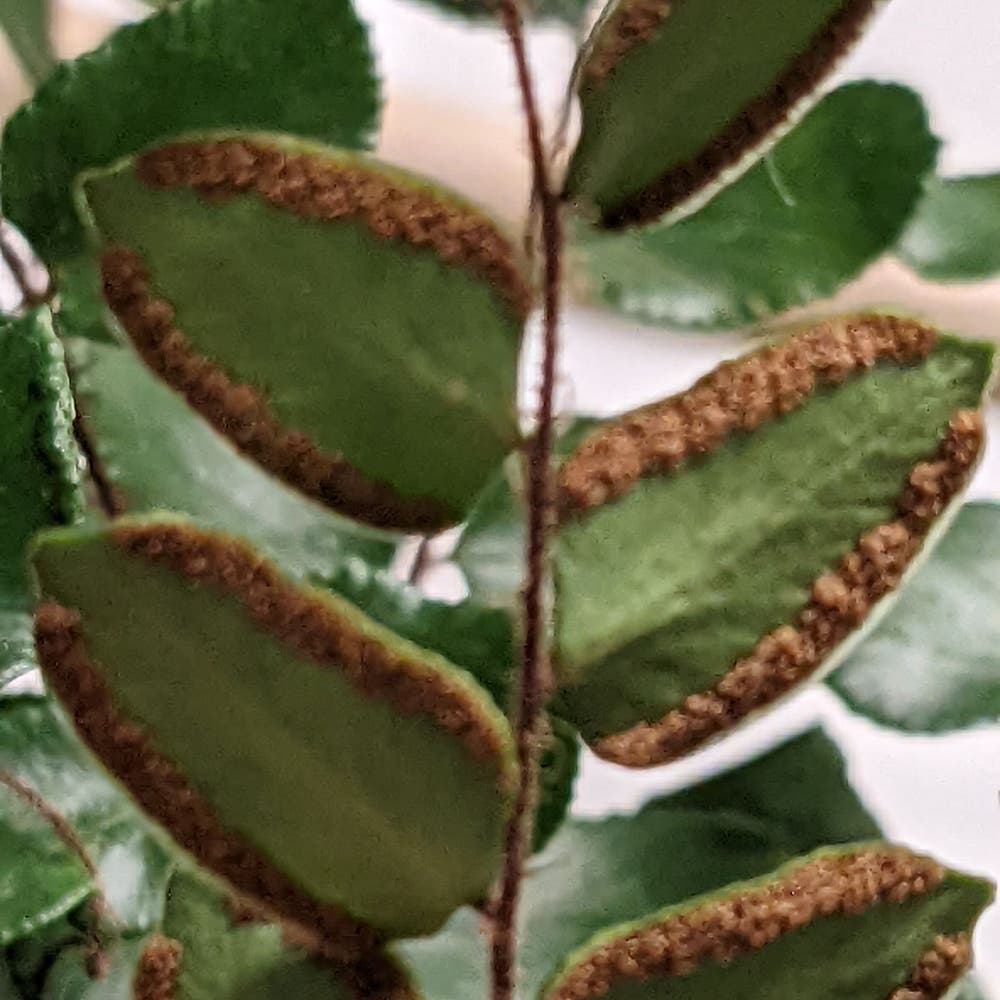
Roots Growing Out of Drainage Holes: If you see roots escaping from the bottom of the pot, it’s a strong signal that your fern is cramped.
Soil Drying Out Quickly: When the soil seems to dry out faster than usual after watering, it may indicate that the roots are taking up all the space.
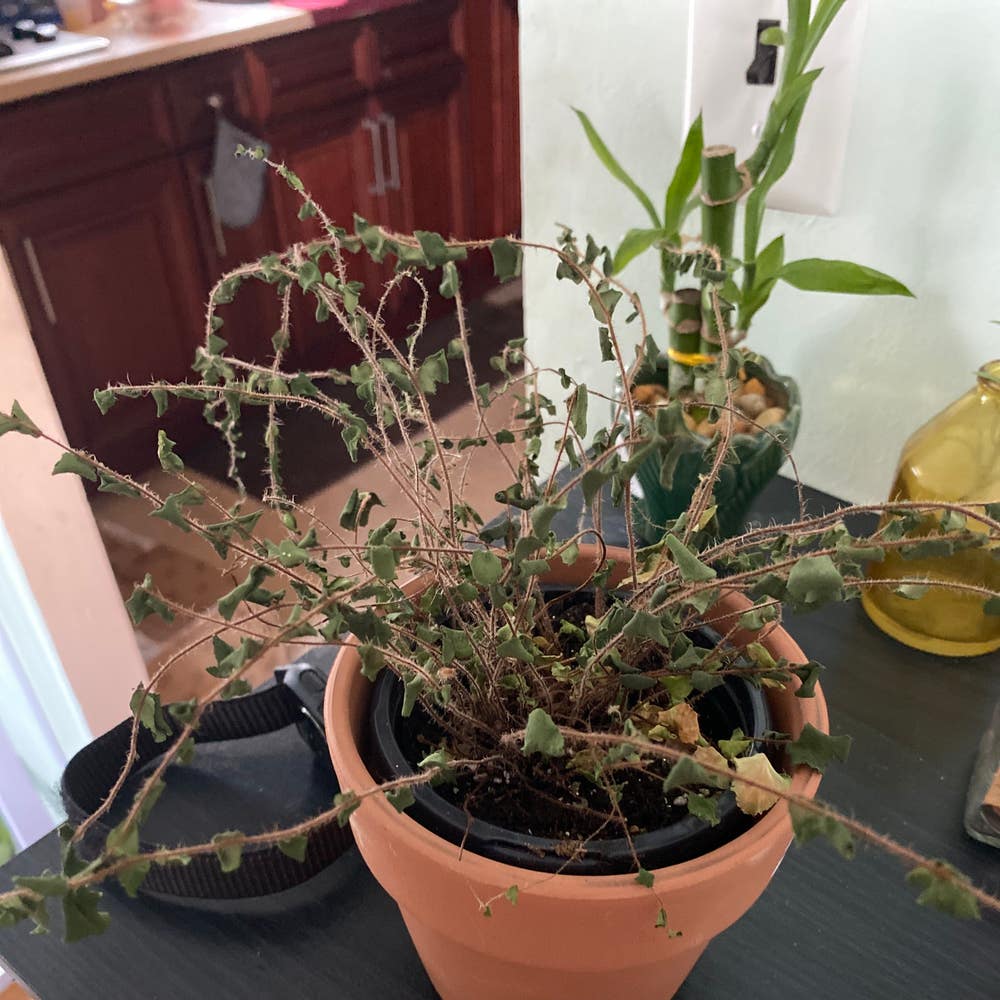
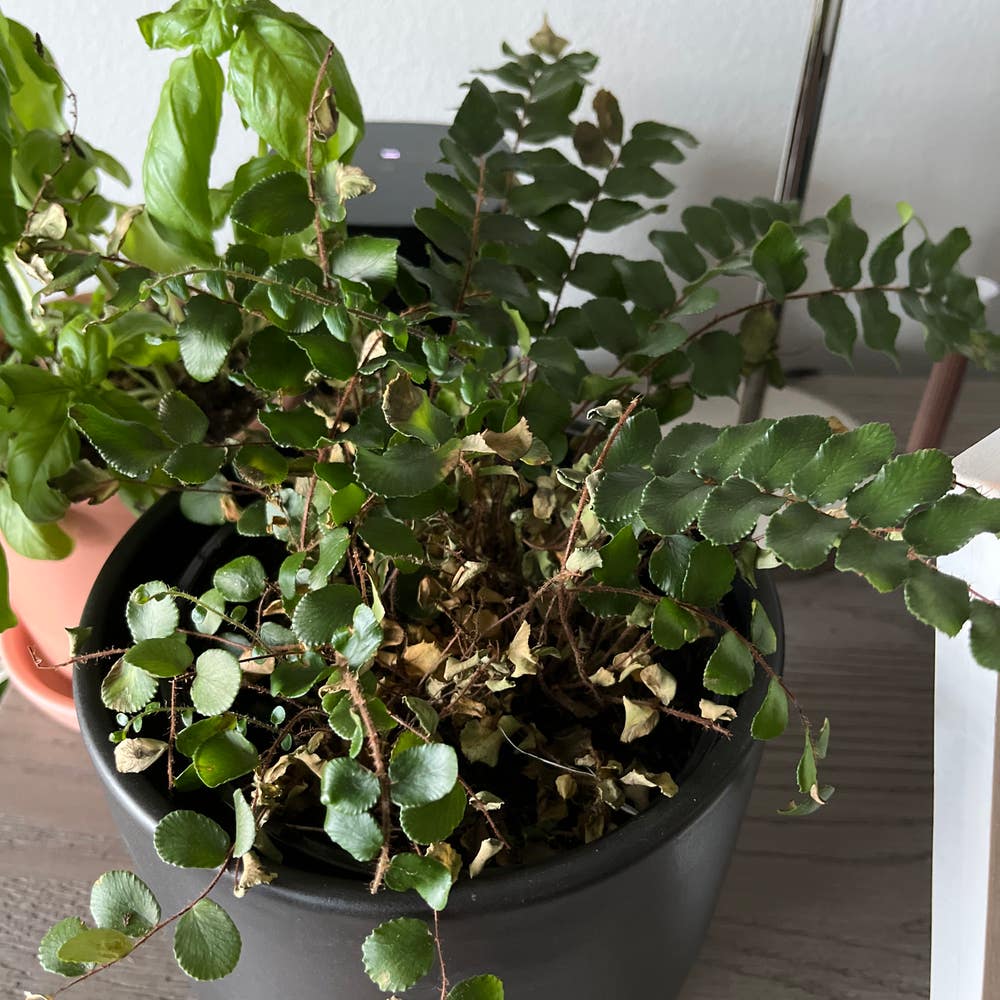
Stunted Growth or Yellowing Leaves: If your fern isn’t growing as it should or its leaves are turning yellow, it might be struggling for room.
Plant Toppling Over: A fern that’s top-heavy or tipping over often lacks sufficient root space to support its growth.
Timing for Repotting ⏰
Timing is everything when it comes to repotting your button fern.
Best Time to Repot: The ideal window is in spring or early summer, during the plant's active growth phase. This helps minimize stress and encourages recovery.
Frequency of Repotting: Aim to repot every 1-2 years or whenever you notice signs of root binding. Keeping an eye on your fern's growth will help you determine the right moment.
With these signs and timing in mind, you can ensure your button fern remains healthy and vibrant. Next, let’s dive into the step-by-step process of repotting your fern effectively.
Repotting Process
Step-by-Step Guide to Repotting Button Fern 🌿
Repotting your Button Fern is a straightforward process. Follow these steps for a successful transition.
Gather Materials: Start by collecting a new pot, potting soil, gloves, and a trowel.
Water the Fern: Water the fern a day before repotting. This helps reduce stress during the process.
Remove the Fern from Its Old Pot:
- Gently squeeze the sides of the pot to loosen the root ball.
- Tilt the pot and tap the bottom to help release the plant.
Inspect the Roots:
- Trim any dead or damaged roots to promote healthy growth.
- Loosen any tightly bound roots to encourage new growth.
Place the Fern in the New Pot:
- Center the plant in the new pot and fill it with fresh potting soil.
- Ensure the crown of the plant is level with the soil surface for optimal growth.
Water Thoroughly: After positioning the fern, water it thoroughly to settle the soil around the roots.
Preparing the New Pot and Soil 🪴
Choosing the right potting soil is crucial for your fern's health. Opt for a well-draining mix, ideally one designed specifically for ferns.
Drainage Holes: Ensure the new pot has adequate drainage holes to prevent waterlogging.
Soil Additives: Consider adding perlite or sand to improve drainage and aeration in the soil.
With these steps, your Button Fern will be well on its way to thriving in its new home. Next, let’s explore the best pot materials for your fern.
Pot Material Options
🌱 Suitable Materials for Button Fern
Choosing the right pot material for your Button Fern is crucial for its health.
- Terracotta: This material offers excellent drainage and is breathable, making it a favorite among plant enthusiasts.
- Plastic: Lightweight and moisture-retentive, plastic pots are easy to handle and great for beginners.
- Ceramic: While aesthetically pleasing, ceramic pots can be heavy and may not provide the best airflow for roots.
- Biodegradable: Eco-friendly options are available, but they may lack the durability needed for long-term support.
⚖️ Pros and Cons of Each Material
Understanding the advantages and disadvantages of each pot material can help you make an informed choice.
Terracotta:
- Pros: Promotes airflow and prevents overwatering.
- Cons: Can dry out quickly, requiring more frequent watering.
Plastic:
- Pros: Retains moisture well and is lightweight.
- Cons: Less breathable, which can lead to root rot if not monitored.
Ceramic:
- Pros: Offers a stylish look that enhances decor.
- Cons: Heavier and may not drain as effectively as other materials.
Biodegradable:
- Pros: Environmentally friendly and often made from natural materials.
- Cons: May break down over time, compromising plant support.
Choosing the right pot material is essential for your Button Fern's growth and overall well-being. With this knowledge, you can ensure your fern thrives in its new home.
Next, let’s explore how to care for your Button Fern after repotting.
Post-Repotting Care
Care After Repotting 🌱
After repotting your button fern, it's crucial to give it some time to adjust. Avoid placing it in direct sunlight for at least a week to minimize stress.
Maintaining humidity levels around the plant is also essential. You can achieve this by misting the leaves or placing a humidity tray nearby.
Watering Schedule 💧
Initially, water your fern lightly after repotting. Once it settles in, you can resume your normal watering schedule.
Keep a close eye on the soil moisture to prevent overwatering. This is key to ensuring your fern thrives in its new home.
Signs of Stress and Solutions 🚨
Watch for yellowing leaves, which can indicate overwatering or insufficient light. If you notice this, reassess your watering habits and light conditions.
Wilting is another sign of stress. Ensure the humidity is adequate and check for any root damage that may have occurred during repotting.
By being attentive to these signs, you can help your button fern recover and flourish in its new pot. Now that you’re equipped with post-repotting care tips, let’s explore common mistakes to avoid during the repotting process.
Common Mistakes in Repotting
🌱 Overpotting vs. Underpotting
Finding the right pot size is crucial for your button fern's health. Overpotting can lead to excess soil that retains too much moisture, risking root rot, while underpotting restricts growth and can cause stress.
Aim for a pot that is 1-2 inches larger in diameter than the previous one. This allows your fern to thrive without overwhelming its roots.
🚰 Ensuring Proper Drainage
Proper drainage is essential for preventing waterlogged soil. Always choose pots with drainage holes to facilitate excess water flow.
Incorporating materials like gravel or perlite at the bottom of the pot can enhance drainage. This simple step can make a significant difference in your fern's well-being.
✂️ Avoiding Root Damage
Handle your fern's roots with care during the repotting process. Excessive pruning can lead to stress and hinder growth.
Using clean, sharp tools minimizes injury and promotes healthy root development. Gentle handling ensures your fern has the best chance to flourish in its new home.
By avoiding these common pitfalls, you'll set your button fern up for success. Next, let’s explore how to care for your fern after repotting to ensure it thrives in its new environment.
⚠️ Safety First
This content is for general information and may contain errors, omissions, or outdated details. It is not medical, veterinary advice, or an endorsement of therapeutic claims.
Always consult a qualified healthcare professional before using any plant as food, medicine, or supplement.
Never eat any plant (or feed one to pets) without confirming its identity with at least two trusted sources.
If you suspect poisoning, call Poison Control (800) 222-1222, the Pet Poison Helpline (800) 213-6680, or your local emergency service immediately.
Spotted an error? Please report it here.
Repotting your button fern at the right time can lead to a thriving plant 🌿, and with Greg's tailored reminders and expert tips, you'll ensure it has the space it needs to flourish!