What to Do About Yellow Leaves on Your Button Fern
Hemionitis rotundifolia
By the Greg Editorial Team
Oct 11, 2024•5 min read
This article was created with the help of AI so we can cover more plants for you. May contain errors. See one? Report it here.
- 🌱 Yellow leaves indicate issues like overwatering, underwatering, or nutrient deficiencies.
- 💧 Maintain consistent moisture and humidity to prevent yellowing and crispy fronds.
- ☀️ Position in bright, indirect light to avoid scorching and promote healthy growth.
Causes of Yellow Leaves
🌊 Overwatering and Root Rot
Yellowing leaves, wilting, and mushy roots are telltale signs of overwatering. Excess water can lead to poor drainage, resulting in root rot.
To prevent this, ensure your fern is planted in well-draining soil. Allow the top inch of soil to dry out before watering again.
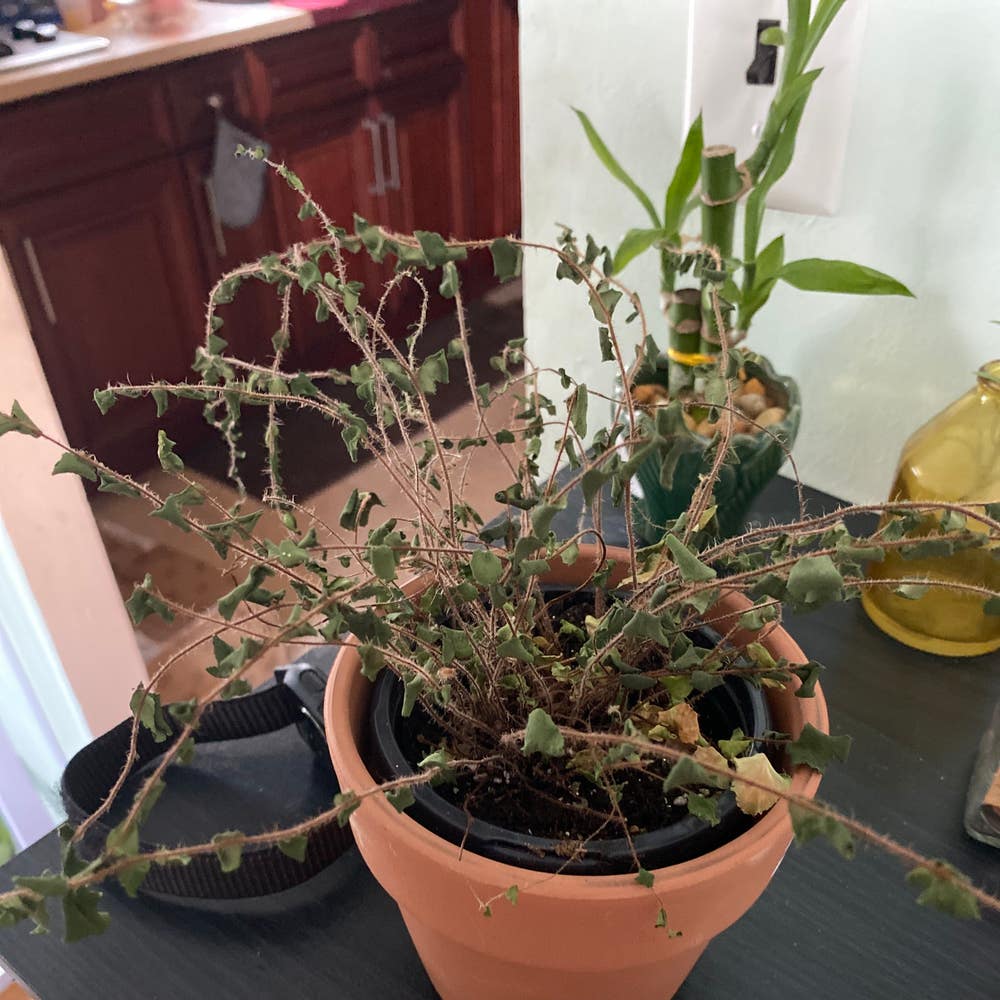
💧 Underwatering and Drought Stress
Crispy, yellowing fronds, especially at the tips, indicate underwatering. Infrequent watering can lead to dehydration, stressing your fern.
To combat this, water consistently, keeping the soil moist but not soggy.
🌬️ Insufficient Humidity Levels
If you notice yellowing and browning leaf edges, low humidity might be the culprit. This is especially common during winter months when indoor air tends to dry out.
Increase humidity by using humidifiers or placing pebble trays filled with water near your fern.
☀️ Excessive Direct Sunlight
Yellowing leaves with brown tips or spots can signal that your fern is getting too much direct sunlight. Scorching can damage the delicate fronds.
To prevent this, position your fern in a spot with bright, indirect light.
🥦 Nutrient Deficiencies
General yellowing across the plant, particularly in older leaves, often points to nutrient deficiencies. A lack of essential nutrients, especially nitrogen, can hinder your fern's health.
Fertilize with a balanced, water-soluble fertilizer during the growing season to keep your fern thriving.
🕷️ Pest Infestations
🕸️ Spider Mites
If you see yellow speckling on leaves and webbing on the undersides, spider mites may be at play. Increasing humidity can help, along with treatments like insecticidal soap or neem oil.
🧼 Mealybugs
White, cottony masses on leaves and stems indicate mealybugs. You can remove them manually or treat the affected areas with alcohol-soaked cotton swabs.
🍄 Fungal Diseases
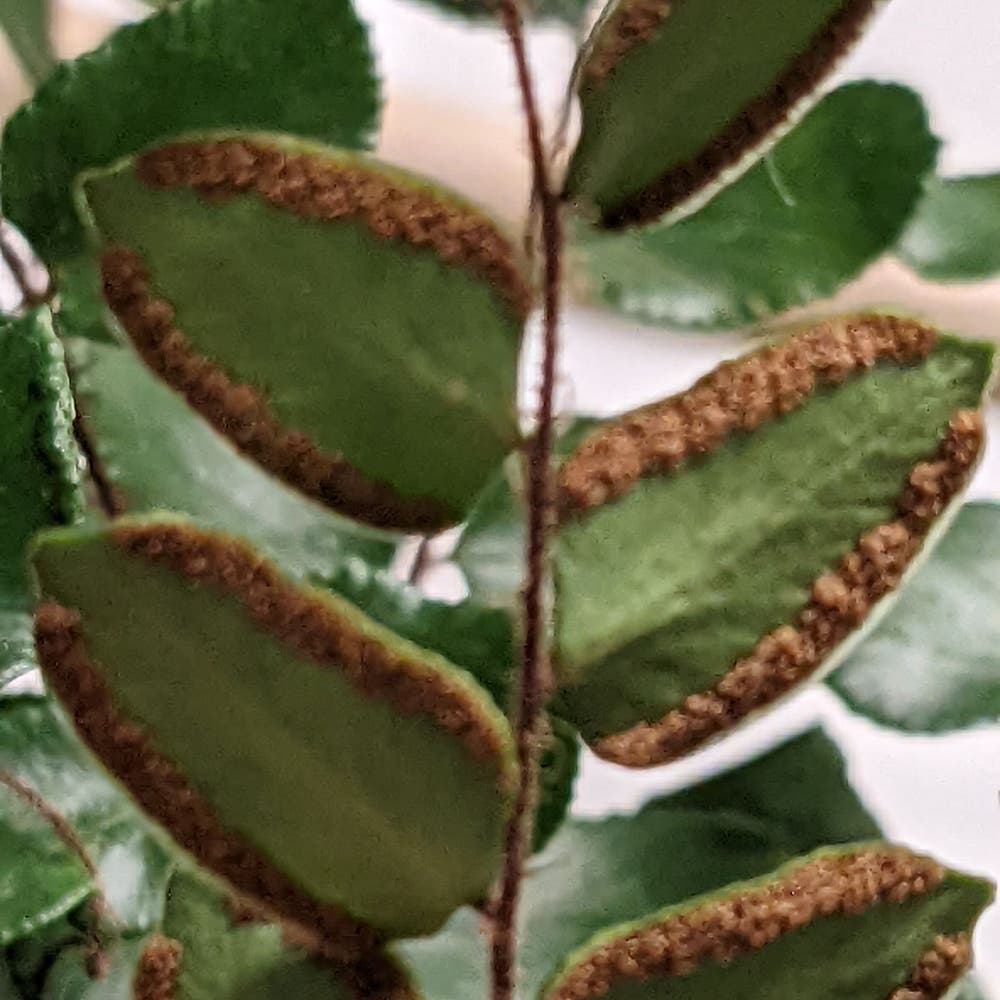
🌑 Leaf Spot
Dark spots on leaves leading to yellowing are often caused by fungal infections due to excess moisture.
To prevent this, ensure good air circulation around your fern and avoid overhead watering.
Understanding these causes is crucial for maintaining the health of your button fern. With the right care, you can keep those leaves vibrant and green!
Diagnosing Yellow Leaves
Identifying Symptoms 🌿
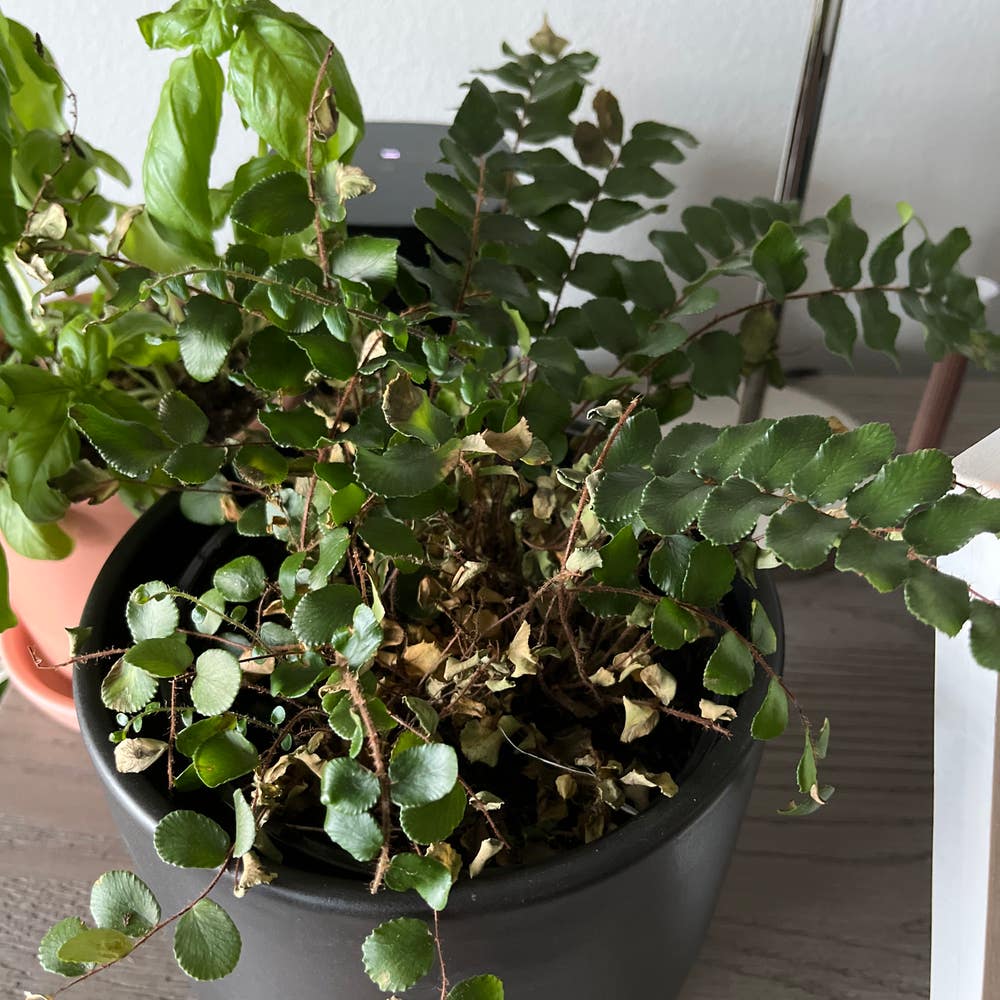
When diagnosing yellow leaves on your button fern, start by observing the pattern of yellowing. Is it uniform across the plant, or are only certain areas affected?
Next, check for additional symptoms like wilting, browning, or spots. These clues can help pinpoint the underlying issue.
Differentiating Between Causes 🕵️♂️
It's essential to differentiate between environmental factors and pest-related problems. Assess your watering habits, humidity levels, and light exposure to identify potential causes.
Conduct a thorough inspection for pests or signs of disease. Look closely at the leaves and stems for any unusual markings or infestations.
Assessing Plant Health 📊
Evaluating soil moisture is crucial for understanding your fern's health. Use a moisture meter or perform a finger test to check if the soil is too dry or overly saturated.
Additionally, check humidity levels in your environment. Aim for a relative humidity of 40-60% for optimal growth, as button ferns thrive in moist conditions.
By carefully diagnosing the symptoms and assessing the plant's health, you can take the necessary steps to restore your fern to its vibrant self. Next, we’ll explore effective treatments for yellow leaves.
Treatment for Yellow Leaves
🌊 Adjusting Watering Practices
To start, assess your current watering schedule. Adjust the frequency based on the moisture levels in the soil.
Using room temperature water is crucial; it helps avoid shocking your fern. This simple change can make a significant difference in its recovery.
💧 Increasing Humidity
Maintaining humidity is vital for your button fern's health.
- Use a humidifier to keep consistent humidity levels throughout the day.
- Create a pebble tray: Fill a shallow tray with pebbles and water, then place the pot on top. This method not only boosts humidity but also adds a decorative touch.
☀️ Relocating to Appropriate Light Conditions
Next, evaluate your fern's current light exposure.
If it's in direct sunlight, move it to a spot with bright, indirect light. This adjustment can prevent further yellowing and promote healthier growth.
🌱 Fertilizing with Balanced Nutrients
Choosing the right fertilizer is essential for your fern's recovery.
Opt for a balanced, water-soluble fertilizer and apply it according to package instructions. Typically, this means fertilizing every 4-6 weeks during the growing season for optimal results.
🐛 Treating Pests and Diseases
Identifying specific pests or diseases is crucial for effective treatment.
Once you've pinpointed the issue, apply appropriate treatments. For pests, insecticidal soap works well, while fungicides can tackle fungal infections effectively.
With these treatments in place, your button fern can bounce back from yellowing leaves. Next, let’s explore some preventative measures to keep your fern thriving in the long run.
Preventative Measures
Best Practices for Care 🌱
To keep your button fern thriving, maintain consistent watering and humidity levels. Using well-draining soil is crucial to prevent root rot, which can lead to yellow leaves.
Regular Monitoring 🔍
Inspect your fern weekly for any signs of yellowing leaves or other symptoms. Promptly adjust your care practices based on what you observe to ensure your plant remains healthy.
Seasonal Care Adjustments ❄️
During winter months, increase humidity as indoor air tends to be drier. Additionally, adjust your watering frequency according to seasonal changes in growth to keep your fern happy.
Choosing the Right Potting Mix 🪴
Opt for a potting mix specifically designed for ferns. A blend of peat moss, perlite, and orchid bark will provide optimal drainage and support healthy growth.
By implementing these preventative measures, you can significantly reduce the chances of yellow leaves on your button fern. Next, let’s explore how to effectively treat yellowing leaves when they do occur.
⚠️ Safety First
This content is for general information and may contain errors, omissions, or outdated details. It is not medical, veterinary advice, or an endorsement of therapeutic claims.
Always consult a qualified healthcare professional before using any plant as food, medicine, or supplement.
Never eat any plant (or feed one to pets) without confirming its identity with at least two trusted sources.
If you suspect poisoning, call Poison Control (800) 222-1222, the Pet Poison Helpline (800) 213-6680, or your local emergency service immediately.
Spotted an error? Please report it here.
Revive your button fern's health by addressing yellow leaves with Greg's customized care tips 🌱 that ensure optimal watering and nutrient levels for thriving growth!