Step-by-Step Guide to Repotting Arum 🪴
Arum maculatum
By the Greg Editorial Team
Jan 07, 2025•5 min read
This article was created with the help of AI so we can cover more plants for you. May contain errors. See one? Report it here.
Transform your Arum's health and growth potential with these essential repotting tips! 🌱✨
- 🌱 Signs your Arum needs repotting: roots out of drainage holes and stunted growth.
- 🗓️ Best time to repot is early spring, aligning with Arum's growth cycle.
- 🧰 Gather essential materials: new pot, potting soil, and tools before starting.
Signs that Arum Needs Repotting
🌱 Indicators of a Root-Bound Arum
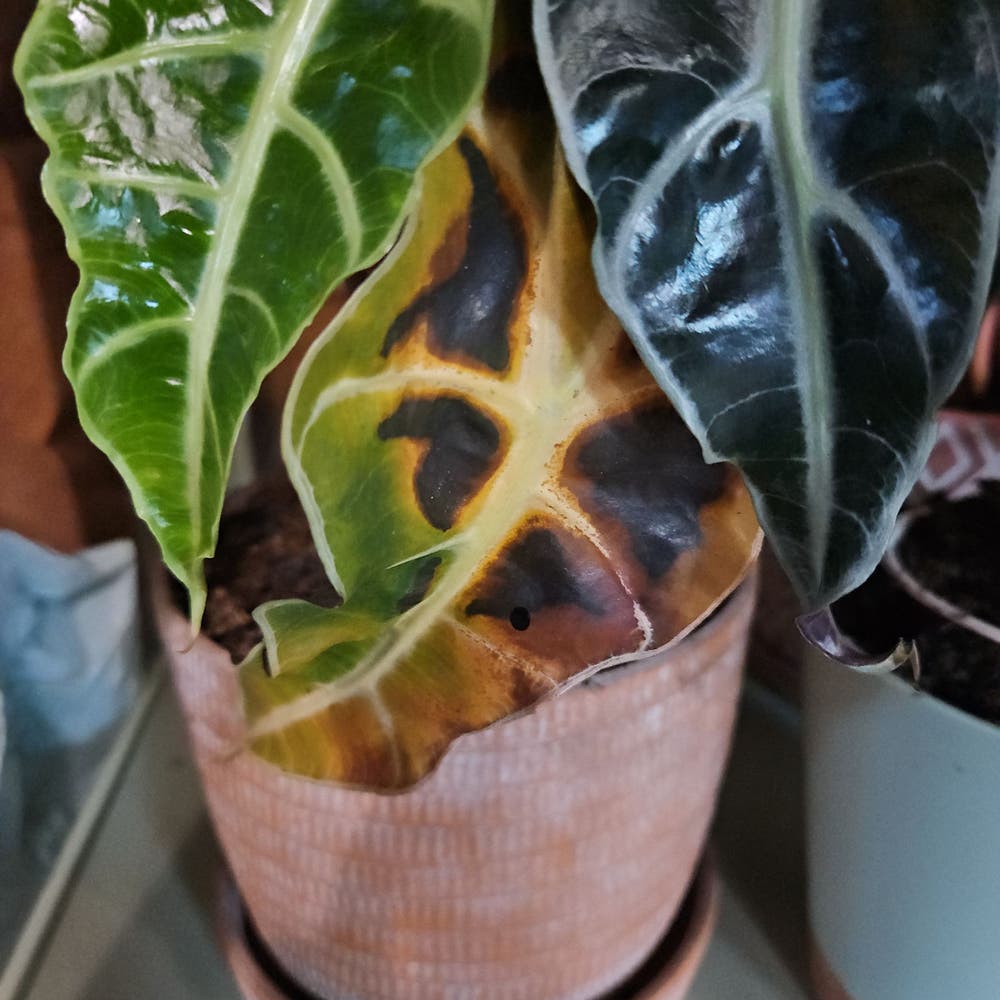
Recognizing when your Arum needs repotting is crucial for its health. Look for roots growing out of the drainage holes; this is a clear sign that the plant has outgrown its current pot.
Another indicator is soil that dries out too quickly after watering. If you notice stunted growth or yellowing leaves, it might be time to give your Arum a new home. Additionally, visible roots circling the surface of the soil suggest that the plant is root-bound and needs more space.
⏰ Timing for Repotting
The best time to repot your Arum is early spring, just before new growth begins. This timing aligns with the plant's natural growth cycle, allowing it to adjust to its new pot without stress.
Consider the seasonal growth patterns of your specific Arum variety. Some may thrive better when repotted at different times, so it's worth doing a little research to ensure optimal results.
Step-by-Step Repotting Process for Arum
Repotting your Arum can seem daunting, but with the right approach, it can be a rewarding experience. Follow these steps to ensure your plant thrives in its new home.
1. Gather Necessary Materials 🛠️
Before you start, make sure you have everything you need: a new pot, quality potting soil, and tools like a trowel and gloves. Having these on hand will streamline the process.
2. Prepare the New Pot 🪴
Check that your new pot has adequate drainage holes. Choose a pot that is 1-2 inches larger in diameter than the current one to give your Arum room to grow.
3. Remove the Arum from Its Current Pot 🚪
Gently loosen the soil around the edges of the pot. Carefully lift the plant by the base, taking care not to damage the roots during this process.
4. Inspect the Root System 🔍
Once out, take a close look at the roots. Trim any damaged or excessively long roots and gently separate any tangled roots to promote healthy growth.
5. Place the Arum in the New Pot 🌱
Position your Arum in the new pot at the same soil level as before. Fill in with potting soil, ensuring there are no air pockets that could hinder root development.
6. Water Thoroughly After Repotting 💧
After repotting, give your plant a good soak. Ensure the soil is evenly moist but avoid waterlogging, which can lead to root rot.
By following these steps, your Arum will be set up for success in its new pot. Next, let’s explore the best pot material options to enhance your plant’s growth.
Pot Material Options for Arum
🌱 Benefits of Terracotta Pots
Terracotta pots are a popular choice for Arum due to their breathability. They allow moisture to escape, helping to regulate soil moisture levels effectively.
Additionally, terracotta pots have an aesthetic appeal that many gardeners appreciate. Their weight provides stability, preventing top-heavy plants from tipping over.
🥤 Advantages of Plastic Pots
Plastic pots are lightweight and easy to handle, making them a practical option for repotting. They also retain moisture better than terracotta, which can be beneficial in warmer climates.
This moisture retention means less frequent watering, allowing you to focus on other aspects of plant care.
🎨 When to Use Ceramic Pots
Ceramic pots offer a decorative touch that can enhance your indoor or outdoor space. They retain moisture well, which is advantageous for maintaining consistent soil hydration.
However, consider the weight and drainage capabilities of ceramic pots before choosing them. Ensure they have drainage holes to prevent waterlogging.
🚫 Pot Materials to Avoid
Certain materials can be detrimental to your Arum's health. Non-breathable materials, like metal, can trap moisture and lead to root rot.
Additionally, avoid pots without drainage holes. Proper drainage is crucial for preventing water accumulation and ensuring your plant thrives.
With these pot material options in mind, you can make an informed decision that supports your Arum's growth and health. Next, let’s explore the ideal soil and drainage conditions for your repotted Arum.
Soil and Drainage for Arum
Recommended Potting Soil Mix for Arum 🌱
To create the ideal environment for your Arum, use a potting soil mix composed of 50% potting soil, 30% perlite, and 20% peat moss. This blend retains moisture while ensuring adequate drainage, which is crucial for healthy root development.
Importance of Drainage Holes for Arum Pots 🚰
Drainage holes are essential for preventing waterlogging and root rot. They also promote proper airflow to the root system, allowing your Arum to thrive.
How to Improve Drainage for Arum 🏜️
To enhance drainage, consider adding gravel or coarse sand to the bottom of the pot. Additionally, using a well-draining potting mix will further support your plant's health and growth.
With the right soil and drainage setup, your Arum will be well-equipped to flourish. Next, let's explore the various pot material options that can complement your repotting efforts.
Post-Repotting Care for Arum
💧 Watering Schedule After Repotting Arum
After repotting your Arum, the first step is to give it a thorough soak. This initial watering ensures the new soil is well-hydrated and helps settle the plant into its new home.
For follow-up care, allow the top inch of soil to dry out before watering again. This approach prevents overwatering, which can lead to root rot.
☀️ Light Requirements After Repotting
In the weeks following repotting, your Arum will thrive best in indirect sunlight. This gentle light helps the plant adjust without overwhelming it.
Gradually reintroduce your Arum to brighter light conditions. This transition will encourage healthy growth as it acclimates to its new environment.
🌱 Fertilization Tips Post-Repotting
It's crucial to hold off on fertilizing your Arum for 4-6 weeks after repotting. This waiting period allows the roots to establish themselves without the risk of fertilizer burn.
When you do fertilize, opt for a balanced, diluted fertilizer. This method provides essential nutrients without overwhelming your plant.
By following these post-repotting care tips, you'll set your Arum up for success in its new pot. Next, let’s explore the best soil and drainage options to keep your plant healthy and thriving.
⚠️ Safety First
This content is for general information and may contain errors, omissions, or outdated details. It is not medical, veterinary advice, or an endorsement of therapeutic claims.
Always consult a qualified healthcare professional before using any plant as food, medicine, or supplement.
Never eat any plant (or feed one to pets) without confirming its identity with at least two trusted sources.
If you suspect poisoning, call Poison Control (800) 222-1222, the Pet Poison Helpline (800) 213-6680, or your local emergency service immediately.
Spotted an error? Please report it here.
Repotting your Arum is easy and rewarding 🌿 when you follow these steps, and with Greg's tailored reminders and expert tips, you'll ensure your plant flourishes in its new pot!