Best Soil for Arum 🌍
Arum maculatum
By the Greg Editorial Team
Jan 07, 2025•6 min read
This article was created with the help of AI so we can cover more plants for you. May contain errors. See one? Report it here.
Transform your arum plants into vibrant beauties by mastering soil pH and nutrient balance! 🌱✨
- 🌱 Optimal soil pH for arum is between 6.0 and 7.0 for nutrient uptake.
- 🧪 Easily test soil pH with kits or DIY methods like vinegar and baking soda.
- 🌿 Regular soil monitoring prevents issues like mold, compaction, and unhealthy growth.
Soil pH and Nutrient Needs
Ideal pH Range 🌱
For optimal growth, arum plants thrive in soil with a pH range of 6.0 to 7.0. This slightly acidic to neutral pH level ensures that essential nutrients are readily available for uptake.
When the pH strays from this ideal range, nutrient availability can be severely affected. For instance, a low pH can lead to nutrient lockout, resulting in yellowing leaves and stunted growth, which are clear signs of pH imbalance.
How to Test Soil pH 🔍
Testing your soil's pH is straightforward and can be done using various methods. One of the easiest ways is to use a pH test kit, which typically includes a simple step-by-step guide for accurate results.
Alternatively, you can try DIY methods like the vinegar and baking soda tests. These household items can give you a rough estimate of your soil's acidity or alkalinity.
Interpreting pH Test Results
Once you've tested your soil, interpreting the results is crucial. If your pH is outside the ideal range, you can adjust it by adding amendments like lime to raise pH or sulfur to lower it.
Regularly checking and adjusting your soil pH will help maintain a healthy environment for your arum plants, ensuring they receive the nutrients they need to flourish.
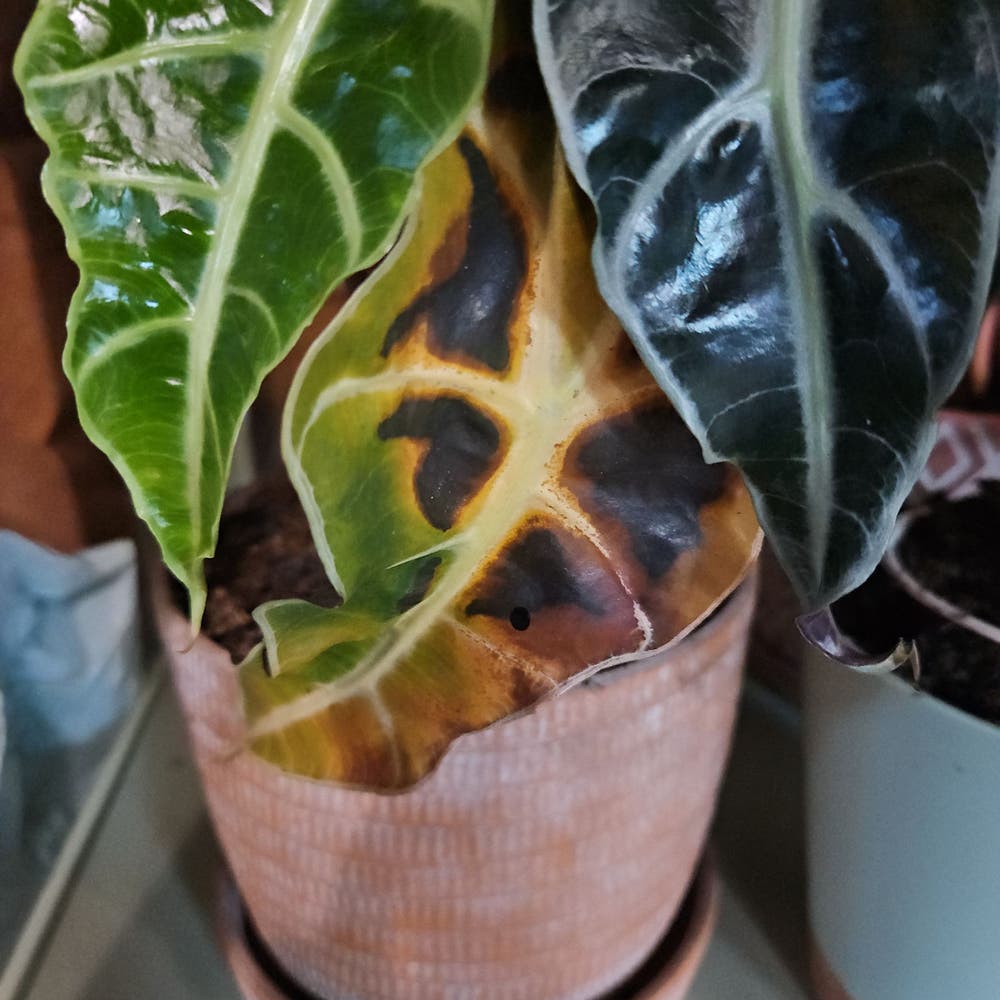
Identifying Unhealthy Soil
Signs of Unhealthy Soil 🌱
Recognizing unhealthy soil is crucial for maintaining vibrant plants. One of the most telling signs is moldy soil, which often appears as white or gray patches on the surface.
Causes of Moldy Soil
Mold typically arises from overwatering or poor drainage. If your plants are sitting in soggy soil, it’s a recipe for mold growth.
Compaction and Its Effects
Another indicator of unhealthy soil is compaction. Compacted soil leads to poor drainage and stunted growth, making it difficult for roots to access essential nutrients.
Common Soil Problems 🥴
Soil issues can manifest in various ways, often linked to nutrient deficiencies. Yellowing leaves or stunted growth can signal that your plants aren’t getting the nutrients they need.
Soil Texture Issues
Soil texture also plays a significant role in plant health. If your soil is too sandy, it may drain too quickly, while clay-heavy soil can retain too much moisture, impacting moisture retention and drainage.
Understanding these signs and symptoms is the first step in addressing soil health. By identifying these issues early, you can take proactive measures to ensure your plants thrive.
Next, let’s explore how to resolve these soil issues effectively.
Resolving Soil Issues
Steps to Amend Unhealthy Soil 🌱
To start fixing unhealthy soil, you first need to identify the problem. Assess the soil condition by checking for signs like poor drainage or stunted plant growth.
Once you've pinpointed the issue, consider recommended amendments. Adding organic matter, such as compost or well-rotted manure, can significantly enhance soil fertility.
For improving soil texture, incorporate materials like perlite or vermiculite. These amendments help create a well-aerated environment that promotes healthy root development.
How to Improve Drainage and Aeration 💧
Enhancing soil structure is crucial for plant health. You can use aeration methods like forking or tilling the soil to break up compacted areas.
Incorporating drainage materials, such as gravel or coarse sand, is another effective technique. These additions facilitate better water movement and prevent waterlogging.
Solutions for Moldy Soil and Prevention Methods 🦠
If you encounter moldy soil, immediate action is necessary. Start by reducing the watering frequency to allow the soil to dry out, which helps prevent further mold growth.
Next, remove any visible mold by scraping off the top layer of soil. This quick fix can make a significant difference in your plant's health.
For long-term prevention, choose the right potting mix that promotes drainage and aeration. Additionally, monitor moisture levels using moisture meters to ensure your plants are neither overwatered nor underwatered.
By addressing these soil issues proactively, you can create a thriving environment for your plants to flourish. Next, let’s explore how to create a homemade soil mix tailored to your specific gardening needs.
Creating a Homemade Soil Mix
🍂 Ingredients for an Ideal Homemade Soil Mix
Creating the perfect homemade soil mix is essential for healthy arum plants. Start with a solid base of equal parts potting soil and compost to provide essential nutrients.
For drainage, incorporate perlite or coarse sand. These materials help prevent waterlogging, ensuring your plants' roots breathe and thrive. Finally, add a nutrient boost with organic fertilizers like bone meal to enhance growth.
🛠️ Step-by-Step Guide to Mixing Soil
- Gather materials: Collect potting soil, compost, perlite, and your chosen organic fertilizers.
- Combine ingredients: In a large container, mix the potting soil and compost first.
- Mix thoroughly: Ensure even distribution of all components for a balanced soil mix.
🌱 Tips for Customizing Soil Based on Specific Needs
Adjust your soil mix based on the specific needs of your arum plants. For varieties that require more moisture retention, consider increasing the compost ratio.
Conversely, if your plants need better drainage, enhance the mix with additional perlite or coarse sand. Seasonal adjustments can also be beneficial; modify your soil mix according to the growth cycles of your plants for optimal health.
With these tips, you’ll create a customized soil mix that supports vibrant growth and robust health for your arum plants. Next, let’s explore how to maintain and care for your soil to keep it in top condition.
Soil Maintenance and Care
Best Practices for Maintaining Soil Health 🌱
Maintaining healthy soil is crucial for the vitality of your arum plants. Regular monitoring is key; check for compaction and moisture levels to ensure your soil remains aerated and well-drained.
Adding organic matter, such as compost, is another essential practice. Aim for an annual top-dressing to enrich the soil and promote beneficial microbial activity.
When to Repot and Refresh Soil 🪴
Knowing when to repot your plants can make a significant difference in their health. Look for signs that repotting is necessary, such as root-bound plants with roots growing out of drainage holes.
Additionally, soil degradation can signal the need for a refresh. If you notice a loss of structure or nutrients, it’s time to consider repotting and providing fresh soil.
Seasonal Considerations for Soil Care 🍂
Adjusting your soil care practices with the changing seasons can enhance plant growth. In spring, focus on refreshing soil and nutrients to support new growth.
As fall approaches, prepare your soil for dormancy and winter conditions. This proactive approach helps ensure your arum plants thrive year-round.
By following these maintenance tips, you can create a thriving environment for your arum plants. Next, let’s explore how to create a homemade soil mix tailored to their specific needs.
⚠️ Safety First
This content is for general information and may contain errors, omissions, or outdated details. It is not medical, veterinary advice, or an endorsement of therapeutic claims.
Always consult a qualified healthcare professional before using any plant as food, medicine, or supplement.
Never eat any plant (or feed one to pets) without confirming its identity with at least two trusted sources.
If you suspect poisoning, call Poison Control (800) 222-1222, the Pet Poison Helpline (800) 213-6680, or your local emergency service immediately.
Spotted an error? Please report it here.
Create the ideal soil mix 🌿 for your arum plants with Greg's tailored tips and reminders, ensuring they thrive in a healthy environment!