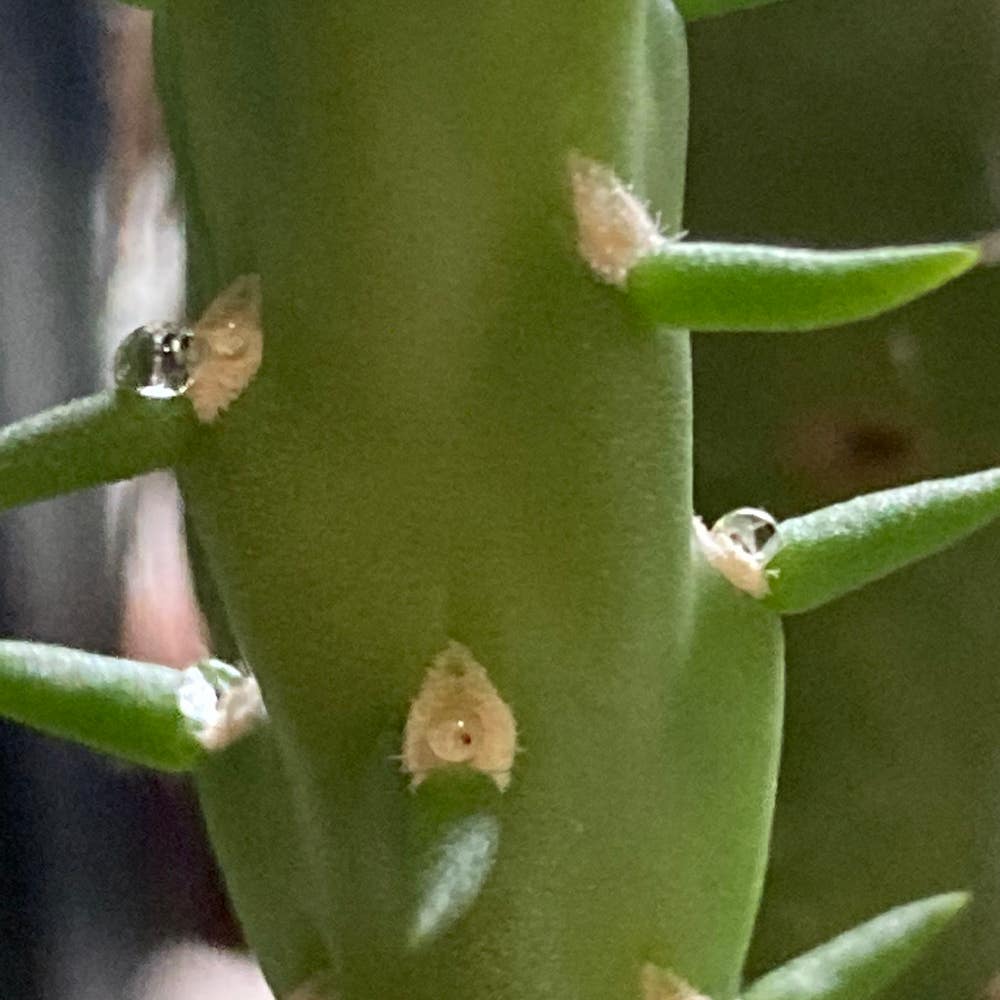
🌵 3 Tips for How to Plant Cholla Cactus
Cylindropuntia kleiniae
By the Greg Editorial Team
Nov 23, 2024•5 min read
This article was created with the help of AI so we can cover more plants for you. May contain errors. See one? Report it here.
Transform your garden into a desert oasis 🌵 by mastering the planting and transplanting of Cholla cactus!
- 🌵 Plant Cholla cactus in spring for optimal growth after frost.
- 🧤 Use gloves for safe handling to avoid painful spines during planting.
- 💧 Water sparingly and ensure well-draining soil to prevent root rot.
Key Considerations for Planting Cholla Cactus
🌱 Planting vs. Transplanting
When it comes to Cholla cactus, you have two primary options: planting new specimens or transplanting established ones. Each method has its own set of advantages and disadvantages that can influence your gardening experience.
Planting New Cholla Cactus
Planting new Cholla cactus is often a cost-effective choice. It allows you to start fresh and adapt the plants to your specific environment from the get-go.
However, this method does come with some drawbacks. New plants typically take longer to mature and require more initial care to thrive.
Transplanting Established Cholla Cactus
On the other hand, transplanting established Cholla cactus can provide immediate visual impact in your garden. These plants already have established roots, making them more resilient in their new location.
Yet, this approach isn't without risks. Transplant shock can occur, leading to wilting or damage if not handled carefully.
Understanding these key considerations will help you decide which method best suits your gardening goals. Whether you choose to plant new or transplant established Cholla cactus, being informed will set you up for success.
Next, let's dive into the specifics of planting new Cholla cactus, starting with the optimal timing for planting.
Planting New Cholla Cactus
🌱 Optimal Timing for Planting
The best time to plant Cholla cactus is in the spring or early summer, ideally after the last frost. This timing aligns with their natural growth cycle, allowing them to establish roots effectively.
🪴 Selecting Soil Mix and Containers
For optimal growth, use a well-draining cactus mix or create your own with sand, perlite, and potting soil. Choose pots with drainage holes, ideally 6-12 inches deep, to prevent water accumulation.
📏 Proper Depth and Spacing
When planting, ensure small plants are placed 2-3 inches deep, while larger ones should be 4-6 inches deep. Maintain a spacing of 3-4 feet between each cactus to promote healthy growth.
☀️ Maintaining Ideal Growing Conditions
Cholla cacti thrive in full sun, requiring 6-8 hours of sunlight daily. Water them sparingly, allowing the soil to dry out completely between waterings, and keep temperatures between 70°F to 100°F (21°C to 38°C) for best results.
🌤️ Hardening Off Process
Before planting outdoors, gradually expose your Cholla cactus to outdoor conditions over 1-2 weeks. Start with 1-2 hours of shaded exposure, then slowly increase both time and sunlight, monitoring for any signs of stress.
Transitioning from planting to transplanting established Cholla cacti can be a rewarding next step. Understanding the nuances of each process will help ensure your cacti thrive in their new environment.
Transplanting Established Cholla Cactus
🌱 Optimal Timing for Transplanting
Transplanting your Cholla cactus is best done in early spring or fall. These cooler temperatures help minimize stress on the plant, allowing it to adapt more easily to its new environment.
🛠️ Step-by-Step Instructions for Transplanting
Removing the Plant
- Water the cactus a day before transplanting to reduce stress on the roots.
- Use gloves and tongs for safe handling, protecting yourself from spines.
- Dig around the base of the cactus to expose the roots while keeping the soil intact.
Preparing the New Site
- Choose a location that receives full sun and has well-draining soil.
- Amend the soil with sand or perlite if necessary to enhance drainage.
- Dig a hole that is twice the width of the root ball to give the roots ample space.
Ensuring Proper Placement and Spacing
Position the cactus in the center of the hole, ensuring it stands upright. Fill in with soil, making sure the top of the root ball is level with the surrounding ground, and maintain a spacing of 3-4 feet between plants for optimal growth.
💧 Tips for Watering, Mulching, and Support
After transplanting, water the cactus lightly and then allow the soil to dry out completely. Use gravel or small rocks as mulch to help retain moisture and deter weeds. For larger varieties, consider providing stakes for support until they establish themselves.
Transplanting can be a rewarding experience, setting the stage for your Cholla cactus to thrive in its new home. Next, let’s explore how to troubleshoot common issues that may arise during this process.
Troubleshooting Common Issues
🌱 Identifying and Addressing Transplant Shock
Transplant shock can be a real concern when moving your Cholla cactus. Look for symptoms like wilting, yellowing, or dropping pads, which indicate your plant is struggling.
To help your cactus recover, minimize disturbance around the plant. Providing shade initially can also ease the transition and reduce stress.
🛠️ Solutions for Establishment Problems
Once planted, your Cholla cactus may face establishment problems. Signs of trouble include stunted growth and poor color, signaling that something isn't right.
To remedy these issues, ensure you're watering appropriately and check that the soil has good drainage. Both factors are crucial for a healthy cactus.
🐞 Common Pests and Diseases
Cholla cacti can attract pests like scale insects and mealybugs. These pests can sap the strength of your plant if not addressed promptly.
Additionally, be wary of diseases such as root rot, which often results from overwatering. Regular inspection and proper watering techniques are your best defenses against these common issues.
By staying vigilant and proactive, you can ensure your Cholla cactus thrives in its new environment. Next, let’s explore how to maintain ideal growing conditions for your cactus.
⚠️ Safety First
This content is for general information and may contain errors, omissions, or outdated details. It is not medical, veterinary advice, or an endorsement of therapeutic claims.
Always consult a qualified healthcare professional before using any plant as food, medicine, or supplement.
Never eat any plant (or feed one to pets) without confirming its identity with at least two trusted sources.
If you suspect poisoning, call Poison Control (800) 222-1222, the Pet Poison Helpline (800) 213-6680, or your local emergency service immediately.
Spotted an error? Please report it here.
Plant your Cholla cactus with confidence 🌵 knowing that Greg's tailored care reminders and expert tips will help you nurture them to thrive in their new environment!