🌱 Best Tips for Propagating Button Fern
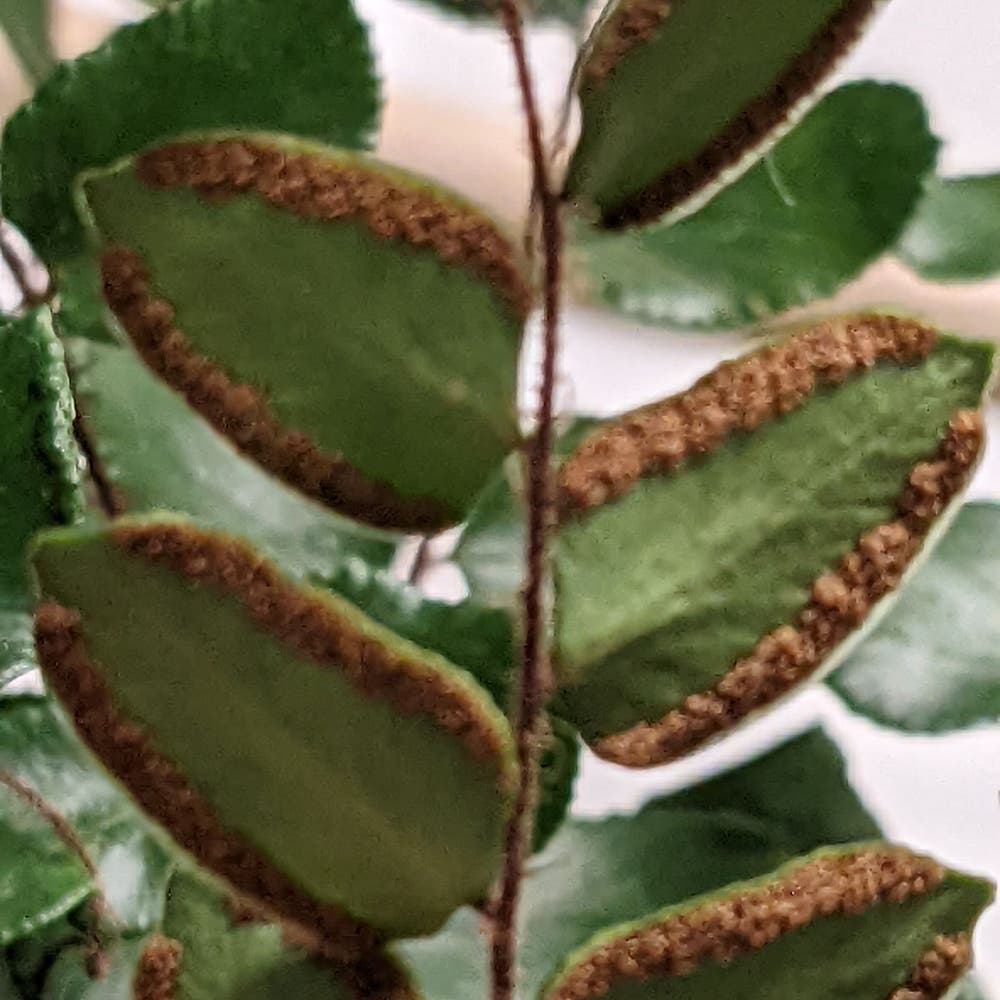
Hemionitis rotundifolia
By the Greg Editorial Team
Oct 11, 2024•4 min read
This article was created with the help of AI so we can cover more plants for you. May contain errors. See one? Report it here.
- 🌱 Propagate Button Fern using spores, cuttings, or division for best results.
- 💧 Maintain high humidity (70-80%) and indirect light for successful spore germination.
- ✂️ Divide during growing season to prevent overcrowding and promote healthy growth.
Propagation Methods
🌱 Propagating from Spores (difficulty: moderate)
Step-by-step guide on collecting and sowing spores
To start propagating Button Fern from spores, first, identify mature spore cases located on the underside of the fronds. Carefully cut the frond and place it in a paper bag to collect the spores.
Allow the spores to dry for 1-2 days before sowing. Next, prepare a shallow tray filled with a sterile, well-draining soil mix. Sprinkle the spores evenly over the surface and lightly mist with water to ensure they are damp but not soaked.
Ideal conditions for spore germination
For successful germination, maintain a temperature between 20°C to 24°C (68°F to 75°F). High humidity is crucial; aim for around 70-80% using a humidity dome or plastic wrap.
Provide indirect light for 12-16 hours a day to encourage the spores to sprout. This combination of warmth, moisture, and light creates the perfect environment for your Button Fern to thrive.
✂️ Propagating from Cuttings (difficulty: easy)
How to take cuttings from the Button Fern
Select healthy fronds that are at least 6 inches long for cuttings. Use sterilized scissors to cut just below a node, which is essential for rooting.
Remove any lower leaves to expose the node, making it easier for roots to develop. This simple preparation sets the stage for successful propagation.
Best practices for rooting cuttings
Dip the cut end of the frond in rooting hormone to promote root growth. Plant the cutting in a moist, well-draining soil mix to provide the necessary nutrients.
Cover the cutting with a plastic bag or dome to maintain humidity. Place it in a location with indirect light and keep the soil consistently moist for the best results.
🌿 Propagating by Division (difficulty: moderate)
Identifying the right time for division
The best time to divide your Button Fern is during the growing season, specifically in spring or early summer. Look for signs of overcrowding or when the plant has multiple crowns, indicating it's time for division.
Step-by-step instructions for dividing Button Fern
- Carefully remove the fern from its pot, taking care not to damage the roots.
- Gently separate the root ball into sections, ensuring each section has both roots and fronds.
- Re-pot each division in fresh soil, ensuring adequate spacing between them.
Post-division care tips
After re-potting, water thoroughly to settle the soil around the roots. Place the newly divided ferns in a shaded area for about a week to reduce transplant shock.
Gradually reintroduce them to indirect light conditions to help them acclimate. This careful approach will encourage healthy growth.
⏰ Timing for Propagation
Best Seasons for Propagation
Spring is the optimal time for all propagation methods. Avoid attempting to propagate during the winter months when the plant is dormant, as this can hinder growth.
Signs of Successful Propagation
For spores, look for tiny green shoots (prothalli) appearing within 4-6 weeks. If you're propagating from cuttings, new growth and roots should develop within 4-8 weeks.
For divisions, new fronds emerging within 2-4 weeks indicate that your efforts have been successful. These signs will reassure you that your propagation methods are working.
🐛 Common Challenges in Propagation
Troubleshooting Propagation Issues
If you experience poor germination, check for adequate humidity and light conditions. For wilting cuttings, ensure the soil is moist but not soggy; mist them regularly to maintain moisture.
Slow growth after division may indicate root damage; ensure humidity levels are maintained. Addressing these issues promptly can lead to better outcomes.
Pests and Diseases Affecting Propagation
Common pests like aphids and spider mites can affect your ferns. Check for webbing or sticky residue on the leaves as indicators of infestation.
Control methods include using insecticidal soap or neem oil for treatment. Additionally, monitor for fungal diseases by ensuring good air circulation and avoiding overwatering, which can lead to root rot.
With these propagation methods in hand, you're well-equipped to cultivate your Button Fern successfully. Next, let's explore the best practices for nurturing your new plants.
⚠️ Safety First
This content is for general information and may contain errors, omissions, or outdated details. It is not medical, veterinary advice, or an endorsement of therapeutic claims.
Always consult a qualified healthcare professional before using any plant as food, medicine, or supplement.
Never eat any plant (or feed one to pets) without confirming its identity with at least two trusted sources.
If you suspect poisoning, call Poison Control (800) 222-1222, the Pet Poison Helpline (800) 213-6680, or your local emergency service immediately.
Spotted an error? Please report it here.
Propagating your Button Fern is a breeze 🌱 with Greg's tailored reminders and expert tips to ensure your spores, cuttings, or divisions thrive!