Best Tips for Propagating Bitterroot 🌸
Lewisia spp.
By the Greg Editorial Team
Aug 24, 2024•5 min read
This article was created with the help of AI so we can cover more plants for you. May contain errors. See one? Report it here.
- 🌱 Collect Bitterroot seeds in late summer for best germination results.
- ❄️ Cold stratification is essential; refrigerate seeds for 4-6 weeks before planting.
- 🌞 Provide 12-16 hours of light daily for optimal seed sprouting success.
Propagating Bitterroot from Seeds
Step-by-Step Instructions
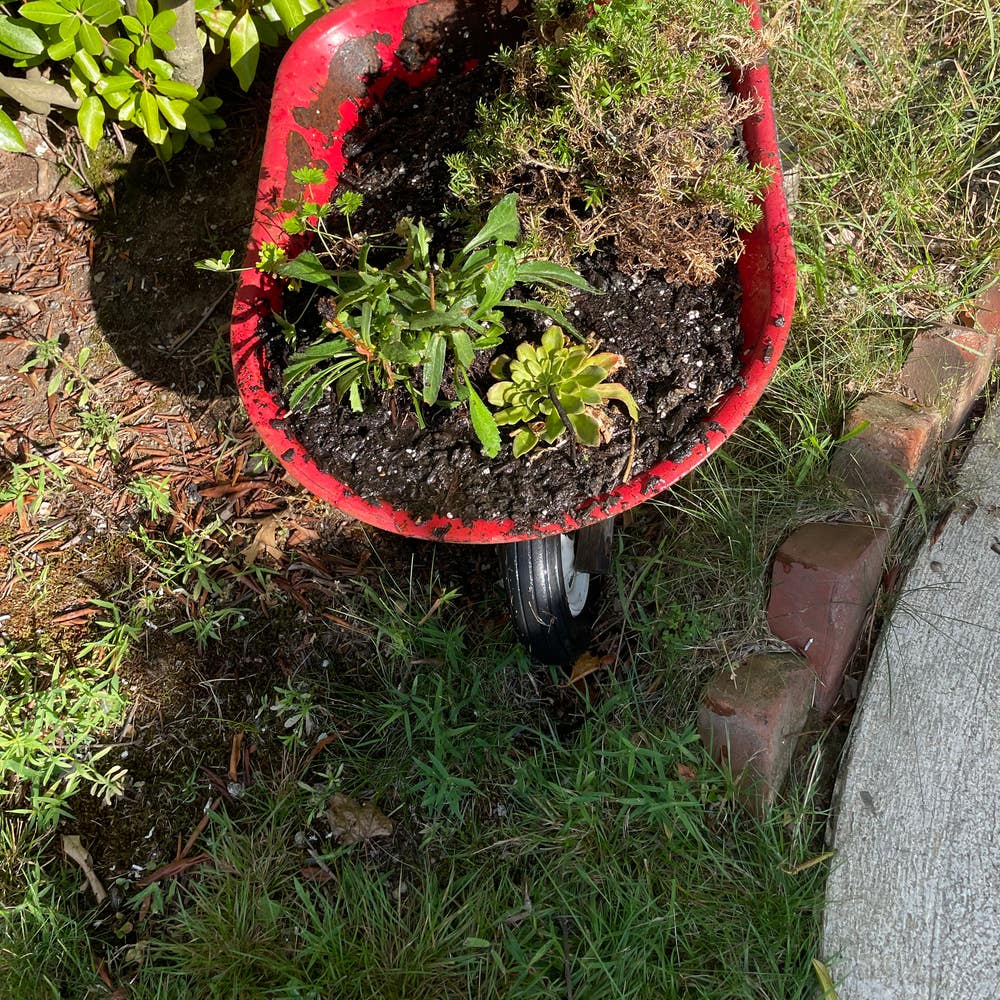
Seed Collection
Timing is crucial when collecting Bitterroot seeds. Aim for late summer to early fall, after the flowers have dried.
To collect, gently shake the seed pods and let the seeds fall into a paper bag. This method ensures you gather them without damaging the plant.
Stratification Process
Cold stratification is essential for seed germination. Place your seeds in a damp paper towel, seal them in a plastic bag, and refrigerate for 4-6 weeks.
This mimics natural winter conditions, preparing the seeds for sprouting.
Sowing Seeds
Soil preparation is key for successful sowing. Use a well-draining seed-starting mix to give your seeds the best chance.
Scatter the seeds on the surface and lightly press them into the soil. Mist the surface gently to avoid displacing the seeds.
🌱 Ideal Conditions for Germination
Temperature
Maintaining the right temperature is vital. Aim for a range of 65°F to 75°F (18°C to 24°C) for optimal germination.
Light
Provide indirect sunlight or fluorescent light for 12-16 hours daily. This will help your seeds thrive as they begin to sprout.
Humidity
Keep the soil consistently moist but not waterlogged. A balanced humidity level is crucial to prevent seed rot.
⏰ Timing for Seed Collection and Planting
Best Time for Collection
The best time to collect seeds is late summer to early fall. This ensures they are mature and ready for propagation.
Ideal Planting Time
For planting, early spring after the last frost is ideal. This timing allows seedlings to establish before the heat of summer.
By following these steps, you'll set yourself up for a successful Bitterroot propagation journey. Next, let’s explore how to propagate Bitterroot from cuttings for even more options!
Propagating Bitterroot from Cuttings
🌱 Best Time for Taking Cuttings
The ideal time to take cuttings is late spring to early summer, right after the flowering period. This timing ensures that the plant is healthy and full of vigor.
✂️ Preparation of Cuttings
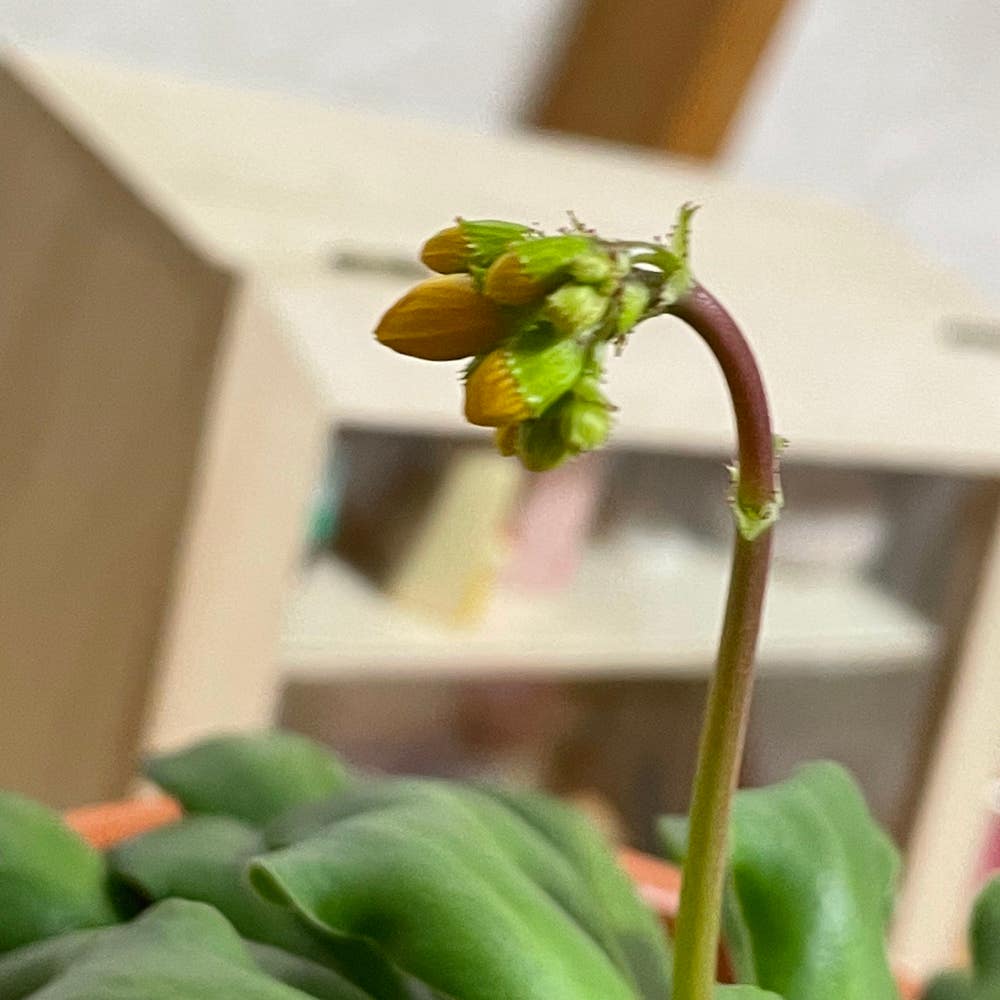
Selecting Cuttings
Choose healthy, non-flowering stems that are about 4-6 inches long. This length is perfect for promroots strong root growth.
Cutting Technique
Use clean, sharp scissors to make your cut just below a leaf node. This technique helps maximize the chances of successful rooting.
roototing Hormone Application
To enhance root development, dip the cut end of the cutting in rooting hormone. This step can significantly improve your success rate.
🌧️ Care for Cuttings Durwell-draining### Planting
Insert the cuttings into a well-draining potting mix. This ensures that excess moisture can escape, preventing rot.
Watering
Mist the cuttiBitterrooty and cover them with a plastic bag to maintain humidity. This creates a mini-greenhouse effect, which is crucial for rooting.
Light
Provide indirect sunlight and maintain a temperature of around 70°F (21°C). These conditions will help your cuttings thrive asspider mitesish roots.
By following these steps, you can successfully propagate Bitterroot from cuttings, setting the stage for a flourishing garden. Next, let’s explore how to divide existing Bitterroot plants for even more propagation opportunities.
Dividing Bitterroot Plants
When to Divide Bitterroot 🌱
Timindrainagecial when dividing Bitterroot. Aim for early spring or fall, just before new growth begins, to ensure the plant's health and vitality.
#Temperatureeded for Division 🛠️ Gather the right tools to make the process smooth and efficient. You'll need:
- A sharp spade or garden fork
- A clean, sharp knife
- Gloves (optional, but can protect your hands)
Bitterrootep Division Process 📝
Follow these steps for successful division:
Preparing the Plant
Water the plant a day before division. This helps reduce stress on the roots.Lifting the Plant
Carefully dig around the plant to expose the root system. Take your time to avoid damaging the roots.Dividing the Roots
Use a knife to cut the root ball into sections. Ensure each section has a healthy root and leaf structure for the best chance of survival.
Post-Divishumidity 🌿
After dividing, replant the sections immediately in well-draining soil. Water Divisionroughly and provide partial shade for the first few weeks to help them acclimate.
By following these steps, you can successfully divide Bitterroot plants and promote healthy growth. Next, let’s explore common challenges you might face durinOverwateringn.
Common Challenges in Bitterroot Propagation
🐛 Pests and Diseases to Watch For
When propagating Bitterroot, be vigilant about pests like aphids and spider mites. These tiny invaders can wreak havoc on your plants, sucking the life out of them.
Root rot is another significant concern, often caused by overwatering. It's essential to monitor your watering habits to keep your plants healthy and thriving.
🌧️ Environmental Factors Affecting Propagation Success
Soil drainage plays a crucial role in the success of your Bitterroot propagation. Ensure your soil is well-draining to prevent the dreaded root rot.
Temperature fluctuations can also impact your seedlings. Protect them from extreme temperatures to give them the best chance at thriving.
By keeping an eye on these challenges, you can set yourself up for successful Bitterroot propagation. Next, let’s explore some best practices to ensure your efforts yield beautiful results.
Tips for Successful Propagation
🌱 Best Practices for Each Method
When propagating Bitterroot, each method has its own best practices.
Seeds: Ensure you follow the stratification process and provide adequate light conditions. This will enhance germination rates and lead to healthier seedlings.
Cuttings: Always use rooting hormone to boost root development. Maintaining humidity is crucial, so mist the cuttings and cover them to create a greenhouse effect.
Division: Handle the roots with care to avoid damage. This will help the plant recover quickly and thrive in its new location.
❌ Common Mistakes to Avoid
Avoiding common pitfalls can make a significant difference in your propagation success.
Overwatering is a frequent issue; always monitor moisture levels to prevent root rot.
Ignoring dormancy can also hinder your efforts. Be mindful of seed dormancy requirements to ensure successful germination.
By following these tips and avoiding common mistakes, you'll set yourself up for successful Bitterroot propagation. Next, let’s explore the common challenges you might face during this process.
⚠️ Safety First
This content is for general information and may contain errors, omissions, or outdated details. It is not medical, veterinary advice, or an endorsement of therapeutic claims.
Always consult a qualified healthcare professional before using any plant as food, medicine, or supplement.
Never eat any plant (or feed one to pets) without confirming its identity with at least two trusted sources.
If you suspect poisoning, call Poison Control (800) 222-1222, the Pet Poison Helpline (800) 213-6680, or your local emergency service immediately.
Spotted an error? Please report it here.
Propagate your Bitterroot like a pro 🌿 with Greg's tailored reminders and expert tips that ensure your seeds and cuttings thrive in perfect conditions!