🌱 Step-by-Step Guide to Repotting Bitterroot
Lewisia spp.
By the Greg Editorial Team
Aug 24, 2024•5 min read
This article was created with the help of AI so we can cover more plants for you. May contain errors. See one? Report it here.
- 🌱 Repot when root-bound or growth stalls; early spring or fall is ideal.
- 🧰 Gather essential tools: pruning shears, trowel, gloves, pot, and well-draining soil.
- 💧 Ensure proper drainage to prevent root rot; monitor plant health post-repotting.
When to Repot
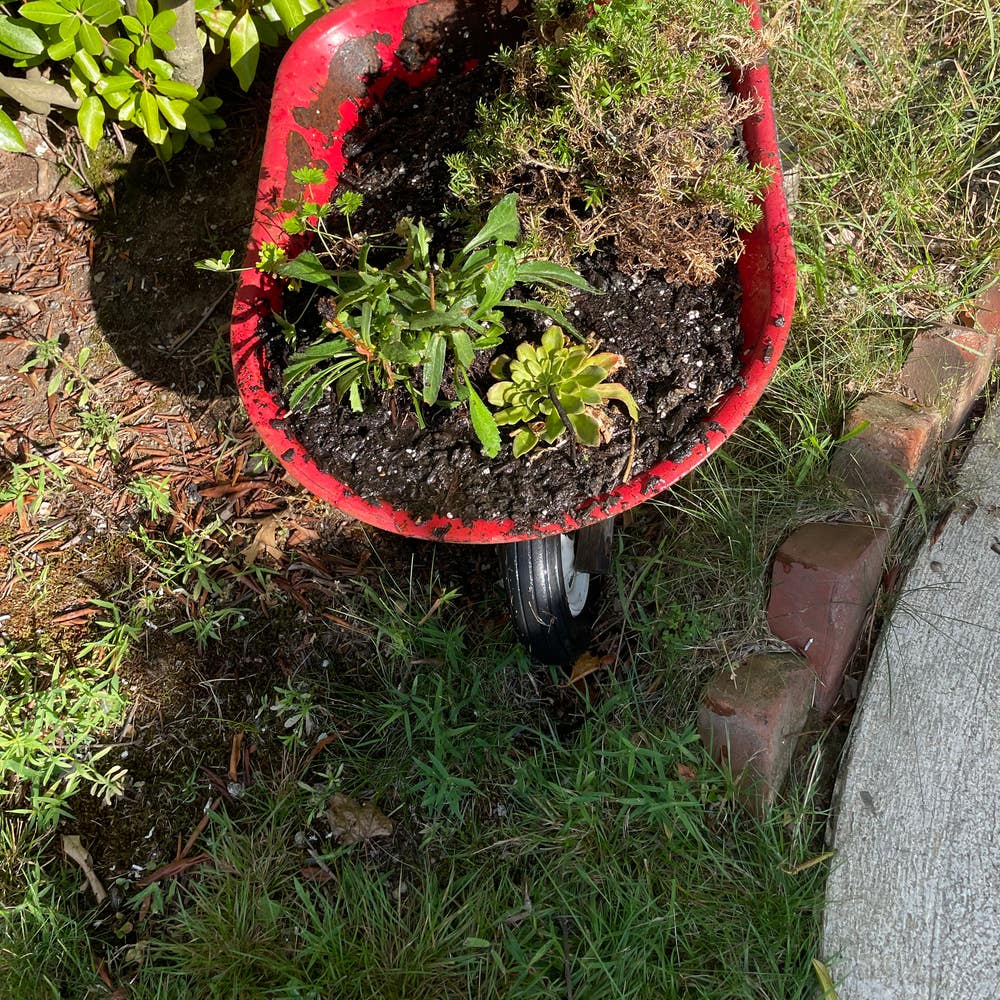
🌱 Signs that Bitterroot Needs Repotting
Recognizing when your Bitterroot needs repotting is crucial for its health. Look for root-bound symptoms, such as roots growing out of drainage holes or circling the pot.
Another sign is stunted growth. If your plant shows little new growth or flowering despite optimal care, it’s time to consider repotting.
Additionally, check the soil condition. Compacted or depleted soil that retains too much moisture can hinder your plant's growth and health.
📅 Seasonal Considerations for Repotting
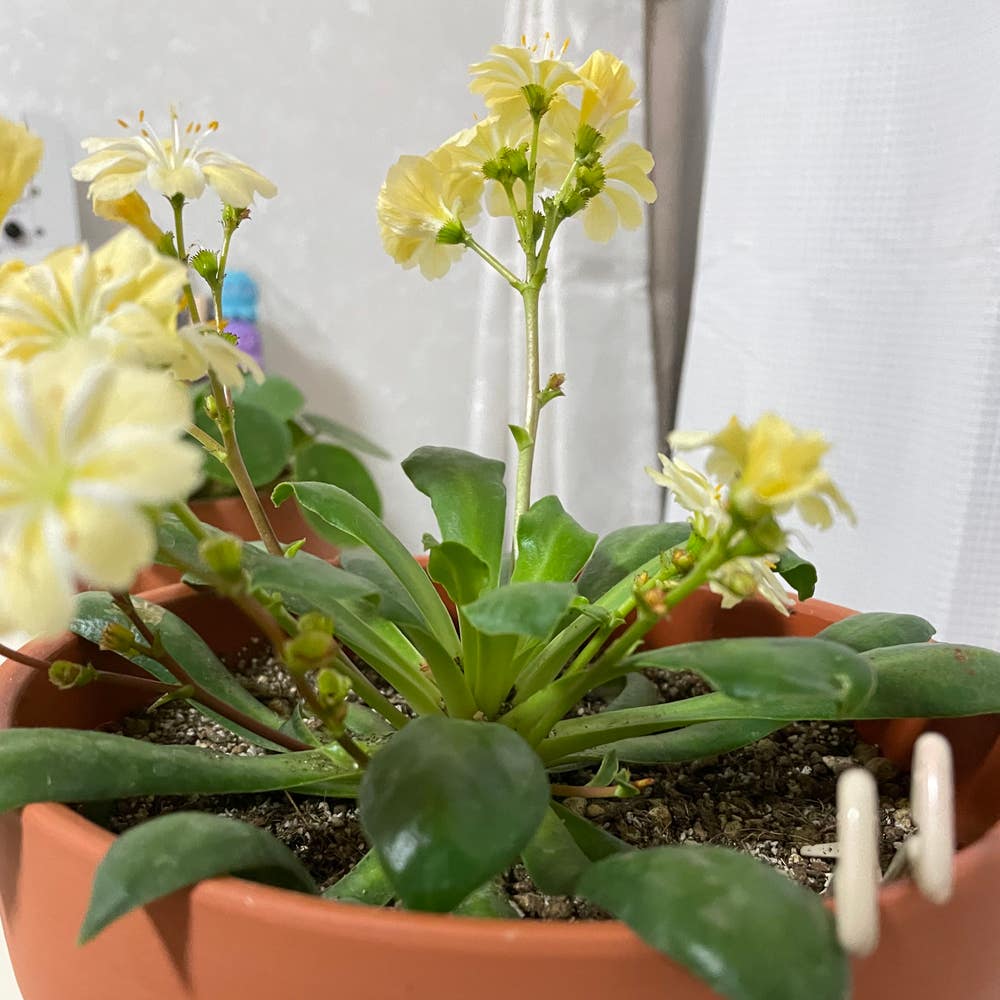
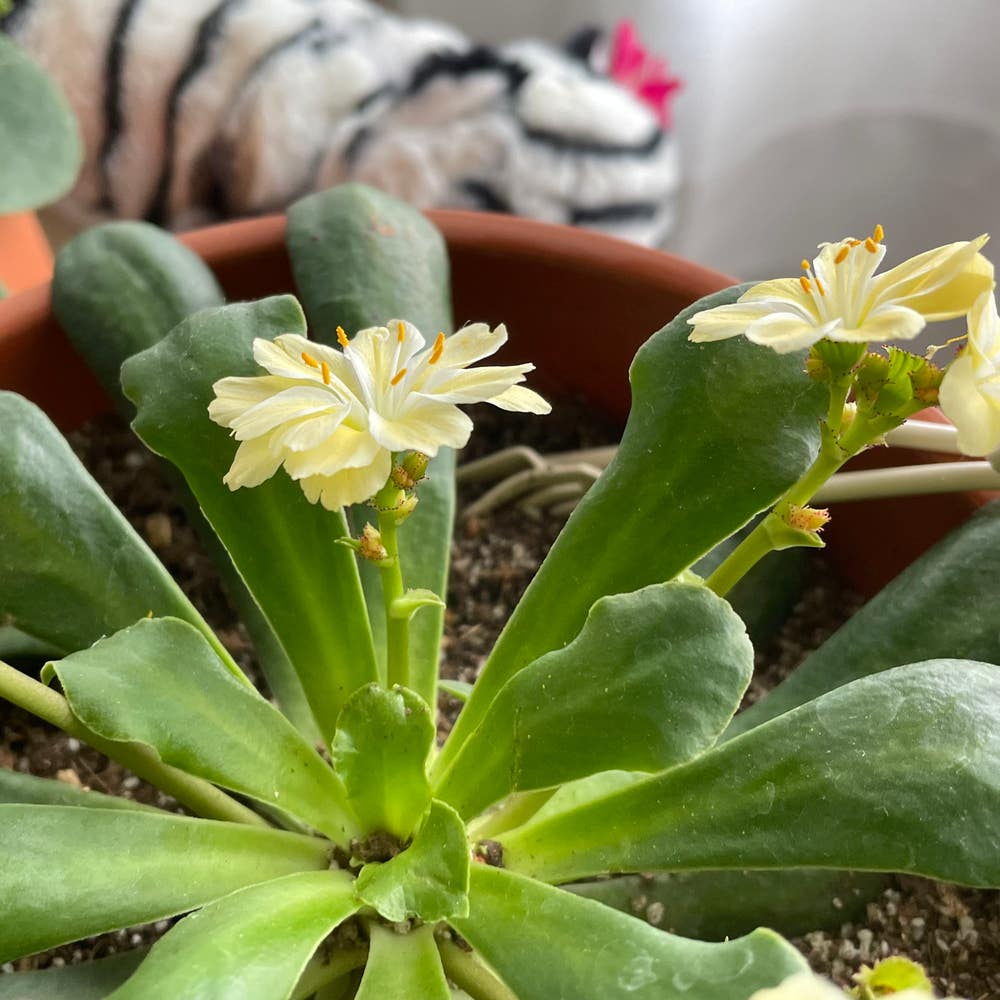
Timing is everything when it comes to repotting. The best times are early spring or fall, periods when the plant is not actively flowering.
Repotting during dormancy helps minimize stress. This approach allows your Bitterroot to adjust more easily to its new environment, ensuring a smoother transition.
By keeping an eye on these signs and timing your repotting wisely, you'll set your Bitterroot up for success. Next, let’s dive into the step-by-step process of repotting your plant effectively.
Step-by-Step Repotting Process
🛠️ Preparing for Repotting (Tools and Materials Needed)
Before diving into repotting your Bitterroot, gather your tools. You'll need clean, sharp pruning shears, a trowel, and gloves to protect your hands.
Next, collect your materials. A new pot, a well-draining soil mix, and optional root hormone will set you up for success.
🪴 Removing from Current Pot
To start, gently loosen the soil around the edges of the pot. This helps to free the roots without causing damage.
Once the soil is loosened, carefully lift the plant out, supporting the base. This step is crucial to avoid any unnecessary stress on the roots.
🔍 Inspecting and Trimming Roots
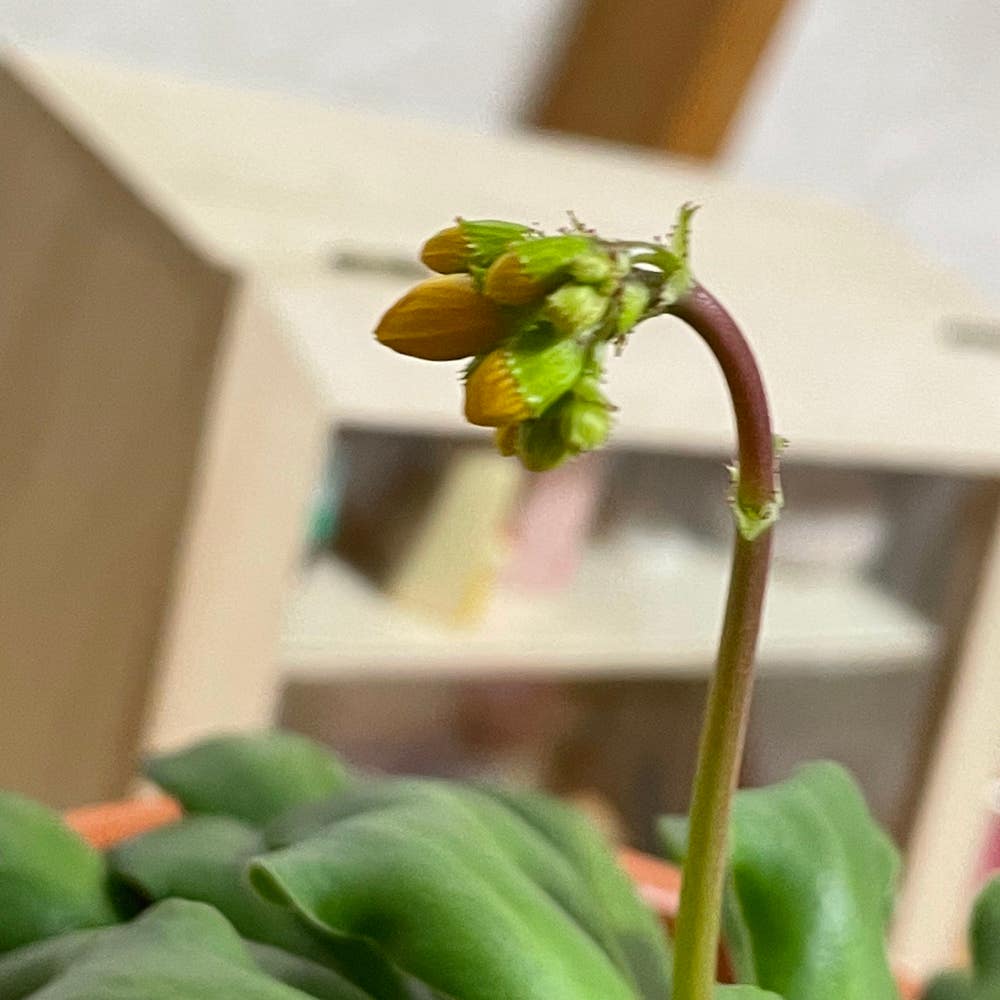
Now, it's time to inspect the roots. Look for healthy white roots, which indicate vitality, versus brown, mushy ones that signal decay.
If you find any dead or damaged roots, trim them away using sterilized shears. This promotes healthier growth moving forward.
📏 Choosing the Right Pot Size
When selecting a new pot, aim for one that is 1-2 inches larger in diameter than the current pot. This small increase provides ample space for root expansion.
Choosing the right size is essential. It ensures adequate room for growth while preventing excessive moisture retention in the soil.
With these steps completed, you're well on your way to successfully repotting your Bitterroot. Next, let’s explore the various pot material options to find the best fit for your plant.
Pot Material Options
Benefits of Clay Pots 🌱
Clay pots are a gardener's best friend when it comes to air circulation. Their porous nature allows moisture to evaporate, preventing root rot and keeping your bitterroot healthy.
Additionally, the weight of clay pots provides stability, especially for top-heavy plants. This means less risk of tipping over, giving you peace of mind as your plant grows.
Advantages of Plastic Pots 💡
Plastic pots are a fantastic option for those who prioritize convenience. They are lightweight, making them easy to handle and move around your garden or home.
Moreover, plastic pots are generally more cost-effective than their clay counterparts. This affordability allows you to invest in more plants without breaking the bank.
Disadvantages of Ceramic Pots ⚖️
While ceramic pots can be visually appealing, they come with some drawbacks. Their weight can make them cumbersome to manage, especially if you need to reposition them.
Another concern is drainage. Many ceramic pots lack adequate drainage holes, which can lead to overwatering and root issues. This is a critical factor to consider when choosing the right pot for your bitterroot.
Considerations for Biodegradable Pots 🌍
Biodegradable pots are an eco-friendly choice that appeals to environmentally conscious gardeners. They decompose over time, reducing waste and benefiting the planet.
However, they do have limitations. These pots may not provide sufficient drainage or stability for long-term use, so consider them for short-term planting or seedlings rather than permanent homes for your bitterroot.
As you weigh your options, think about what matters most for your plant's health and your gardening style. Choosing the right pot material is a crucial step in ensuring your bitterroot thrives.
Next, let’s dive into the soil and drainage requirements to keep your plant happy and healthy!
Soil and Drainage Requirements
Ideal Soil Mix 🌱
For your Bitterroot, the right soil mix is crucial. A blend of cactus mix, perlite, and sand creates an optimal environment for drainage.
The ideal pH level should range from slightly acidic to neutral, between 6.0 and 7.0. This balance supports healthy growth and prevents nutrient deficiencies.
Importance of Drainage 🚰
Proper drainage is essential for preventing root rot. Healthy roots need air and moisture balance to thrive.
Make sure your pots have drainage holes. This feature allows excess water to escape, keeping your plant's roots happy and healthy.
Creating a Well-Draining Mix 🛠️
To create your well-draining mix, follow these simple steps:
- Combine equal parts of cactus mix and perlite.
- Add a small amount of sand to enhance drainage.
This mix will ensure your Bitterroot has the right conditions to flourish. With the right soil and drainage, your plant will be set up for success.
Next, let’s explore the post-repotting care to keep your Bitterroot thriving!
Post-Repotting Care
💧 Watering After Repotting
After repotting your Bitterroot, it's crucial to water it lightly. This helps settle the soil without drowning the roots.
Allow the top inch of soil to dry out before watering again. This prevents overwatering, which can lead to root rot.
☀️ Light Requirements Post-Repotting
When reintroducing your plant to light, do so gradually. Sudden exposure to full sunlight can shock the plant.
Aim for a balance of full sun to partial shade for optimal growth. This ensures your Bitterroot thrives in its new environment.
👀 Monitoring for Stress or Shock
Keep an eye out for signs of stress, such as wilting or yellowing leaves. These can indicate that your plant is struggling to adjust.
To help it recover, maintain stable conditions and avoid overwatering. Your care will make all the difference in its adaptation process.
With proper post-repotting care, your Bitterroot will flourish in its new home. Next, let’s explore the ideal soil and drainage requirements to ensure its continued health.
⚠️ Safety First
This content is for general information and may contain errors, omissions, or outdated details. It is not medical, veterinary advice, or an endorsement of therapeutic claims.
Always consult a qualified healthcare professional before using any plant as food, medicine, or supplement.
Never eat any plant (or feed one to pets) without confirming its identity with at least two trusted sources.
If you suspect poisoning, call Poison Control (800) 222-1222, the Pet Poison Helpline (800) 213-6680, or your local emergency service immediately.
Spotted an error? Please report it here.
Transform your Bitterroot's home with expert repotting tips 🌿 from Greg, ensuring it thrives with personalized care reminders and tailored advice for long-term success!