Propagating Beads Lampranthus: Step-by-Step Guide
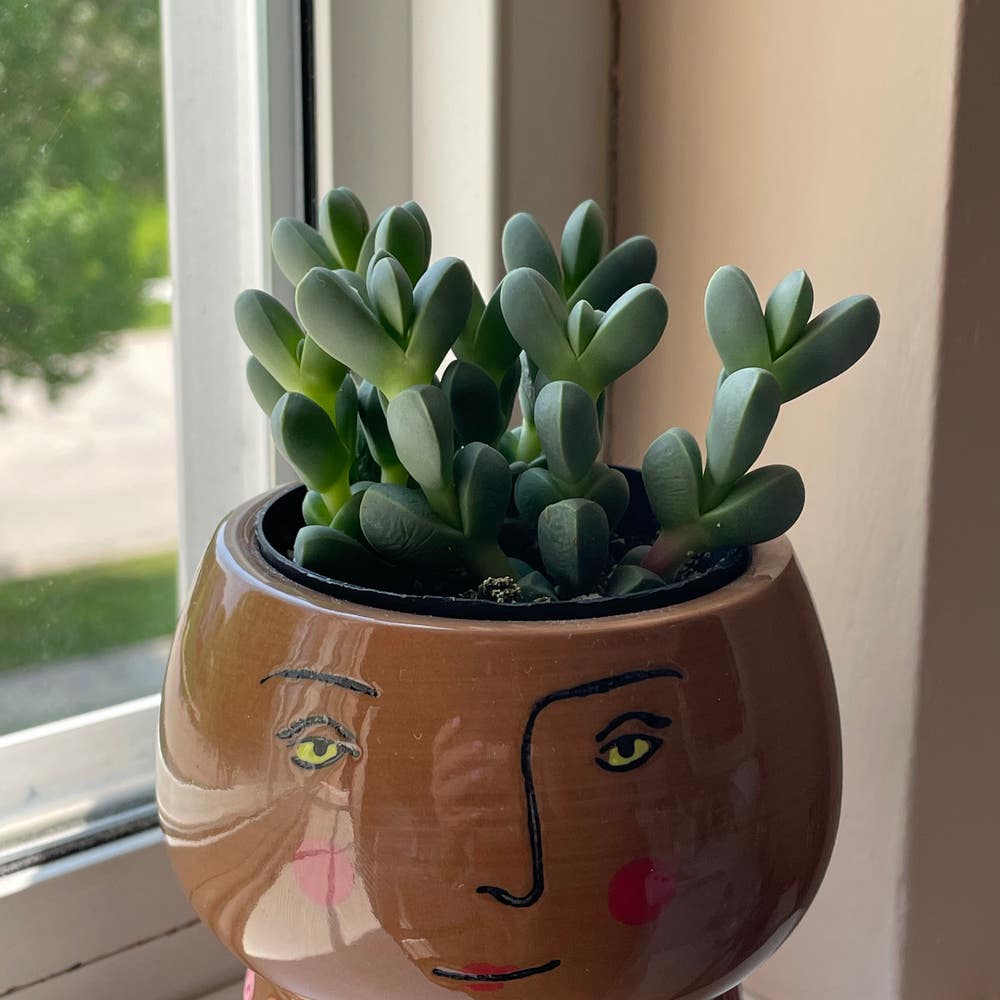
Braunsia maximiliani
By the Greg Editorial Team
Jun 18, 2024•5 min read
This article was created with the help of AI so we can cover more plants for you. May contain errors. See one? Report it here.
Propagate your Beads Lampranthus effortlessly 🌿 with this guide, covering cuttings to seeds and troubleshooting tips!
- Choose healthy stems for cuttings and strip lower leaves to prevent rot.
- Divide when crowded, ensuring each new plant has roots and top growth.
- Harvest and prep seeds carefully, considering light and moisture for germination.
Snip & Plant: Stem Cuttings
🌱 Choosing Your Champion Stem
To kick off, identify a healthy stem for cutting. Look for one that's vibrant and robust—free of disease and pests. The ideal time to snip is early spring, when the plant is entering a phase of active growth.
🌿 Prepping Your Cuttings
When cutting, aim for a 4-6 inch length with several leaf nodes—these are the hotspots for root development. Use sharp scissors or pruners to make a clean, angled cut just below a node. Strip the lower leaves to prevent rot and leave a few at the top for photosynthesis.
🌱 Rooting Your Future Plant
Choose an ideal soil mix—well-draining and fertile. Small containers with drainage holes are perfect for individual cuttings. To create the perfect environment for root growth, maintain consistent moisture without waterlogging and provide bright, indirect light. Patience is key; roots take time to develop.

Double the Fun: Division
🌱 When to Divide
Your Beads Lampranthus isn't just a pretty face; it's a cluster of potential new plants waiting to happen. Look for cues: roots peeking out of drainage holes, or the plant's center becoming dense and crowded. If it's starting to look more like a plant mosh pit than a serene green space, it's time to divide.
🕺 The Division Dance
Step 1: Prep the Plant
Water your Beads Lampranthus a day or two before the big event to make the roots more flexible. It's like stretching before a workout—vital but often overlooked.
Step 2: Remove and Inspect
Gently coax the plant from its pot. Don't yank it out like you're starting a lawnmower; be smooth. Lay eyes on the root ball and identify the natural divisions—these are your cut lines.
Step 3: Divide and Conquer
Using a sterilized knife or shears, slice through the root ball where it naturally wants to part ways. Each new plant should have a good amount of roots and some top growth. Think of it as giving each one a fighting chance in the wilds of their new pots.
🏡 Settling In
Pot Selection
Choose a pot that's snug but not tight—like jeans that have room for dessert. Make sure there's a drainage hole because nobody likes wet feet, not even plants.
Soil and Water
Pot up your new divisions in a well-draining soil mix. Water them in to settle the soil and eliminate air pockets. Then, place them in bright, indirect light and resist the urge to overwater. Let the top inch of soil dry out between waterings.
Remember, division is not just about making more plants; it's about giving your Beads Lampranthus the space to thrive. Plus, you get to spread the succulent love with friends and family, which is always a win.

From Tiny Seeds: Seed Propagation
🌼 Seed Collection and Prep
Harvesting seeds from your Beads Lampranthus is a straightforward affair. Once the flowers have faded, the seeds can be collected with ease. Ensure the seeds are dry before storing them to prevent mold growth.
To prepare for sowing, you might consider mixing tiny seeds with sand for even distribution. Light and temperature requirements vary, so check if your Beads Lampranthus seeds need a sunny windowsill or a bit of shade.
🌱 Sowing and Germination
🌿 Soil Conditions
For germination, a well-draining substrate is key. A mix of peat moss and perlite, or coconut coir for the eco-conscious, will provide the perfect home for your seeds. Ensure the soil is moist but not waterlogged to avoid the dreaded root rot.
🌞 Germination Techniques
Some seeds need a little sunlight to kickstart germination, while others prefer the dark; Beads Lampranthus may need a gentle sprinkle of soil to cover them or just a light press into the substrate. Temperature is crucial; maintain a warm environment to encourage sprouting.
During germination, patience is your best friend. It can be slow, but watching those first green shoots is incredibly rewarding. Keep the soil moist and wait for nature to do its thing. Soon, you'll have a batch of seedlings ready for the next stage of their growth.

Propagation Pitfalls: Troubleshooting Tips
🌱 Common Hiccups
🕵️ Identifying Issues
Yellowing leaves or stunted growth in your cuttings? Time to play detective. These symptoms often suggest stress, which could stem from inadequate lighting, pest infestations, or nutrient deficiencies. Keep a vigilant eye on your plant babies to catch these early signs of distress.
🛠️ Solving Cutting and Division Woes
If your stem cuttings are more wilted than a week-old salad, consider the humidity and watering levels. Too dry, and they'll shrivel; too wet, and they might rot. Strike a balance. For divisions, ensure each piece has a fair share of roots and leaves. Size matters—too small, and they struggle; too big, and you're not maximizing your propagation potential.
🌱 Seedling Struggles
🌱 Germination Gripes
Seeds giving you the cold shoulder? Temperature and moisture are key. They need that Goldilocks zone—not too hot, not too cold, just right. And if they're more stubborn than a mule, double-check the seed's viability or your sowing depth.
🌱 Post-Germination Perils
Made it past germination but your seedlings are flopping like a bad comedy? Damping off—a fungal foe—could be crashing the party. Keep the soil moist but not waterlogged and ensure good air circulation. It's like a breath of fresh air for those tender green shoots.
🧼 Cleanliness is Non-Negotiable
Dirty tools are like inviting germs to a buffet. Sterilize your instruments to prevent spreading the equivalent of a plant pandemic. Think of it as a hygiene protocol for your greenery.
💧 Water Wisdom
Watering is an art form. Too much, and your cuttings will be swimming; too little, and they'll be gasping for a drink. Aim for consistent moisture without creating a mini Everglades.
🌱 Node Know-how
Cutting too far from a node is like missing the bullseye in darts. Nodes are where the rooting magic happens. Stick close to them for optimal growth.
⚠️ Safety First
This content is for general information and may contain errors, omissions, or outdated details. It is not medical, veterinary advice, or an endorsement of therapeutic claims.
Always consult a qualified healthcare professional before using any plant as food, medicine, or supplement.
Never eat any plant (or feed one to pets) without confirming its identity with at least two trusted sources.
If you suspect poisoning, call Poison Control (800) 222-1222, the Pet Poison Helpline (800) 213-6680, or your local emergency service immediately.
Spotted an error? Please report it here.
Successfully propagate your Beads Lampranthus with this guide and let Greg's PlantVision 🌱 help you monitor growth and perfect the environment for your new plants.