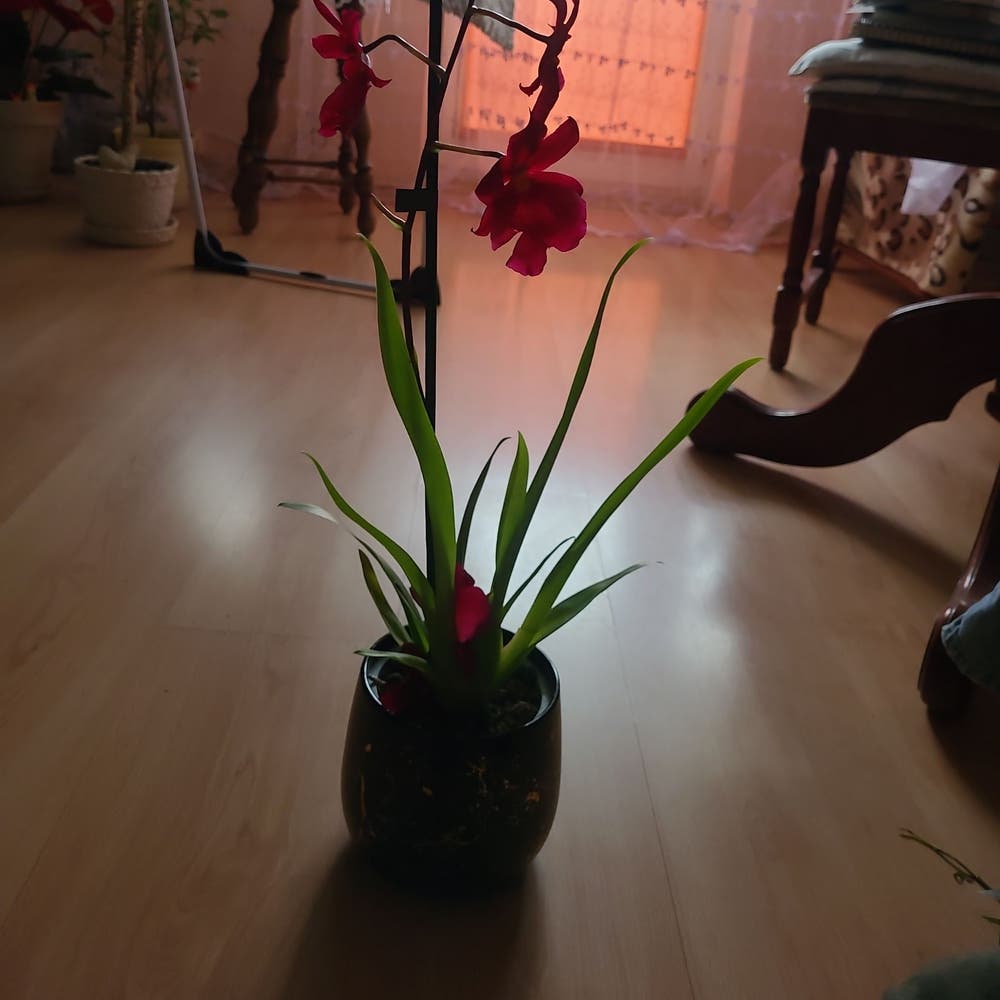
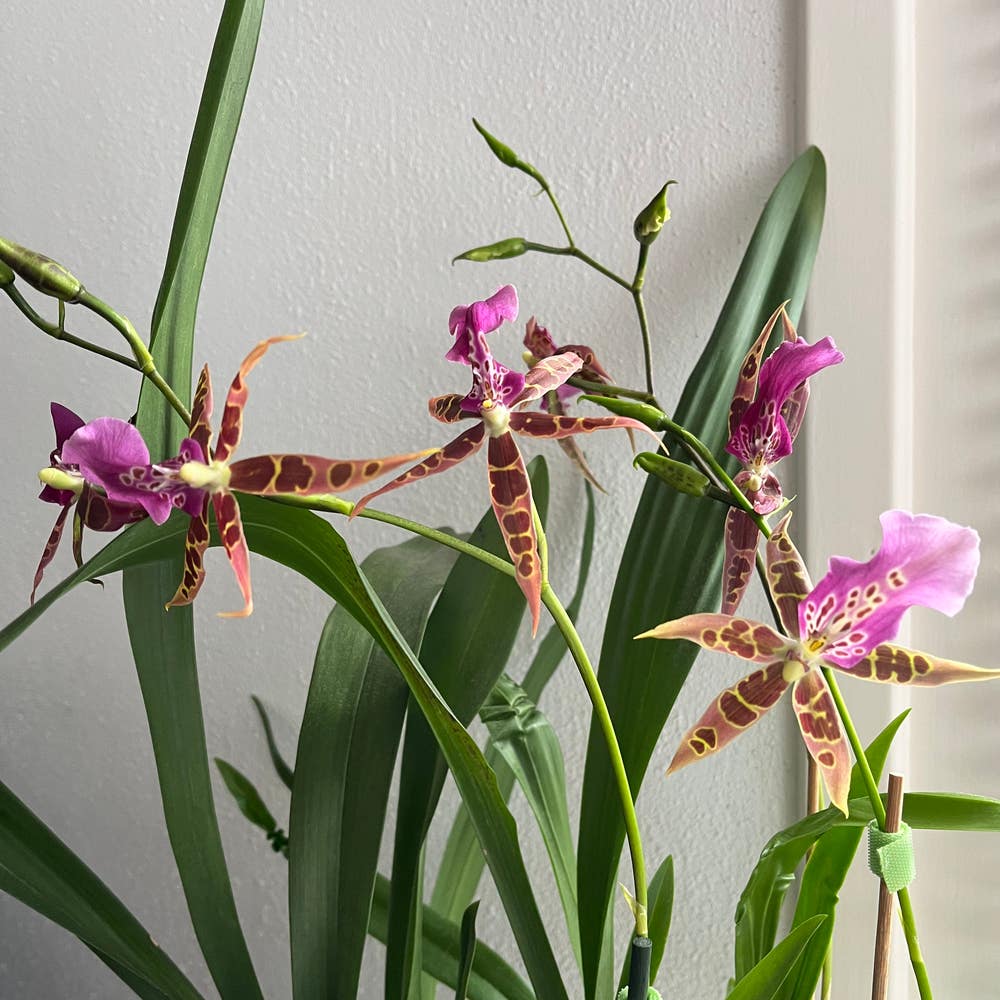
Should I Repot My Zygopetalum maculatum?
Zygopetalum maculatum
By the Greg Editorial Team
Feb 09, 2024•4 min read
This article was created with the help of AI so we can cover more plants for you. May contain errors. See one? Report it here.
Ensure your Zygopetalum orchid's 🌸 vitality by mastering the timely art of repotting!
- Overcrowded roots and yellow leaves signal it's repotting time.
- 🌱 Repot in spring, avoid bloom time to align with growth cycles.
- Choose the right pot and mix, considering material and drainage.
Spot the Clues: Is It Time to Repot?
🌱 Root Tango in the Pot
Overcrowded roots are the silent screamers of the plant world. If your Zygopetalum maculatum's roots are circling the pot base like a track athlete or poking through drainage holes, they're begging for a new pad. This root tango is a definitive sign that your orchid's current digs are too snug.
🚩 Health Check: Yellow Leaves and Stunted Growth
Yellow leaves and growth that's more stunted than a bonsai are your orchid's way of waving a yellow flag. Don't ignore these cries for help. If your Zygopetalum maculatum has all the enthusiasm of a sloth when it comes to new shoots, it's probably time to upgrade its living situation.
Timing Is Everything: When to Repot
🌱 Syncing with Growth Cycles
Spring ushers in new beginnings for your Zygopetalum maculatum, making it the ideal season for repotting. This period coincides with the plant's natural growth spurt, providing a supportive environment for root expansion and acclimatization. Repotting at this time is like giving your orchid a growth boost—it's primed and ready to take advantage of the fresh soil and space.
🚫 Avoiding the Bloom Time Blues
Never repot during the blooming phase. This is the orchid's moment in the spotlight, and disturbing it then can lead to dropped flowers and unnecessary stress. It's akin to moving to a new house during the holidays—too much going on and too much at stake. Wait until the flowers have faded; your plant will be more resilient to change and ready for its post-bloom refresh.
The Repotting Rundown: A Step-by-Step Guide
Repotting your Zygopetalum maculatum doesn't have to be a chore. It's a refresh for your orchid's roots and a boost for its growth. Let's get into the nitty-gritty.
💼 Prepping the New Abode
Size matters when it comes to pots. Choose one that's snug yet gives room for growth. Ensure it's clean and has proper drainage—your orchid's roots despise soggy conditions. A layer of rocks or broken pottery at the bottom can help with this.
🚪 The Orchid Eviction
Water the plant a day before to make the roots pliable. Gently coax your orchid out of its current pot; if it resists, tap the pot's sides. Inspect the roots closely—trim any that are dead or damaged with sterilized shears. Remember, it's a delicate operation.
🏡 Homecoming: Settling into the New Pot
A fresh start calls for fresh potting mix. Orchids prefer bark-based mixes that mimic their natural habitat. Place a base layer in the new pot, position your orchid, and fill in around the roots. Use a chopstick to poke the mix into air pockets. Water sparingly to settle your orchid in without causing root rot.
Picking the Perfect Pot: Material Matters
💨 Breathability and Moisture: Clay vs. Plastic
Terracotta pots are the unsung heroes for root respiration, letting those roots breathe easy with their porous nature. They wick away excess moisture, reducing the risk of your Zygopetalum maculatum's roots throwing a fit from waterlogging. But they're thirsty, meaning more frequent watering trips. Plastic pots, the low-maintenance cousins, keep the soil damp longer but can invite root rot to the party if you're heavy-handed with the watering can. They're light on the wallet and the back, making them a tempting choice for the budget-conscious or those who shuffle their plant displays often.
🌿 Going Natural with Wooden Baskets
Wooden baskets? They're like the bohemian lofts of the orchid world. They offer exceptional drainage and air flow, which is just what the Zygopetalum maculatum doctor ordered. Plus, they bring a touch of nature's aesthetic right into your living room. But watch out, they can degrade over time, especially if you're the type to spoil your plants with water. They're not for the set-it-and-forget-it types but can be a game-changer for the attentive orchid enthusiast.
Aftercare: Helping Your Orchid Thrive Post-Repotting
🌱 Easing the Transition
Transplant shock is real, and your Zygopetalum maculatum might throw a bit of a fit after repotting. To minimize the drama, keep the environment stable—no gusts of cold air or scorching sun rays. Think of it as creating a recovery room that's just right.
💧 Adjusting Water and Light
Watering should be like a covert operation—subtle and precise. Check the soil's moisture level; it should feel like a wrung-out sponge, moist but not wet. As for light, your orchid isn't sunbathing on the beach. It prefers the dappled shade, akin to its natural canopy home.
Remember, no fertilizer for the first month. It's like giving espresso to someone who needs a nap—counterproductive. Keep an eye on new growths; they're the green light that your orchid is settling into its new digs. If you notice any signs of distress, adjust your care routine like a DJ tweaking the mix—gently and with finesse.
⚠️ Safety First
This content is for general information and may contain errors, omissions, or outdated details. It is not medical, veterinary advice, or an endorsement of therapeutic claims.
Always consult a qualified healthcare professional before using any plant as food, medicine, or supplement.
Never eat any plant (or feed one to pets) without confirming its identity with at least two trusted sources.
If you suspect poisoning, call Poison Control (800) 222-1222, the Pet Poison Helpline (800) 213-6680, or your local emergency service immediately.
Spotted an error? Please report it here.
Post-repotting, let Greg tailor 🌱 your Zygopetalum maculatum's care, ensuring optimal growth with custom watering schedules and environment monitoring.