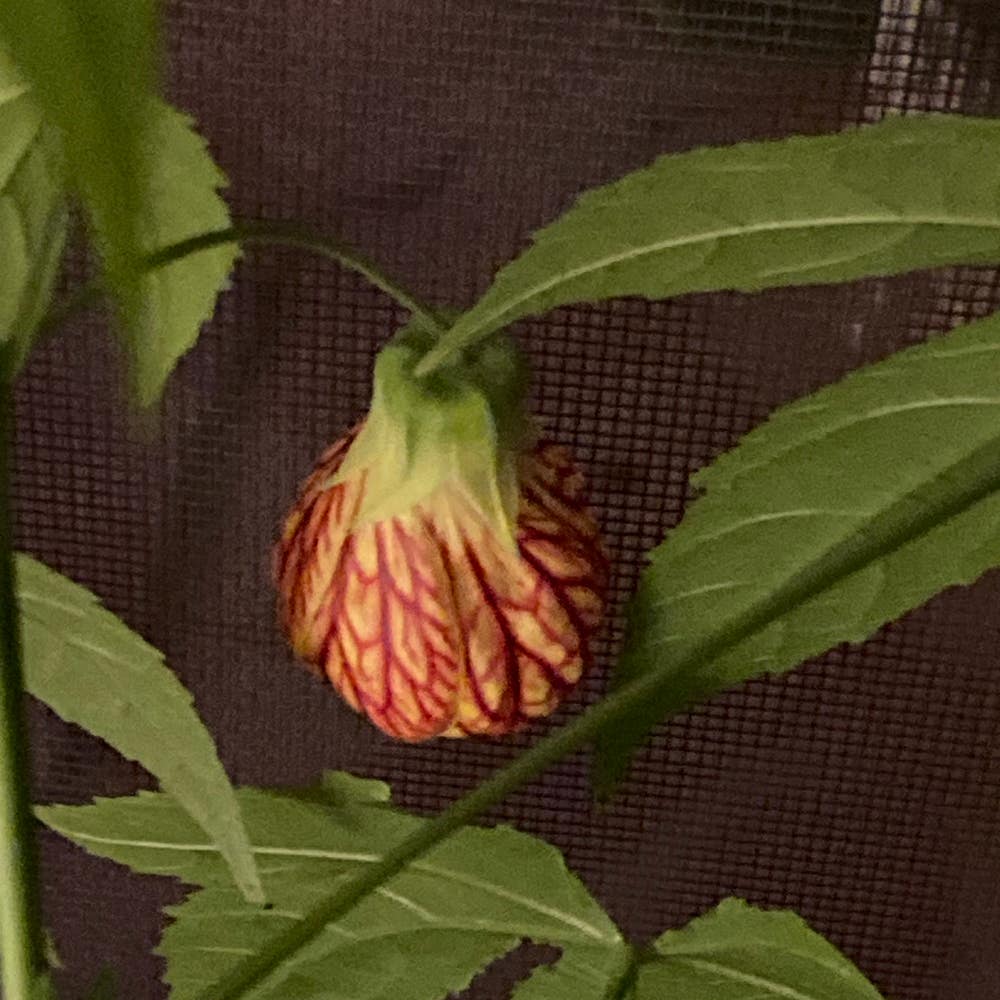
Best Tips for Repotting Indian Mallow 🪴
Abutilon malacum
By the Greg Editorial Team
Nov 22, 2024•6 min read
This article was created with the help of AI so we can cover more plants for you. May contain errors. See one? Report it here.
Revitalize your Indian Mallow 🌱 with expert repotting tips for lush growth and vibrant blooms!
- 🌱 Repot Indian Mallow in early spring for optimal growth before the season starts.
- 🏺 Choose terracotta pots for excellent drainage and root health; avoid plastic and ceramic.
- 🔍 Check for root health by inspecting the root ball before repotting to prevent rot.
Signs That Indian Mallow Needs Repotting
🌱 Indicators of Root Bound
Recognizing when your Indian Mallow needs repotting is crucial for its health. One clear sign is roots visible through drainage holes; if you see them poking out, it’s time to act.
Another indicator is stunted growth. If your plant isn’t producing new leaves or flowers despite optimal care, it may be root-bound. Additionally, if you find yourself watering frequently because the soil dries out quickly, this could signal limited soil volume. Lastly, persistent wilting leaves, even when adequately watered, often point to underlying root issues.
🕰️ Best Time of Year to Repot
Timing is everything when it comes to repotting. The best time to repot your Indian Mallow is early spring, just before the growing season kicks off.
Avoid repotting during the flowering phase, as this can stress the plant and hinder blooming potential. If you live in a warmer climate, consider repotting in late winter for optimal results.
🔍 How to Assess Root Health Before Repotting
Before you dive into repotting, it’s essential to assess the health of the roots. Start by gently removing the plant from its pot to inspect the root ball for density and overall health.
Look for signs of root rot, such as dark, mushy roots, which indicate overwatering. Healthy roots should be white or light tan and firm to the touch, signaling that your plant is ready for a new home.
With these signs in mind, you can ensure your Indian Mallow thrives in its new pot, setting the stage for healthy growth and vibrant blooms.
Choosing the Right Pot
🏺 Recommended Pot Materials
Selecting the right pot is crucial for the health of your Indian Mallow.
- Plastic pots are lightweight and help retain moisture, but they often lack adequate drainage.
- Terracotta pots are highly recommended due to their breathability and excellent drainage capabilities.
- Ceramic pots can be visually appealing, yet they may retain too much moisture, so use them cautiously.
⚖️ Pros and Cons of Plastic Pots
Plastic pots come with their own set of advantages and disadvantages.
Pros:
- They are lightweight and easy to move around.
- Generally, they are less expensive than other materials.
Cons:
- Poor drainage can lead to root rot, which is a significant risk for your plants.
- They often lack the aesthetic appeal of terracotta or ceramic options.
🌱 Benefits of Terracotta Pots
Terracotta pots are a favorite among many gardeners for good reason.
- They provide excellent drainage, helping to prevent overwatering and root rot.
- The breathable material allows for air exchange, promoting healthy root growth.
- Their natural look complements the beauty of your Indian Mallow, enhancing your garden's aesthetic.
🚫 When to Avoid Using Ceramic Pots
While ceramic pots can be beautiful, there are times when they may not be the best choice.
- They tend to retain high moisture levels, which can lead to overwatering issues.
- Their heavier weight can make them difficult to move, especially for larger plants.
- Always ensure that any ceramic pot you choose has adequate drainage holes to prevent water accumulation.
Choosing the right pot sets the stage for successful repotting. Next, let’s explore the ideal potting soil and drainage techniques to keep your Indian Mallow thriving.
Potting Soil and Drainage
🌱 Ideal Potting Mix
Creating the perfect potting mix for your Indian Mallow is crucial for its health. Aim for a blend that consists of 50% potting soil, 30% perlite, and 20% compost to provide essential nutrients.
Maintaining the right pH level is also important. A slightly acidic to neutral pH, ideally between 6.0 and 7.0, will help your plant thrive.
🚰 Importance of Drainage in Repotting
Good drainage is a game-changer when it comes to repotting. It prevents root rot, which can devastate your plant's health.
Additionally, well-drained soil encourages vigorous growth and abundant flowering. Your Indian Mallow will thank you for it!
🧪 How to Create a Well-Draining Soil Mix
Creating a well-draining soil mix is straightforward. Follow these steps for optimal results:
- Start with high-quality potting soil as your base.
- Add perlite or coarse sand to enhance aeration and drainage.
- Mix in organic compost to boost nutrient content.
By following these steps, you'll ensure your Indian Mallow has the best environment for growth. With the right soil and drainage, your plant will flourish, setting the stage for a successful repotting experience.
Next, we’ll dive into the step-by-step repotting process to help you transition your plant smoothly into its new home.
Step-by-Step Repotting Process
🌱 Preparing the New Pot and Soil
Choosing the right pot is crucial for your Indian Mallow's health. Opt for a pot that is 1-2 inches larger in diameter than the current one to give the roots room to grow.
Make sure the new pot has drainage holes to prevent water from accumulating at the bottom. Start by filling the bottom with a layer of well-draining potting mix to set the foundation for your plant.
🪴 Removing from Current Pot
Before you begin, water the plant a day prior to repotting. This helps to ease the removal process and reduces stress on the roots.
Gently squeeze the sides of the pot to loosen the root ball. Carefully slide the plant out, supporting the base to avoid damaging the roots.
✂️ Handling the Roots During Repotting
Once the plant is out, inspect the roots closely. Trim any damaged or rotten roots with sterilized scissors to promote healthy growth.
If you notice tightly bound roots, gently tease them apart. This encourages outward growth and helps the plant adapt to its new environment.
🏺 Positioning in the New Pot
Now it's time to position your Indian Mallow in the new pot. Place the plant in the center, ensuring it’s stable and well-balanced.
Make sure the top of the root ball is level with the pot rim. Fill in around the roots with potting mix, firming it gently to eliminate air pockets.
💧 Watering After Repotting
After positioning the plant, water it thoroughly. This ensures that water drains out of the bottom, helping to settle the soil around the roots.
Be cautious not to overwater. Allow the top inch of soil to dry out before the next watering to maintain a healthy moisture level.
With these steps, your Indian Mallow will be well on its way to thriving in its new home. Next, let’s explore how to choose the right pot for your plant.
⚠️ Safety First
This content is for general information and may contain errors, omissions, or outdated details. It is not medical, veterinary advice, or an endorsement of therapeutic claims.
Always consult a qualified healthcare professional before using any plant as food, medicine, or supplement.
Never eat any plant (or feed one to pets) without confirming its identity with at least two trusted sources.
If you suspect poisoning, call Poison Control (800) 222-1222, the Pet Poison Helpline (800) 213-6680, or your local emergency service immediately.
Spotted an error? Please report it here.
Transform your Indian Mallow into a thriving beauty 🌱 by using Greg's tailored reminders and expert tips for successful repotting!