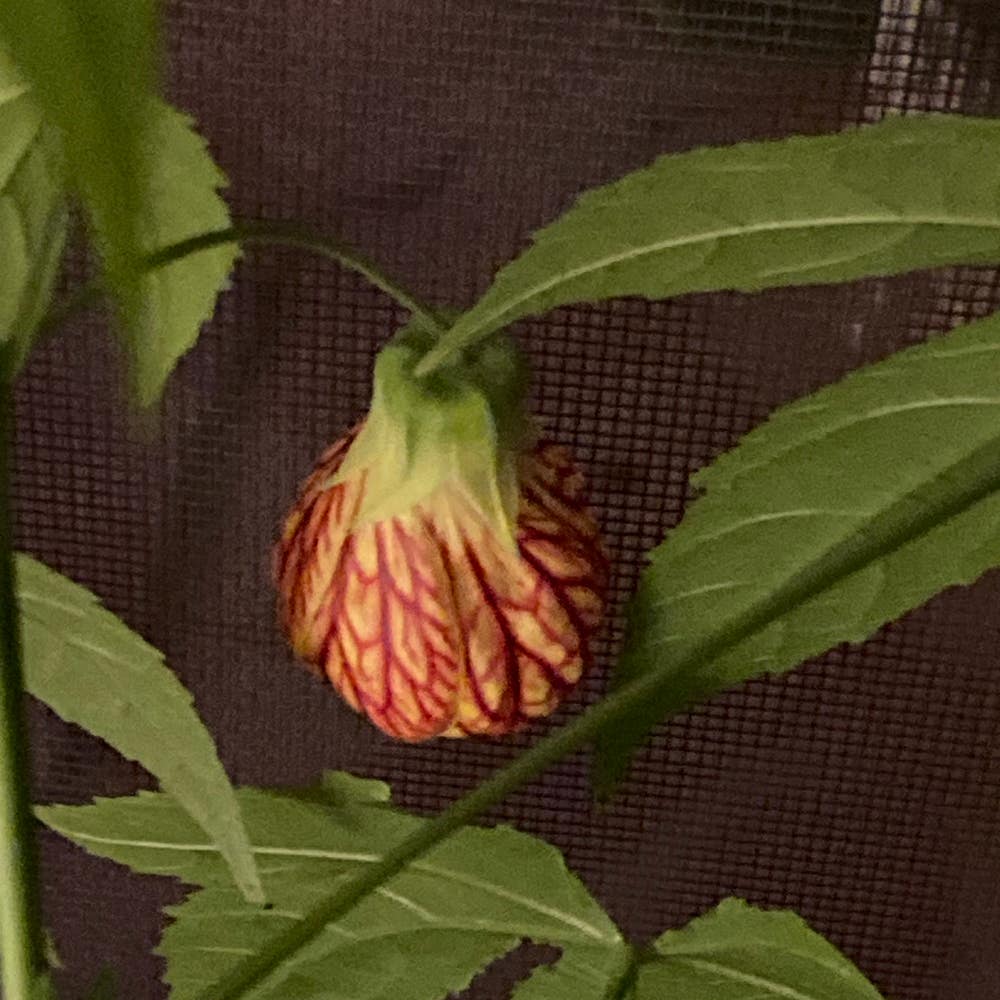
🌼 Step-by-Step Guide for How to Plant Indian Mallow
Abutilon malacum
By the Greg Editorial Team
Nov 22, 2024•4 min read
This article was created with the help of AI so we can cover more plants for you. May contain errors. See one? Report it here.
Elevate your garden with thriving Indian Mallow 🌼 by mastering essential planting and transplanting techniques!
- 🌱 Plant Indian Mallow in late spring to early summer after the last frost.
- 🌞 Ensure full sun exposure for 6-8 hours daily for optimal growth.
- 💧 Maintain moist, well-draining soil to prevent overwatering and underwatering issues.
Planting New Indian Mallow
🌱 Optimal Timing for Planting
The ideal time to plant Indian Mallow is from late spring to early summer, right after the last frost. Be sure to consider your local climate and the plant's growth cycle to ensure successful establishment.
🪴 Selecting the Right Soil Mix and Containers
Indian Mallow thrives in well-draining sandy loam enriched with organic matter. If you're opting for container gardening, choose pots that are at least 12 inches deep to accommodate healthy root growth.
📏 Proper Depth and Spacing for Planting
When planting, dig a hole that allows the roots to be positioned 1-2 inches deep. Space your plants 18-24 inches apart to promote optimal air circulation and growth.
🌤️ Tips for Maintaining Ideal Growing Conditions
To keep your Indian Mallow healthy, maintain consistently moist soil without waterlogging. Ensure the plants receive full sun exposure, ideally 6-8 hours daily, and provide light feeding with a balanced fertilizer every 4-6 weeks.
🏡 Hardening Off Process Before Outdoor Planting
Before transplanting outdoors, it's crucial to harden off your Indian Mallow.
- Duration: Allow 7-10 days for this process.
- Gradual exposure: Start by placing the plants in a sheltered spot for 1-2 hours, gradually increasing their exposure to sunlight each day.
- Monitoring: Keep an eye out for any signs of stress or sunburn during this transition.
By following these steps, you'll set your Indian Mallow up for a thriving growth journey. Next, we’ll explore how to successfully transplant established Indian Mallow for continued success in your garden.
Transplanting Established Indian Mallow
🌱 Optimal Timing for Transplanting
The best time to transplant Indian Mallow is during early spring or fall when temperatures are mild. This timing aligns with the plant's growth cycle and helps minimize stress during the transition.
🛠️ Step-by-Step Instructions for Transplanting
Removing the Plant from Its Current Location
- Water the plant thoroughly a day before to reduce stress.
- Gently dig around the root zone, ensuring the roots remain intact.
- Carefully lift the plant, avoiding any breakage of the roots.
Preparing the New Planting Site
- Choose a sunny location with well-draining soil.
- If needed, amend the soil with compost or organic matter for added nutrients.
- Dig a hole that is twice the width of the root ball and the same depth.
Ensuring Proper Placement and Spacing
- Position the plant in the center of the hole for balanced growth.
- Backfill with soil, making sure there are no air pockets left behind.
- Maintain a spacing of 18-24 inches between plants to allow for air circulation.
💧 Tips for Watering, Mulching, and Providing Support
Water the plant immediately after transplanting and keep the soil moist for the first few weeks.
Applying a 2-3 inch layer of mulch will help retain moisture and suppress weeds effectively.
If you’re in a windy area, consider staking the plants for additional support to prevent damage.
With these steps, your Indian Mallow will have the best chance to thrive in its new home. Next, let’s explore troubleshooting common issues that may arise during the transplanting process.
Troubleshooting Common Issues
🌱 Understanding Transplant Shock
Transplant shock can be a frustrating experience for gardeners. Symptoms include wilting, yellowing leaves, and stunted growth, signaling that your Indian Mallow is struggling to adjust.
The primary causes of transplant shock are root disturbance and sudden environmental changes. When plants are moved, their roots can be damaged, leading to stress as they adapt to a new location.
🛠️ Solutions for Establishment Problems
To combat establishment problems, reassess your watering practices. It's crucial to find a balance; avoid both overwatering and underwatering to help your plant thrive.
Additionally, keep an eye out for pests and diseases. Early detection and treatment are key to preventing further issues and ensuring your Indian Mallow remains healthy.
🌼 General Care Tips for Newly Planted or Transplanted Indian Mallow
Regular monitoring of soil moisture and plant health is essential. Check the soil frequently to ensure it remains adequately moist without becoming soggy.
Adjust your care practices based on environmental conditions and how your plant responds. This flexibility will help your Indian Mallow flourish in its new home.
With these tips, you'll be well-equipped to tackle any challenges that arise during the planting or transplanting process. Next, let's explore the optimal timing for transplanting established Indian Mallow.
⚠️ Safety First
This content is for general information and may contain errors, omissions, or outdated details. It is not medical, veterinary advice, or an endorsement of therapeutic claims.
Always consult a qualified healthcare professional before using any plant as food, medicine, or supplement.
Never eat any plant (or feed one to pets) without confirming its identity with at least two trusted sources.
If you suspect poisoning, call Poison Control (800) 222-1222, the Pet Poison Helpline (800) 213-6680, or your local emergency service immediately.
Spotted an error? Please report it here.
Transform your garden with thriving Indian Mallow 🌼 by using Greg's tailored care reminders and expert tips to ensure your plants flourish in their new home!