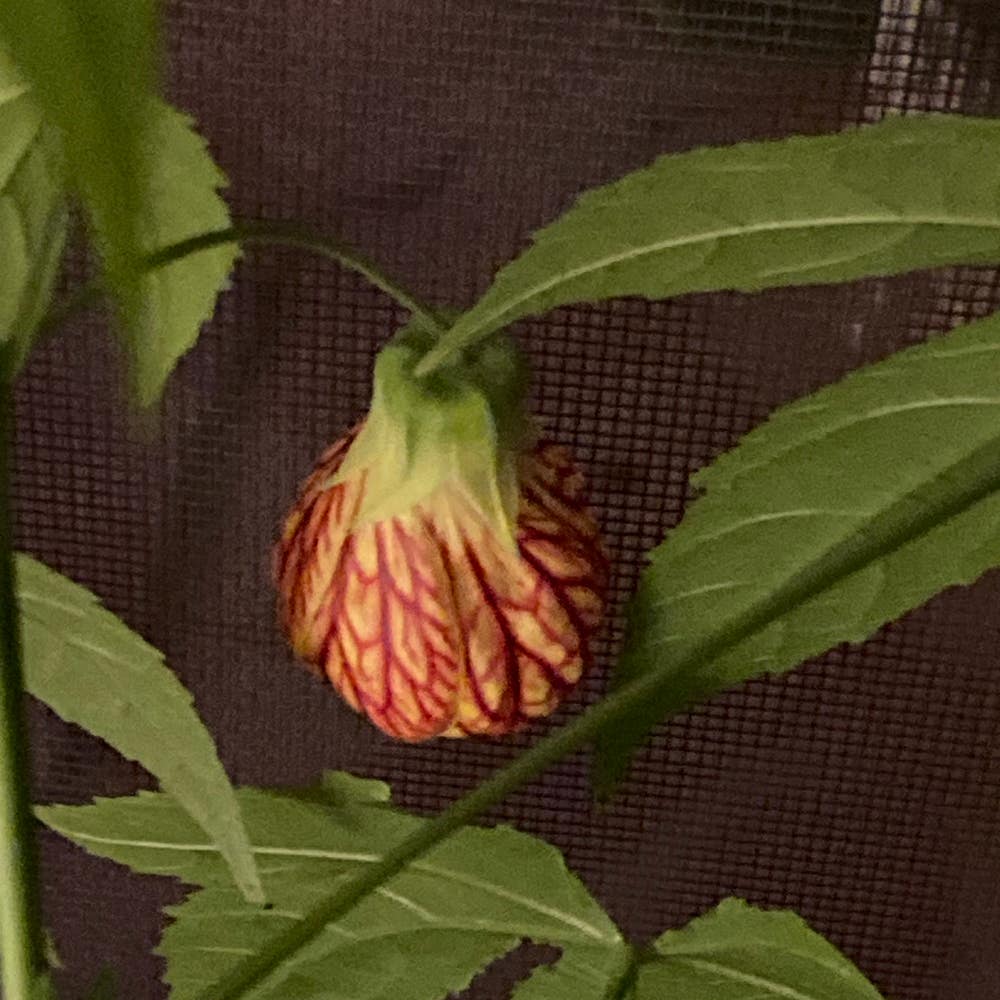
Abutilon Roots 101
Abutilon hypoleucum
By the Greg Editorial Team
Nov 22, 2024•7 min read
This article was created with the help of AI so we can cover more plants for you. May contain errors. See one? Report it here.
Master Abutilon root care for vibrant growth and thriving plants! 🌱 Discover essential tips and techniques today.
- 🌱 Abutilon roots spread widely, reaching 3 feet in diameter for optimal growth.
- 💧 Prevent root rot by allowing soil to dry out before watering again.
- 🌿 Healthy roots are white and firm, crucial for plant vigor and propagation success.
Type of Root System
🌱 Fibrous Roots
Fibrous roots are a fascinating aspect of plant biology. These thin, branching roots spread out widely, creating a network that efficiently absorbs nutrients and water.
Their extensive nutrient absorption capabilities allow plants to thrive in various soil conditions. However, this shallow growth pattern makes them sensitive to environmental changes, emphasizing the need for careful soil management.
Understanding fibrous roots is essential for successful gardening and plant care. By recognizing their characteristics, you can better support your plants' health and growth.
As we delve deeper into root systems, the next section will explore typical root depth and its implications for care and maintenance.
Root Depth, Spread, and Growth Patterns
Typical Root Depth 🌱
Abutilon roots typically reach an average depth of 12-18 inches (30-45 cm). This shallow root system means that care and maintenance must be tailored to ensure the roots have access to necessary nutrients and moisture.
Root Spread and Its Implications 🌍
These roots can spread out significantly, often extending up to 3 feet (90 cm) in diameter. Providing adequate space for root expansion is crucial, whether in pots or garden beds, to promote healthy growth and prevent competition for resources.
Growth Patterns 📈
Abutilon exhibits distinct seasonal growth patterns, thriving during spring and summer. As the seasons change to fall and winter, the plant enters a dormancy phase, which impacts watering and fertilization schedules, requiring adjustments to care routines.
Understanding these aspects of root depth, spread, and growth patterns is essential for nurturing healthy Abutilon plants. With this knowledge, you can create an optimal environment that supports their growth and vitality.
Watering, Fertilizing, and Transplanting
🌱 How Root System Affects Watering Needs
Watering your Abutilon is all about balance. Allow the top inch of soil to dry out between waterings to ensure your plant thrives.
Overwatering can lead to root rot, a common issue that can quickly turn your vibrant plant into a sad sight. Keep an eye on the moisture levels to maintain healthy roots.
🌿 Fertilization Techniques Tailored to Root Health
To keep your Abutilon flourishing, use balanced NPK fertilizers during the growing season. This will provide the essential nutrients your plant needs to grow strong.
Timing is key; aim for monthly applications from spring to early fall. This consistent feeding schedule supports robust root development and overall plant health.
🌍 Best Practices for Transplanting
Transplanting is best done in early spring or fall when your plant is less stressed. Timing your transplant can make a significant difference in how well your Abutilon adapts to its new home.
Follow these steps for successful transplanting:
- Prepare the new pot or garden bed with well-draining soil.
- Gently remove the plant, preserving as many roots as possible.
- Place it in the new location and water thoroughly.
By following these guidelines, you’ll ensure your Abutilon continues to thrive in its new environment. Next, let’s explore common root-related issues that can affect your plant's health.
Common Root-Related Issues
🦠 Identifying Root Rot and Its Causes
Root rot is a serious issue that can devastate your Abutilon plants. Look for symptoms like wilting, yellowing leaves, and mushy roots, which are clear indicators that something is wrong.
The primary culprits behind root rot include overwatering, poor drainage, and compacted soil. These conditions create an environment where roots can't breathe, leading to decay.
🛠️ Solutions for Root-Related Problems
If you suspect root rot, swift action is essential. Start by removing the affected roots with sterilized scissors to prevent the spread of decay.
Next, repot the plant in fresh, well-draining soil to give it a fighting chance. Finally, adjust your watering practices to avoid overwatering in the future, ensuring the top inch of soil dries out between waterings.
🚫 Preventative Measures for Healthy Roots
Preventing root issues begins with proper soil drainage and aeration. Ensure your potting mix allows excess water to escape, keeping roots healthy.
Regularly monitor soil moisture levels to catch any potential problems early. This proactive approach can save your plants from the stress of root-related issues and promote robust growth.
By staying vigilant, you can maintain a thriving root system that supports your Abutilon’s overall health. Next, let’s explore the indicators of root health to further ensure your plants flourish.
Indicators of Root Health
🌱 Visual Cues of Healthy Roots
Healthy roots are a gardener's best friend. Look for roots that are white, firm, and free of decay; these are signs of a thriving plant.
Maintaining root health is crucial for overall plant vigor. Strong roots support nutrient uptake and contribute to the plant's resilience against stressors.
🚨 Signs of Unhealthy Roots and Their Implications
Unhealthy roots can be a red flag for your plants. Indicators include brown, mushy, or foul-smelling roots, which signal potential problems.
The consequences of unhealthy roots are serious. They can lead to stunted growth and increased susceptibility to pests and diseases, ultimately jeopardizing your plant's health.
Understanding these indicators can help you take proactive measures to ensure your plants flourish. By monitoring root health, you can foster a thriving garden environment.
Rootbound Plants
Definition and Recognition 🌱
Rootbound plants are those that have outgrown their containers, causing their roots to grow in circles. This condition limits growth and can lead to various health issues for the plant.
Signs that your plant is rootbound include roots emerging from the drainage holes and noticeable stunted growth. You might also notice wilting, even when you're watering adequately, which is a clear indicator that the roots are struggling for space.
Steps to Take When Dealing with Rootbound 🛠️
If you suspect your plant is rootbound, follow these steps to help it thrive again:
- Carefully remove the plant from its pot. Take your time to avoid damaging the roots.
- Trim any circling roots. This encourages new growth and helps the plant spread out in its new environment.
- Repot in a larger container. Use fresh soil to give your plant the nutrients it needs to flourish.
By addressing rootbound conditions promptly, you can rejuvenate your plant and promote healthy growth. This proactive approach not only enhances the plant's vitality but also enriches your gardening experience.
Next, let’s explore the importance of root health in propagation and how to ensure your plants thrive through cuttings.
Propagation and Division
🌱 Importance of Root Health in Propagation
Healthy roots are essential for successful propagation through cuttings. They provide the necessary nutrients and stability for new plants, ensuring they thrive in their new environment.
To maintain root health during propagation, consider the following techniques:
- Use Clean Tools: Always use sterilized scissors or knives to prevent disease transmission.
- Choose the Right Time: Propagate during the plant's active growth phase for the best results.
- Monitor Moisture Levels: Keep the soil slightly moist but not soggy to encourage root development.
✂️ Techniques for Dividing While Maintaining Root Integrity
Dividing plants can rejuvenate them and promote healthy growth. Follow these steps for effective division:
- Choose a Healthy, Mature Plant: Select a plant that shows vigorous growth and has a well-established root system.
- Carefully Separate the Root Ball: Gently remove the plant from its pot and separate the root ball into sections. Ensure each section has roots and foliage for optimal recovery.
- Replant Immediately: Place the divided sections in suitable soil and water thoroughly to help them settle in.
By following these steps, you can ensure that both the original plant and the new divisions remain healthy and vibrant. This process not only enhances your garden but also fosters a deeper connection with your plants.
As you explore propagation and division, remember that healthy roots are the foundation of thriving plants. Next, we’ll delve into common root-related issues and how to address them effectively.
⚠️ Safety First
This content is for general information and may contain errors, omissions, or outdated details. It is not medical, veterinary advice, or an endorsement of therapeutic claims.
Always consult a qualified healthcare professional before using any plant as food, medicine, or supplement.
Never eat any plant (or feed one to pets) without confirming its identity with at least two trusted sources.
If you suspect poisoning, call Poison Control (800) 222-1222, the Pet Poison Helpline (800) 213-6680, or your local emergency service immediately.
Spotted an error? Please report it here.
Unlock the secrets to thriving Abutilon roots 🌿 with Greg's tailored watering plans and reminders, ensuring your plants flourish through every season!