4 Tips for Healthy Sedum clavatum Roots 🥕
Sedum clavatum
By the Greg Editorial Team
Jan 07, 2025•6 min read
This article was created with the help of AI so we can cover more plants for you. May contain errors. See one? Report it here.
Discover how proper root care can transform your Sedum clavatum into a thriving beauty! 🌱✨
- 🌱 Sedum clavatum thrives with fibrous roots, maximizing water absorption in various environments.
- 💧 Prevent root rot by allowing soil to dry completely between waterings.
- 🌿 Healthy roots indicate vibrant growth; monitor for signs of rot and adjust care.
Root System Characteristics
Type of Root System 🌱
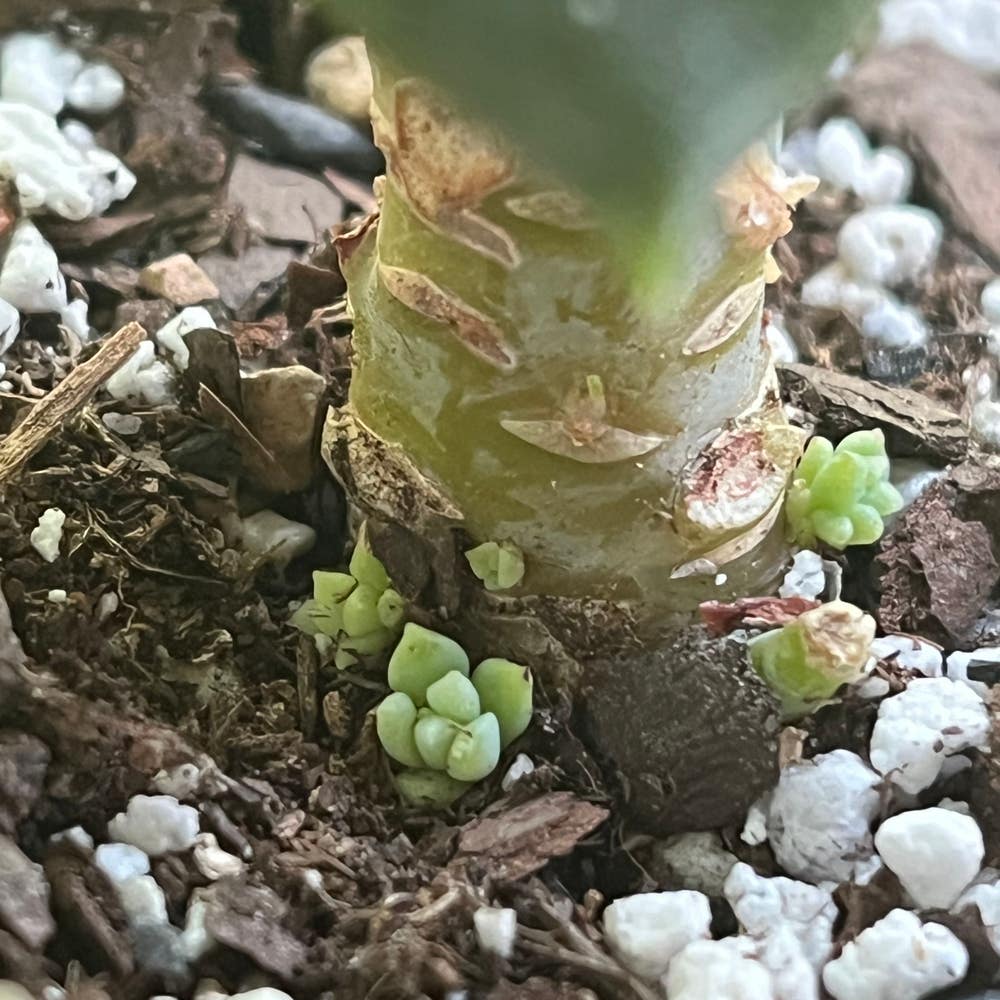
Sedum clavatum features a fibrous root system, which is both efficient and adaptable. These shallow roots spread widely, allowing the plant to effectively absorb water and nutrients from the soil.
Root Depth and Spread 📏
Typically, the roots of Sedum clavatum reach a depth of 6 to 12 inches. They can extend up to 2 feet in diameter, growing horizontally to maximize water absorption and penetrate rocky or well-drained soils.
This adaptability is key to their survival in various environments. Understanding these root characteristics can help you provide the best care for your Sedum clavatum, ensuring it thrives in your garden or home.
Next, we’ll explore how these root systems impact watering, fertilizing, and transplanting practices.
Watering, Fertilizing, and Transplanting
🌱 Impact of Root System on Watering Needs
Sedum clavatum thrives with a specific watering routine. Allow the soil to dry out completely between waterings, adjusting your schedule based on environmental factors like temperature and humidity.
Proper drainage is crucial to prevent root rot. Always use well-draining soil to ensure your plant's roots can breathe and absorb water efficiently.
🌿 Fertilization Techniques for Healthy Roots
To promote robust root health, opt for a balanced NPK fertilizer. Apply this during the growing season, specifically in spring and summer, every 4-6 weeks for optimal results.
When fertilizing, dilute the fertilizer to half-strength. This simple step helps avoid root burn, ensuring your Sedum clavatum remains healthy and vibrant.
🌼 Best Practices for Transplanting
Timing is key when transplanting your Sedum clavatum. The best window for this is in spring or early summer, when the plant is actively growing.
Follow these steps for a successful transplant:
- Prepare a new pot filled with well-draining soil.
- Gently remove the plant from its current pot.
- Loosen any tightly bound roots to encourage growth.
- Place the plant in the new pot and fill with soil.
- Water thoroughly after transplanting to help settle the soil.
By following these guidelines, you can ensure your Sedum clavatum roots remain healthy and strong, setting the stage for vibrant growth. Next, let’s explore common root-related issues that can affect your plant's health.
Common Root-Related Issues
🕵️ Identifying Root Rot and Its Causes
Root rot is a sneaky problem that can devastate your Sedum clavatum if not caught early. Look for symptoms like yellowing leaves, mushy roots, and a foul odor—these are clear indicators that something is off.
The primary culprits behind root rot include overwatering, poor drainage, and compacted soil. Understanding these causes can help you prevent this issue before it starts.
🛠️ Solutions for Preventing Root-Related Problems
To keep your Sedum clavatum thriving, focus on preventative measures. Using well-draining soil mixes is essential, as it allows excess water to escape and keeps roots healthy.
Additionally, ensure that your pots have adequate drainage holes. This simple step can make a world of difference in preventing root rot.
If you do encounter root rot, don’t panic. Start by removing any affected roots and repotting the plant in fresh soil. Adjusting your watering schedule will also help prevent recurrence, ensuring your plant stays vibrant and healthy.
With these tips, you can maintain strong roots and enjoy a flourishing Sedum clavatum. Next, let’s explore how to recognize the signs of healthy versus unhealthy roots.
Root Health Indicators
👀 Visual Cues of Healthy vs. Unhealthy Roots
Healthy roots are a gardener's pride. They should feel firm and display a white or light tan color, indicating vitality.
In contrast, unhealthy roots show distress. Look for dark brown or black colors, mushy textures, and a foul smell, all signs of potential rot.
📊 Other Indicators of Root Health
Beyond root color and texture, plant performance speaks volumes. A thriving plant exhibits vigorous growth and vibrant foliage, showcasing its strong root system.
Conversely, if your plant is wilting or showing stunted growth, it may be time to investigate root issues. Healthy roots are essential for overall plant health, so keep an eye out for these indicators.
Recognizing and Addressing Rootbound Conditions
📏 Definition and Signs of Rootbound Conditions
Rootbound conditions occur when a plant's roots grow in a circular pattern, filling the pot and restricting growth. You can spot this issue if you see roots visible on the surface or poking out of drainage holes.
Another telltale sign is stunted or unhealthy plant growth. If your sedum clavatum seems to be struggling despite proper care, it might be time to check its roots.
🛠️ When and How to Address Rootbound Issues
Intervention is crucial when you notice signs of rootbound conditions. The sooner you act, the better chance your plant has to thrive.
To resolve this issue, follow these steps:
- Carefully remove the plant from its pot.
- Trim any circling roots to encourage new growth.
- Repot in a larger container with fresh, well-draining soil.
By addressing rootbound conditions promptly, you can help your sedum clavatum flourish once again. This proactive approach not only enhances root health but also promotes overall plant vitality.
Propagation and Division
🌱 Importance of Root Health in Propagation
Healthy roots are the backbone of successful propagation and division. Without robust roots, your new plants may struggle to thrive.
To ensure root health, start by using clean, sharp tools. This minimizes damage and helps prevent infection.
Allowing cuttings to callous before planting is another key technique. This simple step can significantly enhance the chances of successful growth.
✂️ Techniques for Dividing Successfully
Dividing your sedum clavatum can rejuvenate the plant and promote healthy growth. Here’s how to do it effectively:
- Remove the plant from its pot: Gently take the plant out, being careful not to damage the roots.
- Gently separate the root clumps: Use your hands to tease apart the roots, ensuring each division has a healthy root system.
- Replant divisions in well-draining soil: Choose a pot with fresh, well-draining soil to give your new plants the best start.
- Water lightly until established: Keep the soil slightly moist but not soggy, allowing the roots to settle in.
By following these steps, you can ensure your sedum clavatum thrives in its new environment. Healthy roots lead to vibrant plants, so take the time to care for them properly.
Next, let’s explore common root-related issues and how to tackle them effectively.
⚠️ Safety First
This content is for general information and may contain errors, omissions, or outdated details. It is not medical, veterinary advice, or an endorsement of therapeutic claims.
Always consult a qualified healthcare professional before using any plant as food, medicine, or supplement.
Never eat any plant (or feed one to pets) without confirming its identity with at least two trusted sources.
If you suspect poisoning, call Poison Control (800) 222-1222, the Pet Poison Helpline (800) 213-6680, or your local emergency service immediately.
Spotted an error? Please report it here.
Keep your Sedum clavatum roots thriving 🌱 with Greg's custom watering alerts and care tips that ensure your plant flourishes in any environment!