How to Know When to Repot Sedum clavatum?
Sedum clavatum
By the Greg Editorial Team
Jun 18, 2024•5 min read
This article was created with the help of AI so we can cover more plants for you. May contain errors. See one? Report it here.
Discover the secret to a flourishing Sedum clavatum with timely repotting tips—your green thumb awaits! 🌿👍
- Roots peeking out? Time to repot your Sedum clavatum.
- 🌱 Choose a 10% larger pot with proper drainage for growth.
- Post-repot care: Consistent light, temperature, and careful watering.
Spotting the Tell-tale Signs It's Time to Repot
🌱 Root Tango: When Roots Out-Dance the Pot
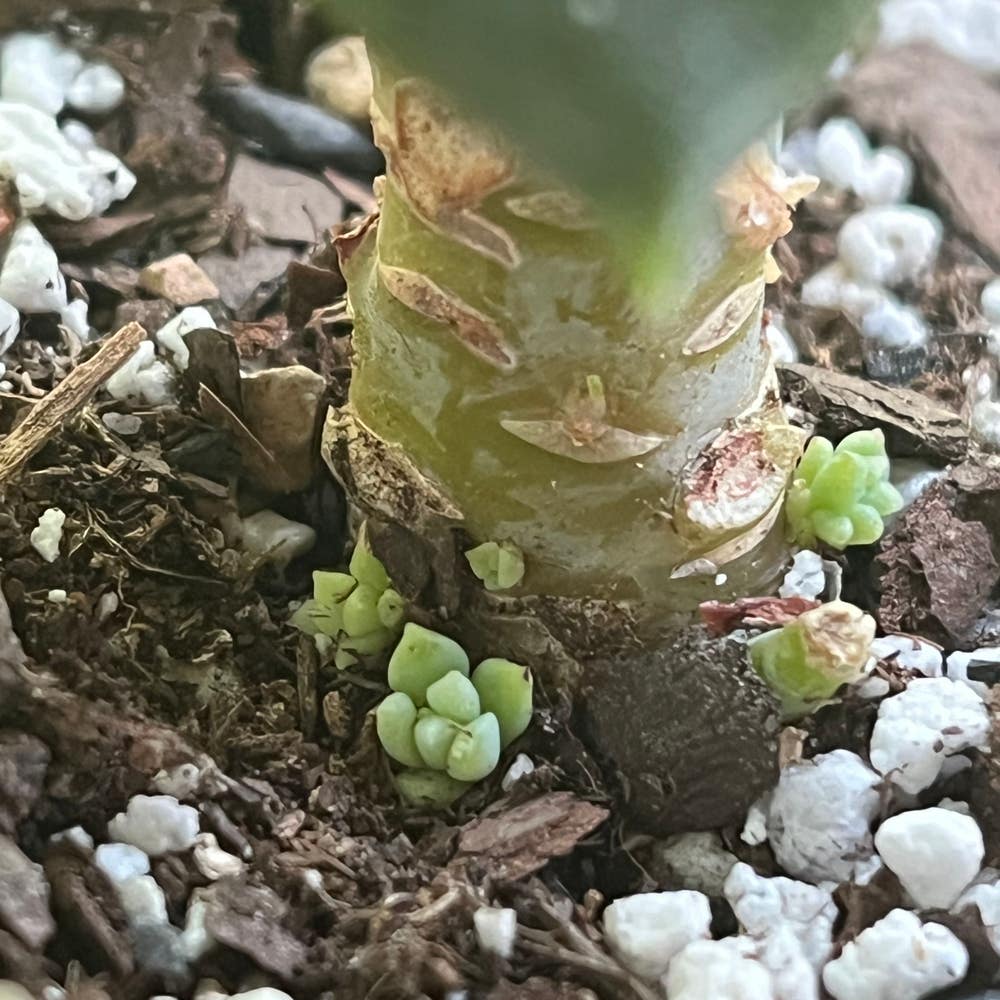
Roots should be the unseen heroes, not escape artists. Visible roots peeking out of drainage holes or circling the pot's top are your Sedum clavatum's version of a distress flare. If your plant's roots look like they're trying to flee the scene, it's high time for a new pot.
🌿 Above the Surface: Visual Cues from Your Plant
Stunted growth is the silent scream of a plant in a pot that's too snug. Yellow leaves or a top-heavy appearance are not just aesthetic issues; they're your Sedum clavatum's way of saying it's feeling a bit claustrophobic. If it's not blooming or growing like it used to, consider that a nudge towards repotting.
💧 Water Woes: Drainage Dilemmas
When water zips through the soil like a kid on a water slide, it's a sign the soil is exhausted and the roots are too packed. Drainage issues can masquerade as overwatering, but if your watering routine hasn't changed and the soil dries out too quickly, your pot's real estate is likely maxed out.

Choosing a New Home for Your Sedum Clavatum
🏠 Size Matters: Picking the Perfect Pot Size
Selecting the right-sized pot for your Sedum clavatum is a bit like choosing a new apartment for yourself – it needs to be a good fit. A pot that's too large can lead to soil moisture issues, potentially causing root rot. On the flip side, a pot that's too snug can restrict root growth, stifling your plant's potential. Aim for a pot that's about 10% larger than the current one, giving your Sedum room to grow without drowning in excess soil.
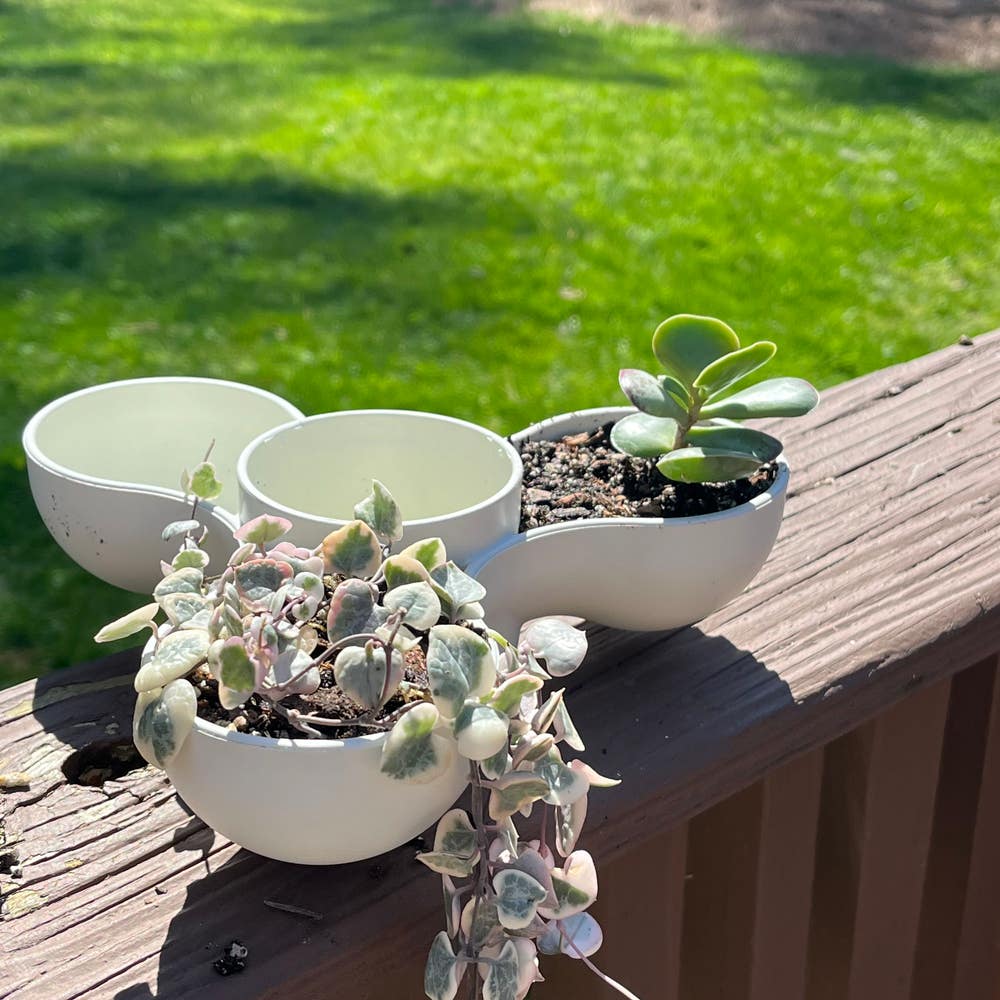
🌐 Material World: Pros and Cons of Pot Materials
When it comes to pot materials, it's a showdown between terracotta, ceramic, and plastic. Terracotta is the heavyweight champion of breathability, allowing soil to dry out more efficiently, which is a plus for your drought-loving Sedum. However, it means you'll be on watering duty more often. Ceramic pots are stylish and retain moisture longer, but they can be as heavy as your last relationship. Plastic pots are light and easy to move, but they can feel a bit cheap and may not provide the same level of insulation against temperature changes. Consider your lifestyle and where your Sedum will live – terracotta is often the go-to for succulent enthusiasts, but the final choice is yours.

The Art of Repotting
🌱 Prepping the Stage: Getting Your Supplies Ready
Before you dive into the repotting dance, assemble your tools: a new pot, succulent potting mix, perlite or coarse sand, a trowel, gloves, and something for drainage like mesh or gauze. Ensure your Sedum clavatum is well-watered a day before; this makes the roots more cooperative during the transition.
🌿 Step by Step: The Repotting Ballet
🌷 Out with the Old
Gently coax your Sedum clavatum out of its current pot, taking care not to damage its roots. A little wiggle here, a little nudge there, and it should pop right out.
🌱 Root Review
Inspect the root system. Trim any dead or excessively long roots with a sharp knife or pruning shears. This is like giving your plant a fresh haircut before it steps into its new home.
🏺 Pot Prep
Choose a pot that's a couple of inches larger in diameter than the old one. Ensure it has ample drainage holes. Cover these holes with mesh to prevent soil escape. Add a layer of fresh potting mix to the bottom to elevate the root ball.
🌿 In with the New
Position your plant in the center of the new pot. It should sit at the same depth as it did in its previous container. Surround the roots with more potting mix, tapping the pot to settle the soil without compacting it. This is the plant equivalent of fluffing a pillow before a good night's sleep.
💧 The First Watering
Water thoroughly but with a gentle hand. No tsunamis here. If the soil settles and exposes roots, add a bit more mix. Remember, post-repotting, don't drown your plant in love; water sparingly to let it recover from the shock of moving.

Post-Repotting Care: Helping Your Sedum Clavatum Settle In
💦 The First Sips: Watering After Repotting
After repotting, water your Sedum clavatum generously to settle the soil around the roots, then enter a phase of benign neglect. Let the topsoil dry out before you even think about watering again. It's a succulent, not a sponge; overwatering is the fast track to root rot.
🌞 Light and Temperature: Keeping Conditions Optimal
Your Sedum clavatum doesn't need a sunbath right after repotting. Bright, indirect light is the sweet spot—think of it as a cozy recovery room. Keep it away from temperature extremes; no drafts or heat blasts. Consistency is key for a plant that's just had its world shaken up.
⚠️ Safety First
This content is for general information and may contain errors, omissions, or outdated details. It is not medical, veterinary advice, or an endorsement of therapeutic claims.
Always consult a qualified healthcare professional before using any plant as food, medicine, or supplement.
Never eat any plant (or feed one to pets) without confirming its identity with at least two trusted sources.
If you suspect poisoning, call Poison Control (800) 222-1222, the Pet Poison Helpline (800) 213-6680, or your local emergency service immediately.
Spotted an error? Please report it here.
Ensure your Sedum clavatum's growth is never stunted by using Greg to get personalized 🌱 reminders for the perfect repotting time and care tips.