Best Tips for Repotting Tiscalatengo Gorge Sedum 🪴
Sedum clavatum
By the Greg Editorial Team
Sep 30, 2024•6 min read
This article was created with the help of AI so we can cover more plants for you. May contain errors. See one? Report it here.
Revitalize your Sedum's growth 🌱 with these essential repotting tips for a thriving plant!
- 🌱 Root bound signs include roots out of drainage holes; repot immediately!
- 🌞 Best time to repot Sedum is spring or early summer for optimal growth.
- 🧰 Gather materials like a new pot and soil mix before starting the repotting process.
Signs that Sedum Needs Repotting
🌱 Root Bound Indicators
Recognizing when your Sedum needs repotting is crucial for its health. One clear sign is roots growing out of the drainage holes; this indicates the plant is outgrowing its space.
Another indicator is soil that dries out too quickly. If you find yourself watering more frequently, it may be time for a larger pot.
Stunted growth or reduced vigor can also signal the need for repotting. If your Sedum seems to be lagging behind, it’s likely struggling for space.
Lastly, yellowing leaves or wilting despite adequate care are red flags. These symptoms often mean the plant is stressed and needs a new home.
⏰ Timing for Repotting
Timing is everything when it comes to repotting Sedum. The best time to repot is in spring or early summer, as this is when the plant is actively growing and can recover quickly.
Avoid repotting during dormancy, which typically occurs in late fall to winter. Doing so can stress the plant and hinder its growth.
By paying attention to these signs and timing, you can ensure your Sedum thrives in its new environment. Next, let’s dive into the step-by-step guide to repotting your Sedum effectively.
Step-by-Step Guide to Repotting Sedum
Repotting your Tiscalatengo Gorge Sedum can be a rewarding experience. Follow this easy step-by-step guide to ensure your plant thrives in its new home.
🛠️ Preparation for Repotting
- Gather Materials: Start by collecting a new pot, a suitable soil mix, and your tools—like a trowel and scissors.
- Choose the Right Pot: Select a pot that is 1-2 inches larger in diameter than the current one. This extra space allows for healthy root growth.
🌱 Removing the Sedum from Its Current Pot
- Loosen the Soil: Gently tap the sides of the pot to help loosen the soil. This step is crucial for an easy removal.
- Slide Out the Plant: Carefully slide the plant out, supporting the base. Take your time to avoid damaging the roots.
🔍 Inspecting and Handling Roots
- Check for Root Rot: Inspect the roots for any mushy or dark areas. Trim these sections to promote healthy growth.
- Untangle Circling Roots: If you notice any roots circling the pot, gently untangle them. This encourages the roots to spread out in the new soil.
🌿 Planting in the New Pot
- Add Soil: Start by adding a layer of well-draining soil to the bottom of the new pot. This foundation is vital for drainage.
- Position the Sedum: Place the Sedum in the center of the pot and fill around it with soil. Ensure it’s stable and upright.
- Eliminate Air Pockets: Lightly press down on the soil to remove any air pockets. This helps the plant settle in nicely.
With these steps, your Sedum will be ready to flourish in its new environment. Next, let’s explore the best pot materials to enhance your plant's growth.
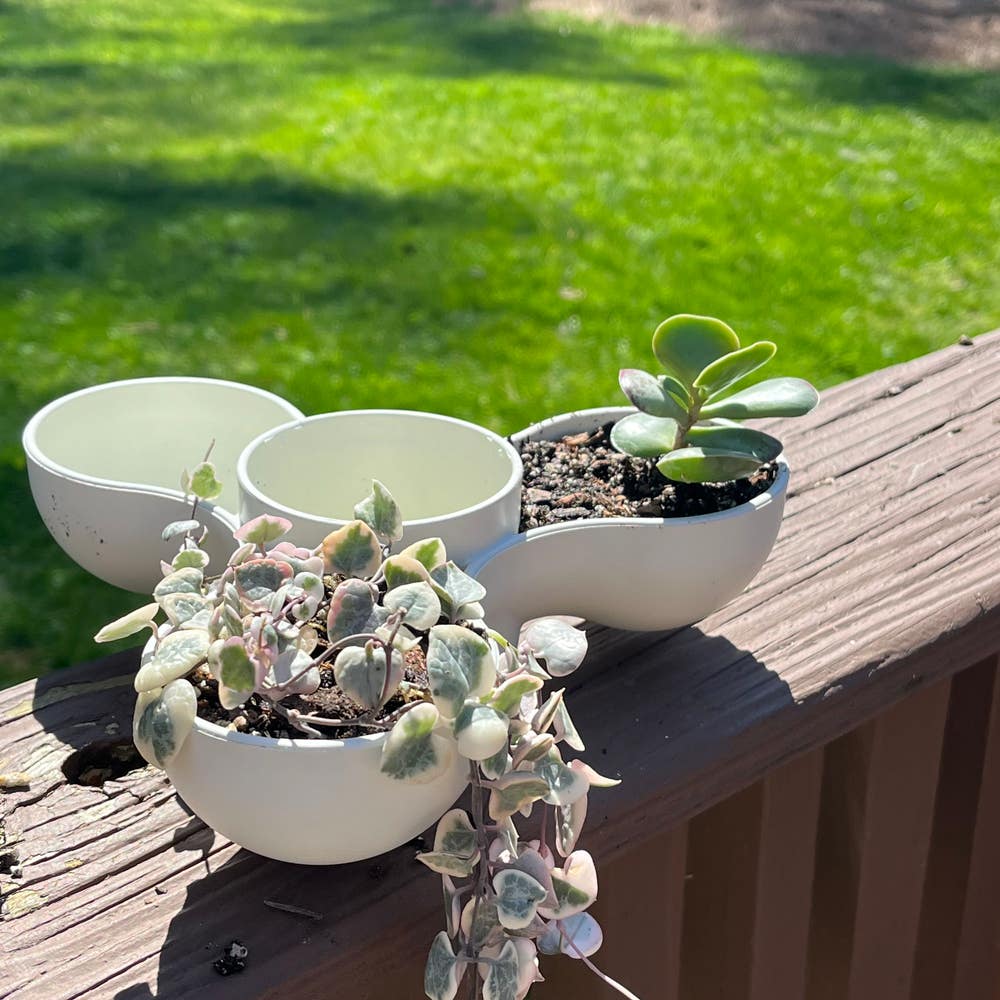
Pot Material Options
Choosing the right pot material for your Tiscalatengo Gorge Sedum is crucial for its health and growth. Here’s a breakdown of the best materials to consider.
🌱 Best Pot Materials for Sedum
The most suitable materials for Sedum pots include ceramic, plastic, and terracotta. Each has its unique benefits and drawbacks.
🏺 Pros and Cons of Ceramic Pots
Ceramic pots are aesthetically pleasing and provide good insulation for roots. However, they can be heavy and may retain moisture if not glazed properly.
🥤 Pros and Cons of Plastic Pots
Plastic pots are lightweight and affordable, making them a popular choice. On the downside, they are less breathable and can heat up quickly in direct sunlight, which may stress your Sedum.
🍂 Pros and Cons of Terracotta Pots
Terracotta pots excel in drainage and are breathable, promoting healthy root systems. Yet, they are prone to cracking and can dry out quickly, requiring more frequent watering.
🚫 Avoiding Materials that Retain Too Much Moisture
Selecting pots that promote airflow and drainage is essential for Sedum health. Avoid materials like glass and non-breathable plastics, as they can trap moisture and lead to root rot.
In summary, the right pot material can significantly impact your Sedum's growth. Choosing wisely will set the stage for a thriving plant, ready for the next steps in care and maintenance.
Soil and Drainage
🌱 Ideal Soil Mix for Sedum
For optimal growth, use a soil mix that consists of 50% potting soil and 50% coarse sand or perlite. This gritty blend is crucial for preventing root rot, allowing excess moisture to escape while retaining just enough for the plant's needs.
🚰 Importance of Drainage Holes in Pots
Drainage holes are essential as they prevent water accumulation, which can lead to root rot. When selecting pots, ensure they have adequate drainage to keep your Sedum thriving.
🧪 How to Create a Well-Draining Soil Mix
- Combine potting soil with perlite or coarse sand to enhance drainage.
- Adjust the ratios based on your local climate; for instance, use more drainage materials in humid areas to prevent over-saturation.
By focusing on the right soil and drainage, you set your Sedum up for success. This foundation will not only support healthy growth but also make your repotting experience smoother and more rewarding.
Propagation During Repotting
🌱 How to Propagate Sedum While Repotting
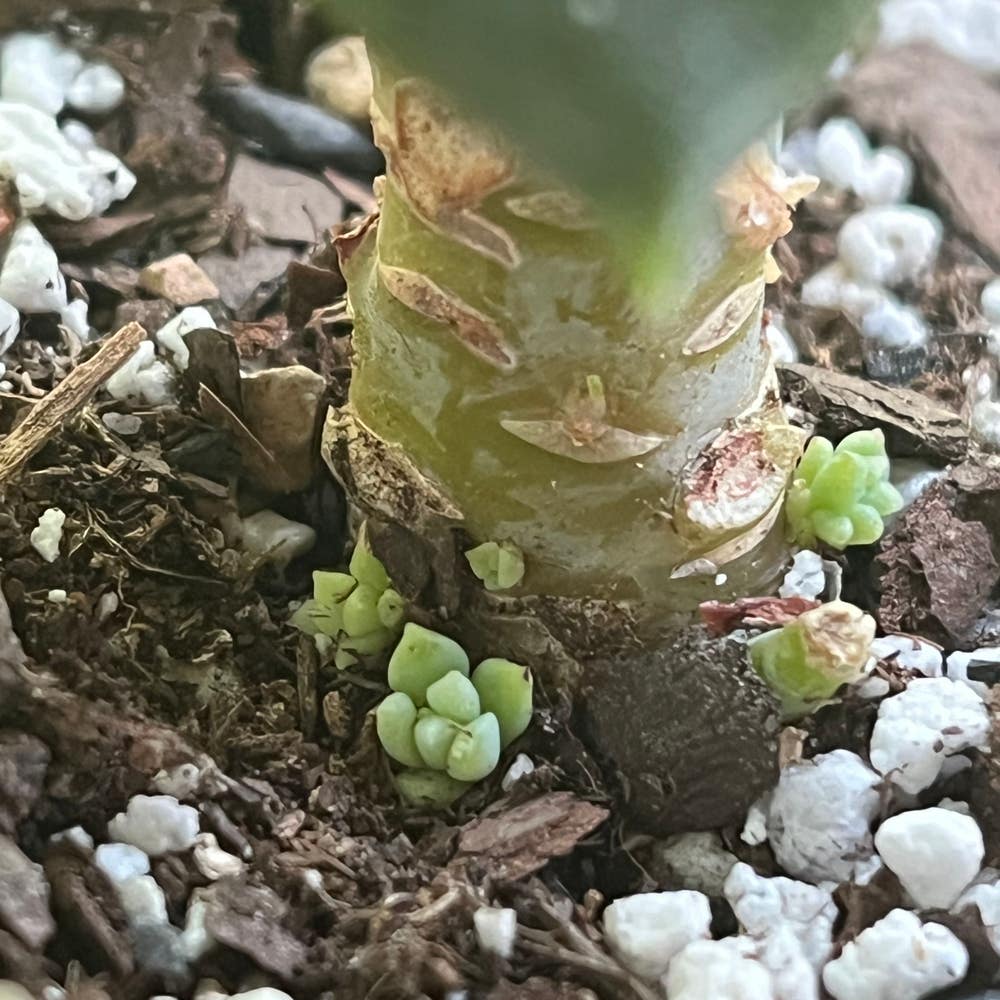
Repotting is a perfect opportunity to propagate your Sedum. Simply take cuttings from healthy stems while you’re handling the plant.
Use clean, sharp scissors to snip off sections that are at least a few inches long. This technique not only rejuvenates your plant but also gives you new ones to enjoy.
✂️ Best Practices for Sedum Cuttings
Timing is crucial when propagating Sedum. The best time to take cuttings is in spring or early summer, aligning with the plant's active growth phase.
Once you’ve made your cuts, allow them to callous for a few hours or overnight. This helps prevent rot when you plant them.
⏰ Timing for Propagation During Repotting
The ideal moment for propagation is immediately after repotting. This minimizes stress on the plant and allows cuttings to establish themselves more easily.
To ensure success, maintain humidity around your new cuttings. A simple way to do this is by covering them with a plastic bag or placing them in a humid environment until they root.
With these tips, you can expand your Sedum collection while giving your existing plants a fresh start. Now, let’s explore the best pot materials for your Sedum!
⚠️ Safety First
This content is for general information and may contain errors, omissions, or outdated details. It is not medical, veterinary advice, or an endorsement of therapeutic claims.
Always consult a qualified healthcare professional before using any plant as food, medicine, or supplement.
Never eat any plant (or feed one to pets) without confirming its identity with at least two trusted sources.
If you suspect poisoning, call Poison Control (800) 222-1222, the Pet Poison Helpline (800) 213-6680, or your local emergency service immediately.
Spotted an error? Please report it here.
Transform your Tiscalatengo Gorge Sedum into a thriving beauty 🌿 by using Greg's tailored reminders and expert tips for successful repotting!