Ultimate Guide to Propagating Tiscalatengo Gorge Sedum
Sedum clavatum
By the Greg Editorial Team
Sep 30, 2024•4 min read
This article was created with the help of AI so we can cover more plants for you. May contain errors. See one? Report it here.
Unlock lush greenery at home 🌱 by mastering easy plant propagation techniques for thriving gardens!
- 🌱 Use healthy leaves and callous them for optimal propagation success.
- 💧 Mist lightly, avoid soaking to prevent overwatering during rooting.
- ☀️ Provide bright, indirect light for 4-6 hours daily to stimulate growth.
Propagation Methods
🌿 Leaf Cuttings (difficulty: easy)
Step-by-step instructions
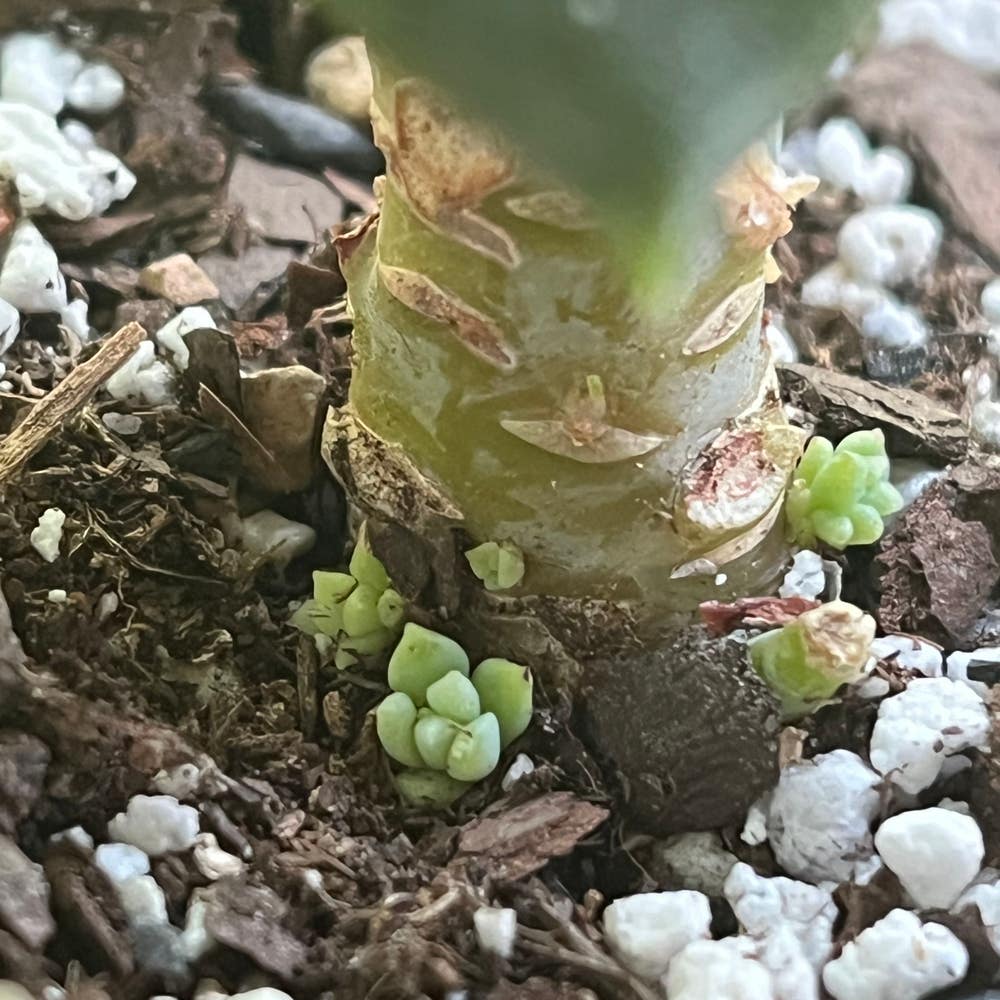
- Select healthy leaves: Choose mature, plump leaves from the parent plant. This ensures a strong start for your new plants.
- Prepare the cuttings: Gently twist or cut the leaves from the stem, ensuring no damage occurs. This care helps the cuttings thrive.
- Allow callousing: Place leaves on a dry surface for 1-2 days to form a callous. This step is crucial for preventing rot.
- Planting: Lay the calloused leaves on top of well-draining soil, pressing lightly. This helps anchor them without burying them too deep.
- Watering: Mist the soil lightly to initiate rooting. Avoid soaking, as excess moisture can lead to rot.
☀️ Ideal conditions for rooting
- Light: Bright, indirect sunlight for 4-6 hours daily is ideal. This light helps stimulate growth without scorching the leaves.
- Temperature: Maintain a temperature range of 20°C to 25°C (68°F to 77°F). This warmth encourages active rooting.
- Humidity: Moderate humidity levels are essential to encourage rooting. A little moisture in the air can go a long way.
❌ Common mistakes to avoid
- Overwatering: Ensure the soil is dry between waterings to prevent rot. Too much water is a common pitfall.
- Insufficient light: Avoid placing cuttings in low-light conditions. Lack of light can stunt growth and lead to failure.
🌱 Stem Cuttings (difficulty: moderate)
How to take stem cuttings
- Select healthy stems: Choose stems with several leaves and no signs of disease. Healthy stems are your best bet for successful propagation.
- Cut the stem: Use clean, sharp scissors to cut 3-4 inches below a leaf node. A clean cut minimizes stress on the plant.
- Remove lower leaves: Trim off the bottom leaves to expose the stem. This prepares the cutting for planting.
Preparing cuttings for propagation
- Allow cuttings to callous for 1-2 days before planting. This helps prevent rot and encourages rooting.
Best practices for rooting
- Plant in well-draining soil, burying the cut end. This provides stability and access to nutrients.
- Water lightly and place in bright, indirect light. Proper light conditions promote healthy growth.
- Maintain humidity by covering with a plastic bag or dome. This creates a mini-greenhouse effect, enhancing rooting success.
✂️ Division (difficulty: moderate)
When to divide
- Best done in spring or early summer when the plant is actively growing. Timing is key for successful division.
Step-by-step division process
- Remove the plant from its pot: Gently loosen the soil around the roots. This minimizes damage during the process.
- Separate the clumps: Use clean hands or tools to divide the root ball into sections. Aim for healthy sections with roots and leaves.
- Replant immediately: Place divisions in well-draining soil at the same depth as before. This helps them acclimate quickly.
Post-division care tips
- Water lightly and provide bright, indirect sunlight. This supports recovery and growth.
- Avoid fertilizing for the first month to allow roots to establish. Patience is essential here.
🐛 Troubleshooting Common Issues
Identifying and solving rot problems
- Symptoms: Blackened, mushy stems or leaves indicate rot. Early detection is crucial for saving your cuttings.
- Solutions: Remove affected parts and allow cuttings to dry out. This helps prevent further spread.
Dealing with slow growth or failure to root
- Check for adequate light and moisture levels. Sometimes, a simple adjustment can make all the difference.
- Consider repotting in fresh soil if conditions are not ideal. Fresh soil can rejuvenate struggling cuttings.
Pest management
- Common pests: Mealybugs and aphids can be problematic. Regular checks can help catch infestations early.
- Control methods: Use neem oil or insecticidal soap for treatment. These solutions are effective and less harsh on your plants.
📅 Timing and Seasonal Considerations
Best seasons for propagating
- Spring and early summer are optimal for active growth and rooting. These seasons provide the best conditions for success.
How seasonal changes affect success
- Cooler temperatures in fall and winter can slow growth; adjust care accordingly. Be mindful of your plant's needs as the seasons change.
With these methods and tips, you're well on your way to successfully propagating Tiscalatengo Gorge Sedum. Next, let’s explore troubleshooting common issues that may arise during propagation.
⚠️ Safety First
This content is for general information and may contain errors, omissions, or outdated details. It is not medical, veterinary advice, or an endorsement of therapeutic claims.
Always consult a qualified healthcare professional before using any plant as food, medicine, or supplement.
Never eat any plant (or feed one to pets) without confirming its identity with at least two trusted sources.
If you suspect poisoning, call Poison Control (800) 222-1222, the Pet Poison Helpline (800) 213-6680, or your local emergency service immediately.
Spotted an error? Please report it here.
Propagate Tiscalatengo Gorge Sedum like a pro 🌿 with Greg's tailored reminders and expert tips to ensure your cuttings thrive every step of the way!