🌞 Managing Black Spots on Your Tiscalatengo Gorge Sedum Leaves
Sedum clavatum
By the Greg Editorial Team
Sep 30, 2024•5 min read
This article was created with the help of AI so we can cover more plants for you. May contain errors. See one? Report it here.
Revive your Tiscalatengo Gorge Sedum from black spots with expert diagnosis and treatment tips! 🌱
- 🔍 Regular inspections help identify black spots and underlying issues on Sedum leaves.
- 🌱 Pests like aphids cause black spots; look for curled leaves and sticky residue.
- 💧 Watering practices matter—over or underwatering leads to black spots on Sedum.
Diagnosing the Problem
🔍 How to Inspect Leaves
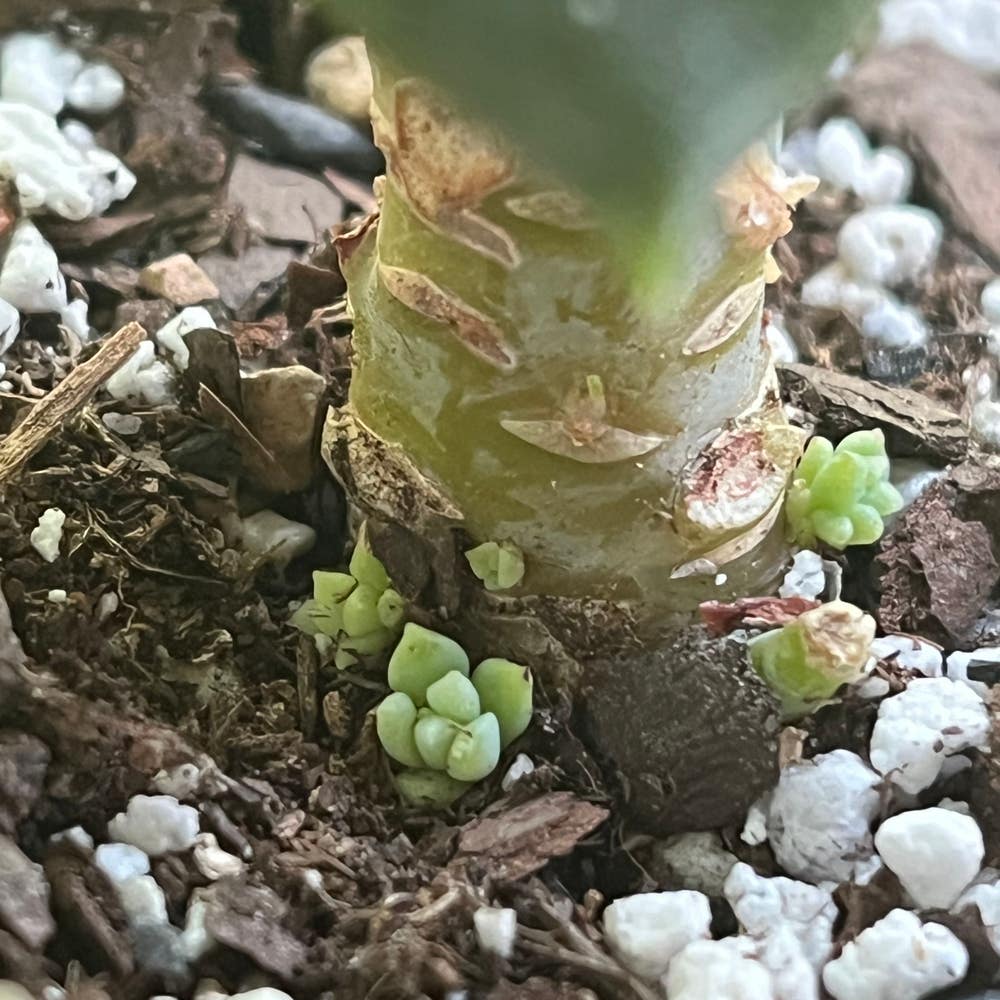
Inspecting your Tiscalatengo Gorge Sedum leaves is crucial for identifying black spots. Start by examining the leaf surfaces for any visible spots.
Next, check the undersides of the leaves for pests. Finally, assess the overall health of the plant to gauge any underlying issues.
Tools Needed for Effective Inspection To conduct a thorough inspection, you'll need a few tools. A magnifying glass helps you spot tiny pests and details, while a clean cloth is essential for wiping leaves and removing dust.
🐞 Common Pests That Cause Black Spots
Aphids are notorious for causing black spots on Sedum. These small, sap-sucking insects can lead to significant damage, so look for curled leaves or sticky residue.
Mealybugs also contribute to leaf discoloration. They appear as white, cottony masses and can weaken your plant, so keep an eye out for their telltale signs.
🌧️ Environmental Factors Contributing to Leaf Spots
Watering issues can lead to black spots on your Sedum. Overwatering can cause root rot, while underwatering may stress the plant, leading to discoloration.
Soil conditions play a vital role as well. Ensure your Sedum is in well-draining soil to prevent waterlogging, which can exacerbate leaf issues.
Sunlight exposure is another key factor. Sedum thrives in full sun, but too much or too little light can cause stress and lead to black spots. Adjust your plant's placement based on seasonal changes to optimize its health.
By understanding these diagnostic steps, you can effectively identify and address the issues affecting your Sedum. This proactive approach will set the stage for successful treatment and ongoing care.
Treatment Options
Step-by-Step Guide to Treating Black Spots 🌱
Identify the cause of black spots: Start by inspecting your Sedum closely. Look for signs of pests, disease, or environmental stress.
Remove affected leaves: If you spot any damaged leaves, prune them off. This helps prevent the spread of any potential issues.
Adjust watering practices: Based on your findings, modify your watering routine. Ensure you're neither overwatering nor underwatering.
Apply appropriate treatments: Depending on the diagnosis, choose between fungicides or natural remedies. Each option has its benefits, so select what suits your needs best.
Recommended Fungicides and Treatments 🧪
Types of fungicides suitable for Sedum: Look for fungicides specifically designed for succulents. These are less likely to harm your plant while effectively targeting the issue.
Application methods and timing: Apply fungicides during cooler parts of the day to avoid leaf burn. Follow the instructions on the label for the best results.
Chemical vs. organic options: Chemical fungicides can be effective but may have side effects. Organic options, like neem oil, are gentler and often safer for the environment.
Natural Remedies for Black Spots 🌼
Homemade solutions: Consider creating your own treatments. For instance, neem oil is a powerful natural remedy that can combat pests and fungal issues.
Baking soda solution: Mix one tablespoon of baking soda with water to create a spray. This can help manage fungal growth effectively.
Importance of regular monitoring: After applying treatments, keep an eye on your Sedum. Regular checks will help you catch any new issues early, ensuring your plant remains healthy.
By following these treatment options, you can effectively manage black spots on your Tiscalatengo Gorge Sedum leaves. Next, let’s explore preventive measures to keep your plants thriving.
Preventive Measures
Best Practices for Watering 🌊
Watering your Tiscalatengo Gorge Sedum correctly is crucial for preventing black spots. Aim for a schedule that allows the soil to dry out between waterings, typically every 1-2 weeks.
Look for signs of proper moisture levels, such as slightly moist soil but not soggy. To avoid overwatering, always check the top inch of soil; if it feels dry, it’s time to water.
Soil and Drainage Requirements 🏞️
Choosing the right soil is essential for Sedum health. Use a well-draining mix, ideally a combination of potting soil and sand or perlite to enhance drainage and aeration.
If your soil retains too much moisture, consider amending it with coarse materials. This adjustment will help create an environment where your Sedum can thrive.
Optimal Sunlight Conditions ☀️
Sedum loves full sun, so ensure it gets at least 6 hours of direct sunlight daily. However, be mindful of signs of too much sun, like leaf scorch or wilting.
As seasons change, adjust your plant's placement to maintain optimal sunlight exposure. This small tweak can make a big difference in keeping your Sedum healthy and vibrant.
With these preventive measures in place, you can significantly reduce the risk of black spots on your Sedum leaves. Next, let’s explore ongoing care and maintenance to keep your plants thriving.
Ongoing Care and Maintenance
Regular Inspection Routines 🕵️♂️
Regular inspections are crucial for maintaining the health of your Tiscalatengo Gorge Sedum. Aim for weekly checks during the growing season and bi-weekly during dormancy.
Look for early signs of stress or disease, such as discoloration or wilting leaves. Catching these issues early can save your plant from more severe problems down the line.
Seasonal Care Adjustments 🌦️
As seasons change, so should your care practices. In summer, ensure your Sedum receives adequate sunlight and adjust watering to prevent drying out.
In winter, reduce watering frequency and consider protecting your plant from frost. Adapting your fertilization schedule is equally important to meet your plant's changing nutrient needs.
Importance of Proper Fertilization and Soil Health 🌱
Choosing the right fertilizer can significantly impact your Sedum's growth. Opt for a balanced, slow-release fertilizer during the growing season, applying it every 4-6 weeks.
Regularly test your soil to ensure it remains healthy. Amending it as needed will help maintain optimal conditions for your Sedum to thrive.
By staying vigilant and proactive in your care routine, you can enjoy a flourishing Sedum that brightens your space. Next, let’s explore preventive measures to keep your plant healthy and vibrant.
⚠️ Safety First
This content is for general information and may contain errors, omissions, or outdated details. It is not medical, veterinary advice, or an endorsement of therapeutic claims.
Always consult a qualified healthcare professional before using any plant as food, medicine, or supplement.
Never eat any plant (or feed one to pets) without confirming its identity with at least two trusted sources.
If you suspect poisoning, call Poison Control (800) 222-1222, the Pet Poison Helpline (800) 213-6680, or your local emergency service immediately.
Spotted an error? Please report it here.
Keep your Tiscalatengo Gorge Sedum spot-free 🌿 by using Greg's tailored care tips and pest alerts to ensure your plant stays healthy and thriving!