🌟 3 Tips for Propagating Your Starfruit
Averrhoa carambola
By the Greg Editorial Team
Nov 26, 2024•6 min read
This article was created with the help of AI so we can cover more plants for you. May contain errors. See one? Report it here.
Master starfruit propagation 🌟 with expert tips on seeds, cuttings, and grafting for a thriving garden! 🌱
- 🌟 Choose ripe, golden-yellow starfruit for the best seed quality in propagation.
- 🌱 Maintain warm, humid conditions and indirect sunlight for successful seed germination.
- ✂️ Use healthy cuttings with rooting hormone for optimal propagation success.
Propagating from Seeds
Step-by-Step Guide on Seed Preparation 🌱
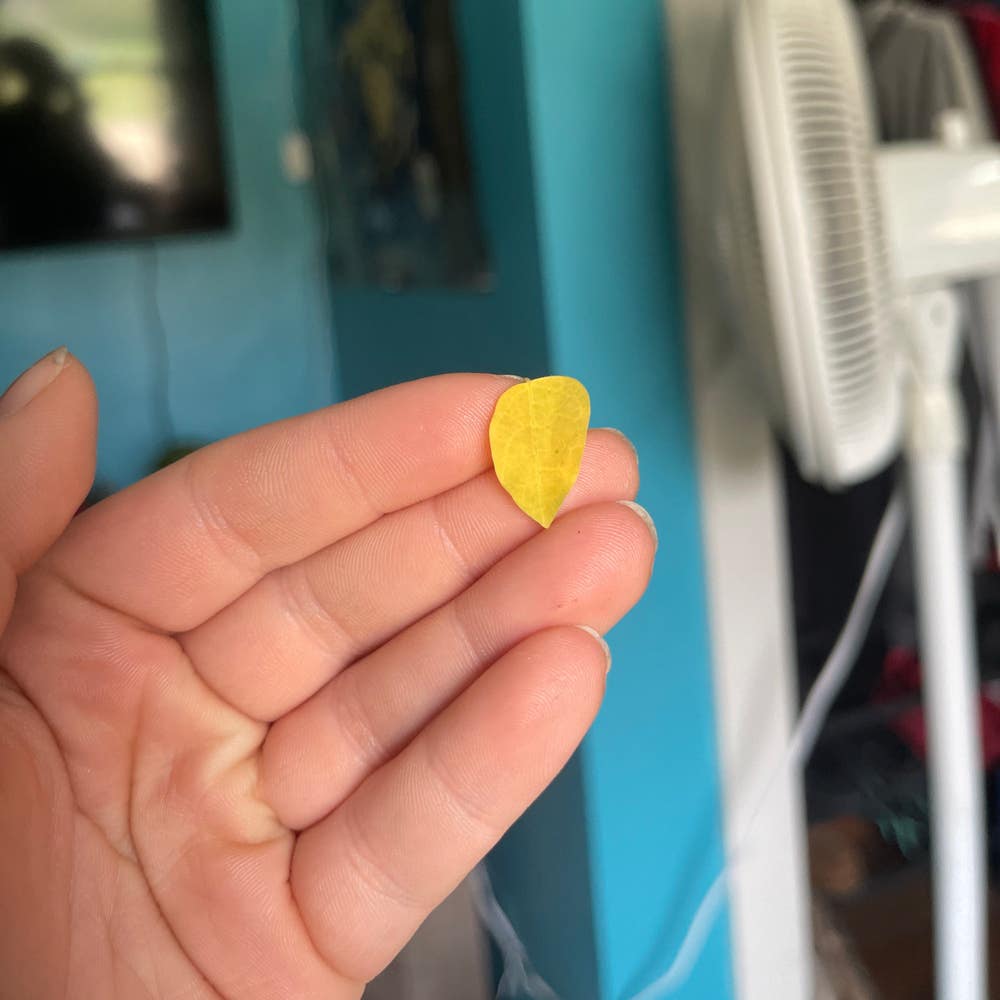
To start propagating starfruit, selecting ripe fruits is crucial. Look for fully ripe fruits that boast a golden-yellow color for the best seed quality.
Next, extract the seeds by cutting the fruit open and carefully removing them. It’s essential to handle the seeds gently to avoid damage.
Once extracted, clean the seeds thoroughly. Rinse them under running water to remove any fruit residue that could hinder germination.
Finally, dry the seeds by placing them on a paper towel in a cool, dry area for 1-2 days. This step is vital to prevent mold during the germination process.
Ideal Conditions for Germination 🌞
Creating the right environment for germination is key. Use a well-draining potting mix with a pH of 6.0 to 7.0 to ensure optimal growth conditions.
Temperature plays a significant role as well. Aim to maintain a warm environment, ideally between 75°F to 85°F (24°C to 29°C), to encourage seed sprouting.
Light exposure is another factor to consider. Provide indirect sunlight to prevent overheating and protect the delicate seeds during their initial growth phase.
Timeframe for Seedling Development ⏳
Patience is essential when waiting for seeds to germinate. Typically, seeds will germinate within 2-3 weeks, depending on the conditions provided.
During this time, seedling care is crucial. Keep the soil consistently moist but avoid waterlogging, which can lead to root rot.
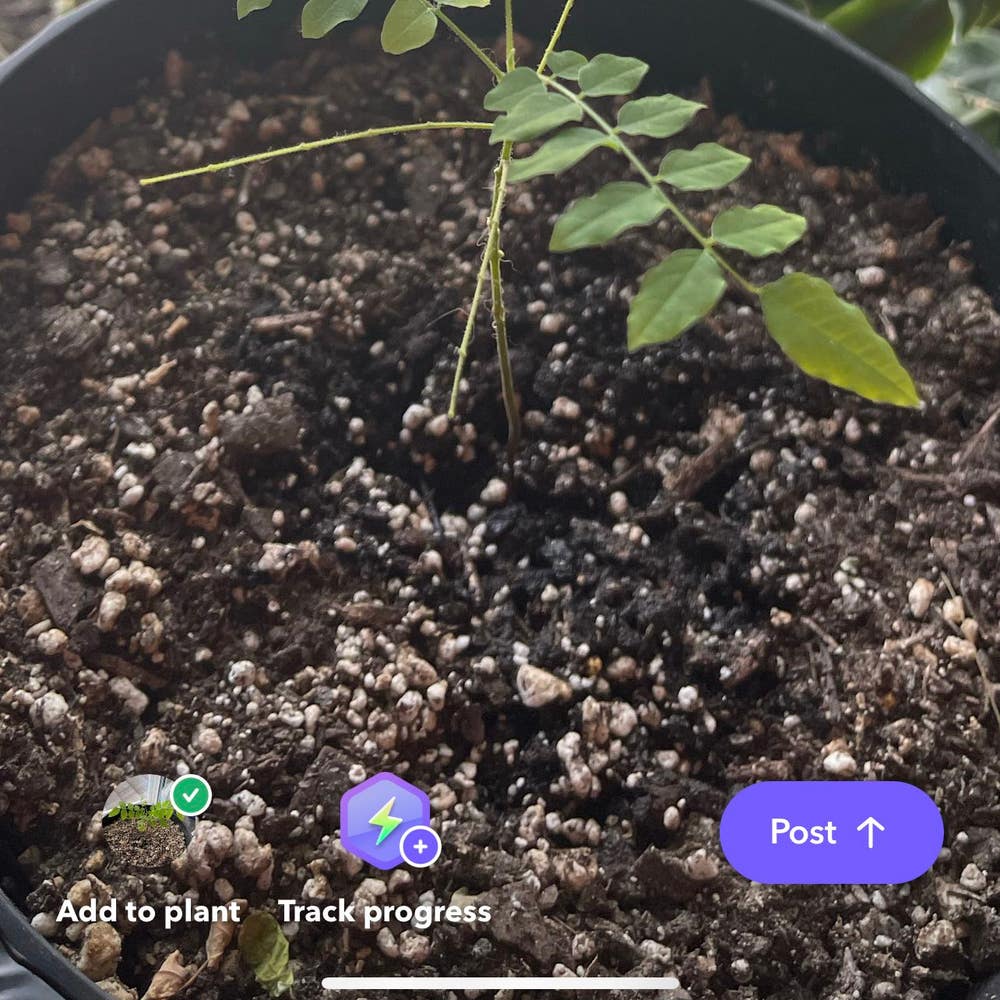
Once your seedlings develop 2-3 true leaves, it’s time to transplant them into larger pots. This step allows them to continue growing strong and healthy.
With these steps, you’ll be well on your way to successfully propagating starfruit from seeds. Next, let’s explore how to propagate starfruit from cuttings for an alternative method of growth.
Propagating from Cuttings
🌱 Selecting the Right Cuttings
To successfully propagate starfruit, timing is crucial. The best time to take cuttings is during late spring to early summer when the plant is in its active growth phase.
When selecting cuttings, aim for healthy stems that are 6-8 inches long, ensuring they have at least 2-3 leaf nodes. This length provides enough material for rooting while maximizing your chances of success.
✂️ Preparing Cuttings for Rooting
Once you have your cuttings, it's time to prepare them for rooting. Start by trimming the cuttings, removing the lower leaves to expose the nodes where roots will develop.
Next, dip the cut end of each cutting in rooting hormone. This step is essential as it promotes root development, giving your cuttings a better chance to thrive.
🌿 Best Rooting Mediums and Conditions
Choosing the right rooting medium is vital for successful propagation. A mix of perlite and peat moss works wonders, providing optimal drainage and aeration for the developing roots.
Humidity plays a significant role in rooting success. Aim to maintain high humidity levels, around 70-80%, by using a humidity dome or a plastic bag over the cuttings. This environment helps prevent moisture loss.
Lastly, ensure your cuttings receive bright, indirect light. This light condition encourages rooting without the risk of overheating, setting your cuttings up for a successful start.
With the right techniques in place, you're well on your way to propagating starfruit from cuttings. Next, let's explore grafting techniques to further enhance your starfruit cultivation skills.
Grafting Techniques
Choosing Rootstock for Grafting 🌱
Selecting the right rootstock is crucial for successful grafting. Aim for a healthy, vigorous variety that complements your scion.
Consider disease resistance and local growing conditions when making your choice. This ensures your grafted plant thrives in its environment.
Step-by-Step Grafting Process 🛠️
Grafting may seem daunting, but breaking it down into steps makes it manageable. Here’s a straightforward guide to get you started.
Preparing the rootstock: Make a clean cut at a 45-degree angle on the rootstock. This angle helps create a larger surface area for the graft.
Preparing the scion: Cut the scion at a matching angle, ensuring it has at least 2-3 buds. This will give your graft the best chance to grow.
Joining the scion and rootstock: Align the cambium layers of both pieces. Secure them tightly with grafting tape to hold them in place.
Sealing the graft: Apply grafting wax to the graft site. This prevents moisture loss and protects against infection.
Monitoring the graft: Keep the grafted plant in a shaded area for 2-3 weeks. This allows it to acclimate and increases the chances of a successful union.
With these steps, you can confidently approach grafting your starfruit. Next, let’s explore common challenges you might face during propagation.
Common Challenges in Propagation
🌱 Issues with Seed Germination
Causes of Poor Germination Rates
Seed germination can be tricky, and several factors contribute to poor rates. First, seed viability is crucial; old or improperly stored seeds may not sprout effectively.
Additionally, environmental factors play a significant role. Inadequate temperature or moisture can hinder the germination process, leaving you with empty pots instead of vibrant seedlings.
Solutions to Improve Germination
To boost your chances of success, consider pre-soaking seeds. Soaking them in water for 24 hours before planting can enhance germination rates significantly.
Another effective method is using a heat mat. Providing bottom heat helps maintain optimal soil temperature, creating a cozy environment for your seeds to sprout.
🌿 Problems with Rooting Cuttings
Identifying Common Rooting Issues
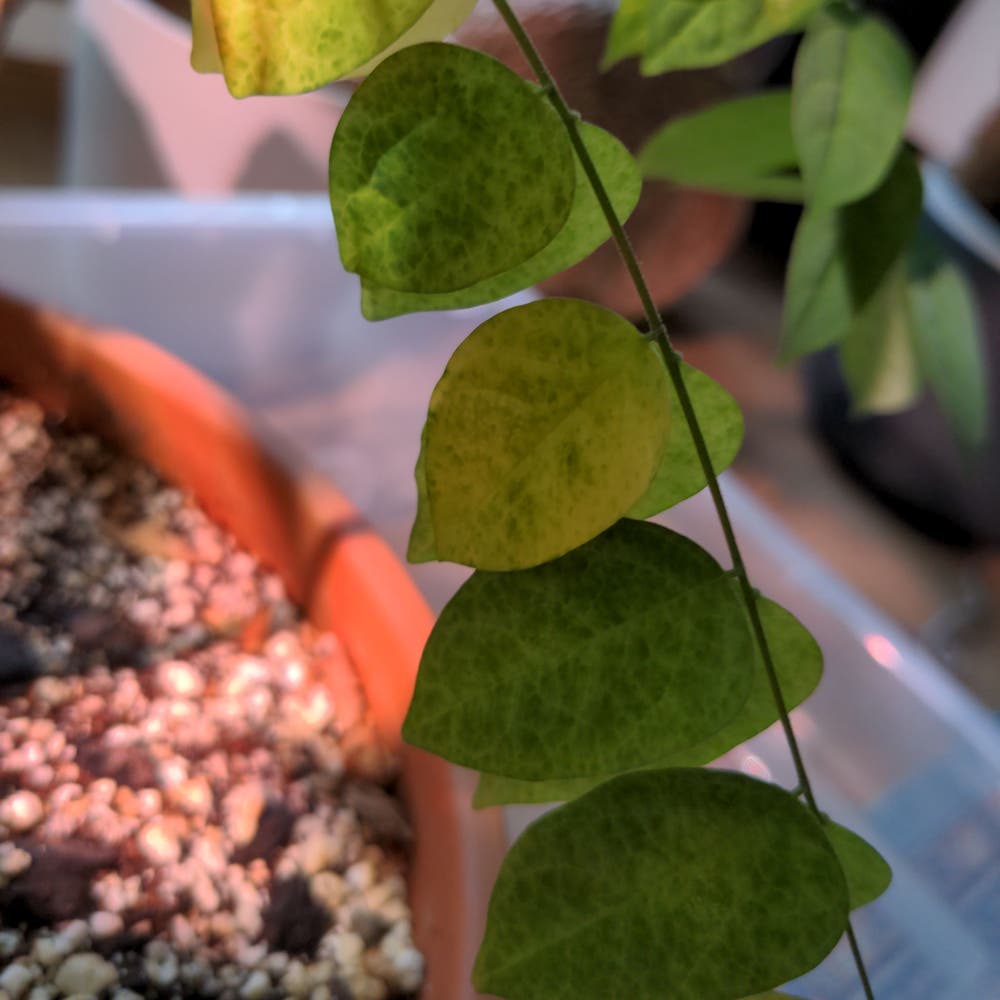
When propagating from cuttings, it's essential to recognize signs of failure early. Look out for wilting, yellowing leaves, or even mold growth, which indicate that your cuttings may not be thriving.
If your cuttings take longer than 6-8 weeks to root, it’s a red flag that they might not be successful. Timeliness is key in propagation!
Tips for Successful Rooting
To improve your chances of rooting success, regular misting is vital. Keep your cuttings moist, but be careful not to overwater them, as soggy conditions can lead to rot.
Ventilation is another critical factor. Ensure good air circulation around your cuttings to prevent fungal issues and promote healthy growth.
🌳 Grafting Failures
Signs of Unsuccessful Grafts
Grafting can be a rewarding yet challenging process. One of the first signs of an unsuccessful graft is a lack of growth; if the scion remains dormant or wilts, it’s time to reassess your technique.
Discoloration at the graft site, such as brown or blackened areas, also indicates failure. These visual cues can help you troubleshoot before it’s too late.
How to Troubleshoot Grafting Problems
To improve your grafting success, start by reassessing the alignment of the cambium layers. Proper alignment is crucial for successful grafting.
Additionally, check your environmental conditions. Maintaining appropriate humidity and temperature is essential for graft success, so don’t overlook these factors.
With these insights, you can tackle common propagation challenges head-on and increase your chances of success. Next, let’s explore the exciting world of grafting techniques!
⚠️ Safety First
This content is for general information and may contain errors, omissions, or outdated details. It is not medical, veterinary advice, or an endorsement of therapeutic claims.
Always consult a qualified healthcare professional before using any plant as food, medicine, or supplement.
Never eat any plant (or feed one to pets) without confirming its identity with at least two trusted sources.
If you suspect poisoning, call Poison Control (800) 222-1222, the Pet Poison Helpline (800) 213-6680, or your local emergency service immediately.
Spotted an error? Please report it here.
Propagate your starfruit successfully 🌱 with Greg's tailored reminders and expert tips that ensure your seeds and cuttings thrive from germination to growth!