Propagating Hoya Carnosa Tricolor: Step-by-Step Guide
Hoya carnosa 'Tricolor'
By the Greg Editorial Team
Jun 15, 2024•7 min read
This article was created with the help of AI so we can cover more plants for you. May contain errors. See one? Report it here.
Propagate your Hoya Carnosa Tricolor 🌿 effortlessly with our step-by-step guide to thriving houseplants!
- Select healthy cuttings with nodes for successful propagation.
- Sterilize tools, remove lower leaves, and choose water or soil methods.
- Provide proper humidity, light, and patience for rooting and transplanting.
Preparing for Propagation
Embarking on the propagation journey with Hoya Carnosa Tricolor starts with a critical eye and a steady hand.
🌱 Selecting Healthy Stem Cuttings
Look for stems that scream vitality—lush green with no signs of wilting or disease. Length isn't as crucial as the presence of several nodes, those knobby bits where roots and leaves love to sprout.
🧼 Importance of Sterilized Tools
Your tools are your best friends here, so treat them right. Sterilize those pruners or scissors with rubbing alcohol or a bleach solution. Think of it as a surgical procedure for your plant; cleanliness is non-negotiable.
🌿 Preparing Cuttings for Propagation
Node Identification
Spot the node—it's not hide-and-seek, but it's just as fun. Nodes are your cuttings' lifelines, so each snippet should include one or two.
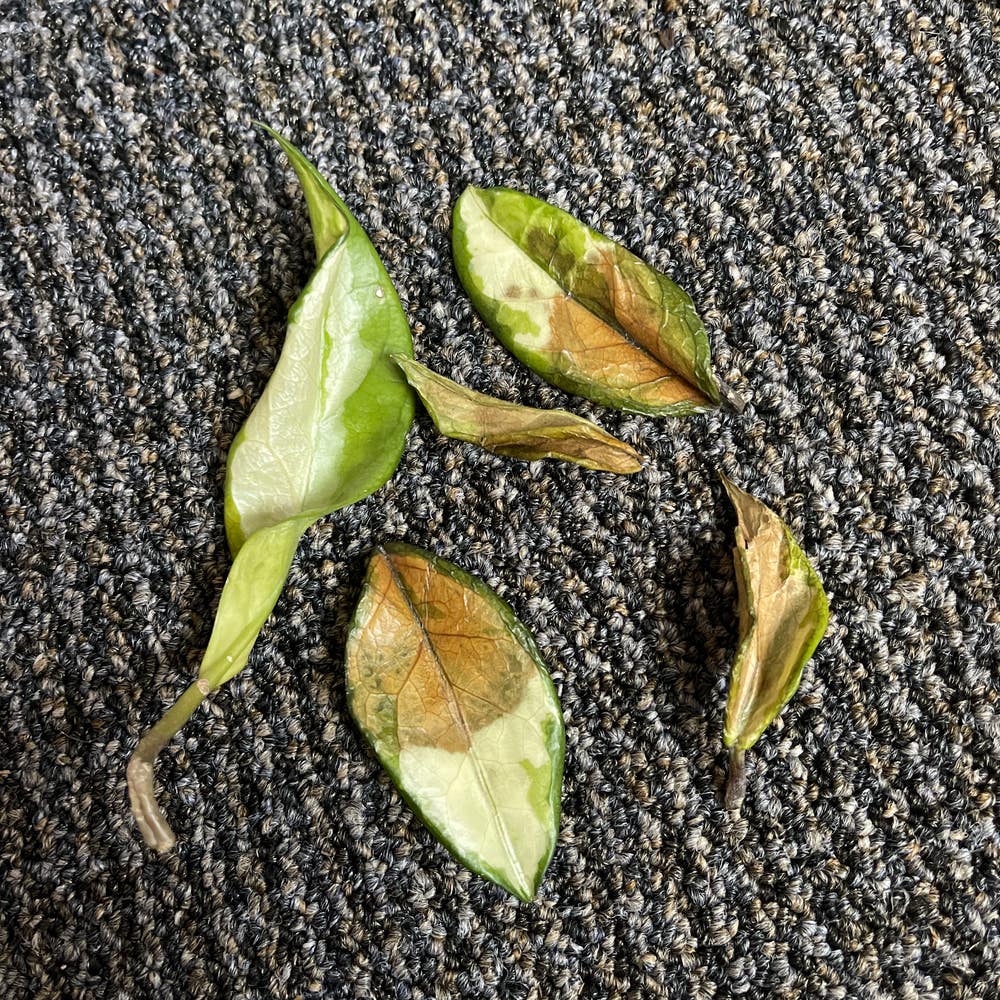
Leaf Removal
Strip the lower leaves like you're prepping for a minimalist art show. Leaves underwater can rot, and that's a party no one wants an invite to.
The Cut
Make the cut. Not a haphazard chop, but a precise snip just below a node. Think of it as giving your plant a new lease on life, with a clean slate to root and thrive.
Remember, the node's the thing. Without it, you're just sticking stems in water and hoping for a miracle. And while hope is a beautiful thing, science is a bit more reliable.

Propagation Techniques: Water and Soil
💧 Water Propagation: The Root of Simplicity
Submerge those nodes! Water propagation is like giving your cuttings a swimming lesson. Snip a healthy stem, ensuring it has at least one node, and plop it into a glass of water. Change the water every few days to keep it fresh. It's a waiting game, but when roots hit that 3-5 inch sweet spot, it's go-time for soil transition.
🌱 Soil Propagation: Getting Down and Dirty
Potting mix is your cutting's new best friend. For soil propagation, think of it as tucking your cuttings into bed. A mix of peat, perlite, and vermiculite offers the perfect snooze environment. Ensure the node is buried and the leaf is free—like a snorkel sticking out of the water. Moisture is key; keep it consistent, not soggy. Patience is a virtue here, as roots may take their sweet time to develop.
The Medium is the Message
Choosing between water and soil? Water's great for a sneak peek at root growth, but soil-grown roots are the hardy types, ready for the real world. Transplant water roots gently; they're the sensitive kind. Soil roots are your sturdy adventurers, eager to explore their new pot-bound universe.
Pro Tips: The Devil's in the Details
Sterilize those tools before cutting. It's surgery for plants, after all. And remember, rooting hormone is like cologne—less is more. A dab will do to speed up root growth without overwhelming your delicate cuttings. Keep them in a bright spot, but out of direct sunlight—think of it as their incubator.
Remember, whether you choose the aquatic or terrestrial route, it's all about giving those cuttings the TLC they need to flourish. Now, let's get propagating!

Aftercare for Propagated Cuttings
Ensuring proper humidity and light for newly propagated cuttings is like babysitting: you've got to be attentive, but not overbearing.
💦 Humidity: The Balancing Act
Start with a humidity level of around 90-100% right after sticking the cuttings. This is your cuttings' sauna phase, where they sweat it out in a cozy, moist environment. As they start to callus, dial down the mist. You're aiming for the sweet spot where the air isn't too dry, but you're not inviting a mold party.
☀️ Light: Keep It Bright, Not Harsh
Place your cuttings in a well-lit area, but keep them out of direct sunlight. Think of it as a shaded patio on a sunny day—bright enough to read a book, but not to get a sunburn.
💧 Watering: Timing is Everything
When it comes to watering, early stages are all about saturated media. Water once post-sticking to give your cuttings a drink, then ease off. Once they've got their calluses, it's time to reduce the watering to a moisture level 3—just enough to coax those roots out without drowning them.
Remember, the color of your media is your cheat sheet: light brown is the new green. Keep the soil moist but not soaking; think damp sponge, not a wet dog.
The Waiting Game
Patience is a virtue, especially in propagation. Roots take time to develop, and while you wait, resist the urge to overwater. Overenthusiastic watering is the fast track to stem rot, and nobody wants that.
Keep an eye on your cuttings like a hawk, but don't hover like a helicopter parent. With the right balance of humidity, light, and water, your propagated cuttings will be thriving in no time.

Transplanting Successfully Propagated Cuttings
🌱 Pot Selection
Size matters when it comes to pots for your rooted Hoya Carnosa Tricolor cuttings. Opt for a small to medium-sized pot that comfortably fits the roots without too much extra space. This helps prevent over-watering, a fast track to root rot city. A pot with adequate drainage holes is non-negotiable—your Hoya's roots despise soggy living conditions.
🌿 Soil Considerations
The potting mix is like a bed for your plant's roots; it should be comfortable and supportive. Use a well-draining mix, perhaps with a dash of perlite or pumice for that airy feel roots love. Remember, your Hoya is not a fan of wet feet, so a heavy, moisture-retentive soil is a no-go.
🌍 Acclimating to New Environment
Transition time is crucial. Your cuttings have been living the aquatic life, and they'll need to adjust to the terrestrial world. Start with consistent moisture in the soil but not too much—think damp, not drenched. Gradually reduce watering frequency to encourage strong, independent roots. Keep the plant in indirect light initially; direct sunlight is the equivalent of throwing your cuttings into a mosh pit before they've learned to dance.
Remember, patience is key. Your propagated Hoya won't thank you—because it's a plant—but it will flourish with the right care.
Addressing Propagation Challenges
🍄 Stem Rot: The Unwelcome Guest
Stem rot can crash the propagation party, turning your cuttings into compost fodder. Act fast when you spot mushy stems or nodes; it's a clear SOS. Snip off the affected parts with sterilized scissors to stop the rot from spreading its misery.
⏳ Delayed Rooting: Patience or Problem?
Roots taking their sweet time? It's not always a sign to panic. Ensure your cuttings are in a warm, bright spot without direct sunlight. Still no roots? Try a rooting hormone to nudge them along, but avoid overdoing it—think gentle encouragement, not a shove.
💧 Water Woes: Drowning or Thirsty?
Root rot in water? It's a sign of trouble. Change the water regularly to keep it fresh and oxygenated. If the roots look more like soggy noodles than firm spaghetti, it's time to reassess your setup. Consider the cleanliness of your container and the quality of your water.
🌱 Soil Sorrow: The Drainage Drama
Soil propagation comes with its own set of challenges. Compacted or poor-draining soil is a recipe for disaster. Mix in some perlite or sand to improve drainage and aeration. Remember, your cutting's roots need to breathe, not swim.
🐜 Pests and Pathogens: Uninvited Pests
Pests and diseases lurking around? They're not just a nuisance; they're a threat to your propagation success. Regularly inspect your cuttings for any signs of disease or insect parties. If you spot trouble, isolate the patient and treat with an appropriate fungicide or insecticide.
🌡️ Environmental Stress: The Balancing Act
Propagated cuttings are like Goldilocks—they want everything just right. Too much humidity can invite fungal infections, while too little can stress them out. Use a humidity dome if needed, but let the cuttings breathe to avoid condensation build-up.
⏰ The Waiting Game: A Test of Patience
Sometimes, despite doing everything by the book, cuttings take their time to root. Don't rush them; plants have their own internal clocks. Monitor, adjust care as needed, and give them the time they need to establish.
Remember, propagation is part art, part science, and a whole lot of patience. Keep these tips in your back pocket, and you'll be ready to tackle any challenge that comes your way.
⚠️ Safety First
This content is for general information and may contain errors, omissions, or outdated details. It is not medical, veterinary advice, or an endorsement of therapeutic claims.
Always consult a qualified healthcare professional before using any plant as food, medicine, or supplement.
Never eat any plant (or feed one to pets) without confirming its identity with at least two trusted sources.
If you suspect poisoning, call Poison Control (800) 222-1222, the Pet Poison Helpline (800) 213-6680, or your local emergency service immediately.
Spotted an error? Please report it here.
Ensure your Hoya Carnosa Tricolor cuttings thrive 🌿 with Greg's precise reminders for water changes and soil checks, making propagation a breeze from this step-by-step guide!