🌱 How to Know When to Repot Variegated Wax Plant
Hoya carnosa 'Tricolor'
By the Greg Editorial Team
Oct 09, 2024•6 min read
This article was created with the help of AI so we can cover more plants for you. May contain errors. See one? Report it here.
Revitalize your variegated wax plant 🌱 by spotting repotting signs and following our expert guide for thriving growth!
- 🌱 Signs to repot include roots out of drainage holes and quick-drying soil.
- ⚖️ Top-heavy plants indicate a need for a larger pot for stability.
- 🧪 Healthy roots should be white and firm; check for root rot signs.
Signs That Indicate It's Time to Repot
🌱 Signs of Root Bound
If your variegated wax plant is showing signs of being root bound, it’s time to consider repotting. One clear indicator is roots growing out of the drainage holes. This means the plant has outgrown its current home and needs more space.
Another sign is when the soil dries out quickly after watering. If you find yourself watering more frequently, it could be a signal that the roots are taking up all the moisture. Additionally, stunted growth or yellowing leaves can indicate that the plant is struggling to thrive in its confined space.
📏 Assessing Plant Size and Container Fit
Next, evaluate the plant's size and how it fits in its container. Is your plant top-heavy or leaning? This can suggest that it needs a larger pot for better stability.
Also, take a moment to assess the overall growth and health of the plant. If it appears cramped or unhealthy, it’s definitely time to repot. Keeping an eye on these signs will help ensure your variegated wax plant continues to flourish.
With these indicators in mind, you can confidently move on to assessing root health before making the transition to a new pot.
How to Assess Root Health Before Repotting
🌱 Root Inspection Techniques
Before repotting your variegated wax plant, it's crucial to assess its root health. Start by gently removing the plant from its pot; this allows you to inspect the roots without causing damage.
Once out, examine the root color and texture. Healthy roots should be white and firm, indicating they are thriving and ready for a new home.
🔍 Identifying Issues
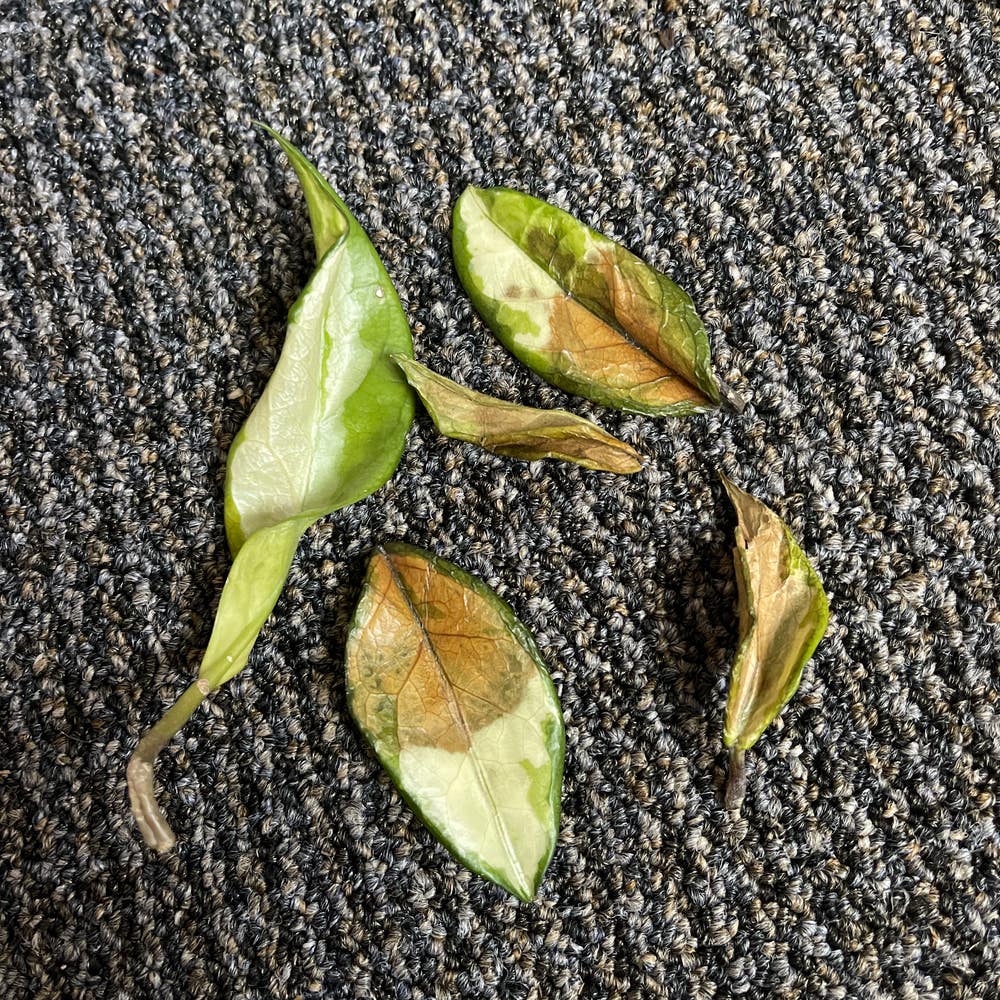
Keep an eye out for signs of root rot, which can be detrimental to your plant's health. Mushy, brown roots are a clear indicator that something is wrong and immediate action is needed.
Additionally, check for root entanglement. If you see roots circling the pot, it’s a sign that your plant is becoming root-bound and needs more space to grow.
Understanding these root health indicators will help ensure your variegated wax plant thrives in its new pot. Next, let’s dive into the step-by-step guide for repotting your plant effectively.
Step-by-Step Guide to Repotting Variegated Wax Plant
Repotting your variegated wax plant can seem daunting, but with the right steps, it’s a breeze. Here’s a straightforward guide to help you through the process.
1. Gather Necessary Materials 🛠️
Start by collecting your tools. You’ll need a new pot, quality potting soil, and some basic gardening tools.
2. Choose the Right Container Size 📏
Selecting the right pot is crucial. Aim for a container that is 1-2 inches larger in diameter than the current one.
3. Prepare the New Pot 🪴
Before planting, ensure your new pot has adequate drainage holes. Then, add a layer of potting soil at the bottom to provide a solid base.
4. Remove the Plant from Its Old Pot 🌱
Gently take the plant out of its old pot. Loosen the soil around the roots carefully to avoid causing any damage.
5. Place the Plant in the New Pot 🌼
Position your plant in the new pot at the same depth it was previously. This helps maintain its health and stability.
6. Fill in with Potting Soil 🧤
Now, fill in around the roots with potting soil. Firmly pack the soil to eliminate air pockets, ensuring the roots are well-supported.
7. Water Thoroughly to Settle the Soil 💧
Finally, give your plant a good drink. Water it thoroughly to help settle the soil and provide moisture to the roots.
By following these steps, you’ll ensure your variegated wax plant thrives in its new home. Next, let’s explore the various pot material options to find the best fit for your plant's needs.
Pot Material Options
Choosing the right pot material for your variegated wax plant is crucial for its health and growth. Different materials offer unique benefits and drawbacks, so let’s explore the best options available.
🪴 Best Pot Materials
When selecting a pot, consider materials that promote healthy root development and overall plant vitality. The most common options include plastic, terracotta, ceramic, and biodegradable pots.
💧 Pros and Cons of Plastic Pots
Plastic pots are a popular choice for many plant enthusiasts.
Pros:
- Lightweight and easy to handle.
- Affordable, making them budget-friendly.
- Good moisture retention, which can be beneficial for wax plants.
Cons:
- Less breathable than other materials, potentially leading to root rot if overwatered.
- Can become brittle over time, especially when exposed to sunlight.
🏺 Pros and Cons of Terracotta Pots
Terracotta pots are known for their classic look and functionality.
Pros:
- Excellent drainage, which helps prevent waterlogging.
- Breathable material that allows air exchange, promoting healthy roots.
Cons:
- Can dry out quickly, requiring more frequent watering.
- Heavier than plastic, making them less portable.
🎨 Pros and Cons of Ceramic Pots
Ceramic pots offer a blend of aesthetics and functionality.
Pros:
- Visually appealing, adding a decorative touch to your space.
- Good insulation, helping to maintain consistent soil temperatures.
Cons:
- Generally heavier, which can be cumbersome.
- May have limited drainage options, so check for holes before use.
🌱 Considerations for Using Biodegradable Pots
Biodegradable pots are an eco-friendly alternative worth considering.
Pros:
- Made from sustainable materials, reducing environmental impact.
- Good for temporary use, especially for seedlings or young plants.
Cons:
- May decompose too quickly, affecting stability and requiring more frequent repotting.
- Not ideal for long-term use, as they can break down in moist conditions.
Choosing the right pot material can significantly impact your variegated wax plant's health. Consider your plant's needs and your own preferences to make the best choice.
Next, let’s dive into common repotting mistakes to avoid for a thriving plant.
Common Repotting Mistakes
🪴 Overpotting vs. Underpotting
Finding the right pot size is crucial for your variegated wax plant's health. Overpotting can lead to excess soil retaining moisture, causing root rot, while underpotting restricts growth and leads to stunted plants.
🚫 Ignoring Root Health
Before repotting, always check the roots. Healthy roots are white and firm; ignoring this step can mean transferring problems like root rot or entanglement to the new pot.
🏺 Choosing the Wrong Pot Material
The pot material significantly impacts your plant's well-being. Plastic pots may retain moisture but can suffocate roots, while terracotta offers excellent drainage but can dry out too quickly.
Understanding these common mistakes can help you create a thriving environment for your variegated wax plant. Next, let's dive into how to assess root health before making the big move.
⚠️ Safety First
This content is for general information and may contain errors, omissions, or outdated details. It is not medical, veterinary advice, or an endorsement of therapeutic claims.
Always consult a qualified healthcare professional before using any plant as food, medicine, or supplement.
Never eat any plant (or feed one to pets) without confirming its identity with at least two trusted sources.
If you suspect poisoning, call Poison Control (800) 222-1222, the Pet Poison Helpline (800) 213-6680, or your local emergency service immediately.
Spotted an error? Please report it here.
Repotting your variegated wax plant is essential for its growth and health, and with Greg's tailored reminders and expert tips, you'll confidently choose the right pot size and material to ensure your plant thrives! 🌿 Elevate your plant care!