How to Propagate Your Hoya australis 'Bordvare'
Hoya australis 'Bordvare'
By the Greg Editorial Team
Jun 18, 2024•7 min read
This article was created with the help of AI so we can cover more plants for you. May contain errors. See one? Report it here.
- Three ways to propagate: stem cuttings, leaf cuttings, or offsets.
- Ideal conditions matter: right temperature, light, humidity, and clean station.
- Patience and care: use rooting hormone, monitor roots, and transition gently.
Choosing Your Propagation Method
🌱 Stem Cuttings
To propagate Hoya australis 'Bordvare' through stem cuttings, select a stem that's the picture of health—lush, green, and sturdy. Snip it right below a leaf node using disinfected shears, and strip off the lower leaves to avoid rot. A dip in rooting hormone gives your cutting a solid head start.
Step-by-Step Guide to Rooting Stem Cuttings
- Cut the stem cleanly below a node.
- Remove lower leaves to prevent decay.
- Dip the end in rooting hormone (optional, but helpful).
- Plant the cutting in moist soil or place it in water.
- Wait for roots to develop, then transfer to a pot.
🍃 Leaf Cuttings
For leaf cuttings, it's all about choosing the right leaf. Go for one that's full of life and free from any damage. Cut it with a clean, sharp tool, and let it callous over for a day or two. Then, press it gently into the soil and keep it lightly moist. Roots should be shyly peeking out in a few weeks.
The Right Way to Encourage Roots from Leaf Cuttings
- Select a healthy leaf.
- Cut and let it dry slightly to form a callus.
- Place it on top of the soil, barely buried.
- Moisture is key—keep the soil slightly damp.
- Patience wins the race; roots will come in time.
🌿 Offsets: Nature's Propagation Gift
Offsets are like little propagation freebies. Spot them hugging the mother plant, ready to strike out on their own. Gently separate them, ensuring they have some roots attached, and pot them up. They'll need a bit of extra TLC at first, but they're generally eager to grow.
Spotting and Separating Offsets
- Identify offsets that are well-developed.
- Separate them carefully, keeping roots intact.
- Pot them in their own containers with fresh soil.
- Care for them as you would any young plant.
Remember, whether you're a propagation newbie or a seasoned green thumb, each method has its quirks. Experiment and find what works best for you and your Hoya australis 'Bordvare'. It's a hands-on learning experience, so roll up your sleeves and get ready to grow your garden.

Prepping Your Propagation Station
Creating the perfect propagation station for your Hoya australis 'Bordvare' is about as straightforward as a recipe for toast. You want your baby plants to feel like they've landed in a botanical spa, not a boot camp.
🌿 Setting Up the Ideal Space
First things first, cleanliness is next to godliness. Sterilize your tools to avoid turning your propagation into a horror movie. Next, arrange your space. You'll need a flat surface that's easy to wipe down because, let's face it, soil has a way of getting everywhere.
🌡 Balancing the Elements
Now, let's talk environment. Your cuttings are like Goldilocks; they want everything just right. Temperature should be steady, aim for a cozy 75° to 80°F. If your cuttings could shiver, they would, so no cold drafts, please. As for light, bright but indirect is the way to go. Think of the light in a morning café, not a midday desert.
💦 Humidity: The Invisible Embrace
Humidity is your secret weapon. Too little and your cuttings will throw a tantrum, too much and they'll drown in their own sweat. Aim for that sweet spot where the air feels like a gentle hug. If you're into gadgets, a humidity dome or a misting system can be your best friend.
📊 Monitoring and Adjustments
Keep an eye on your green charges. If they start to look more pitiful than a forgotten houseplant in a teenager's bedroom, adjust the humidity or temperature. Remember, you're the captain of this ship, and it's your job to keep the crew happy.
🌞 The Right Light
Your cuttings need light, but not the kind that would require SPF 50. Position them in a place where they get indirect sunlight; direct rays are a big no-no for these delicate darlings. If sunlight is scarce, a grow light can work wonders, just don't blast them with it.
💧 Watering Wisdom
When it comes to watering, think of the soil like a sponge. It should be moist but not dripping wet. Overwatering is the express lane to root rot city, and nobody wants to visit there.
🛡️ Final Touches
Last but not least, ensure your station is protected from the elements. A sudden gust of wind or a curious pet can ruin weeks of patient waiting. Set up your station in a safe spot, and watch your little cuttings grow into beautiful Hoya australis 'Bordvare' plants.

The Root of the Matter: Encouraging Root Development
💧 Water or Soil: The Great Debate
Water propagation is like the cool kid on the block—easy to get along with and fun to watch. But soil propagation? That's the old soul, tried and true. Your choice? It hinges on personal preference and what you've got on hand. If you're a visual person, watching roots develop in water can be pretty satisfying. But if you're all about tradition and have a well-draining potting mix ready, soil might be your jam.
🌱 Rooting Medium Must-Haves
Whether you choose water or soil, your Hoya cuttings need the right stuff to thrive. For water, keep it clean and fresh; change it every few days to prevent bacterial growth. For soil, aim for a mix that's like a backstage pass for roots—well-draining and airy. Think perlite, vermiculite, or sand to keep it loose and breathable.
🌱 The Rooting Hormone Edge
Consider rooting hormone the secret sauce. It's not a must, but it's like giving your cuttings a growth pep talk. Dip the end of your cutting in it before you plant, and you might just see faster results.
🚰 Drainage: The Unsung Hero
If soil's your pick, don't skimp on a container with drainage holes. Waterlogged soil is a one-way ticket to root rot city, and we're not about that life. Keep it flowing.
👀 Monitoring Roots: The Waiting Game
Patience is key. Roots might pop up in a few weeks, or they might take their sweet time. Keep an eye on your cuttings, and when you see a healthy network of roots, it's go-time for potting. Remember, you're not just growing plants; you're growing patience.
🌡️ Temperature and Humidity: The Comfort Zone
Your cuttings are basically in the plant version of a spa—they need warmth and humidity. Think of it as setting the mood for growth. Too dry or cold, and they'll just sulk.
⏰ When to Pot: Timing Is Everything
So you've got roots, what now? Wait until they're a couple of inches long. That's your green light to transition them to their new home—a pot with the right soil mix and all the cozy vibes of their natural habitat.

After the Roots: What Next?
Once your Hoya australis 'Bordvare' cuttings have sprouted roots, it's time to transition them from water or their initial rooting medium to a more permanent home. Here's how to ensure your newly rooted plants get the best start in life.
🌱 Transitioning to Soil
Gently move your rooted cuttings into a small pot filled with the right soil mix. The mix should be airy and well-draining to prevent root rot. A combination of half potting soil and half succulent & cactus mix, with a few handfuls of coco coir or compost, is a good start. Some growers recommend a 1/4" topping of worm compost for extra nutrients.
🏺 Pot Selection
Choose a pot with drainage holes to allow excess water to escape. This is crucial for preventing waterlogged soil, which can be detrimental to your Hoya's delicate roots.
🌱 Soil Mix
For the soil, think light and breathable. A mix that's too dense can suffocate roots and invite mold. A blend of potting soil, succulent mix, and a bit of perlite or vermiculite should do the trick. Avoid packing the soil too tightly around the roots; think supportive but not constrictive.
💧 Watering Schedule
After potting, establish a consistent watering schedule. The soil should be moist but not soggy. Lift the pot; if it feels light, it's time to water. This helps avoid the dreaded overwatering dilemma.
🌿 Acclimatization
If you're moving your Hoya outdoors, do it gradually. Start in a shaded area and slowly introduce it to more sunlight to prevent shock.
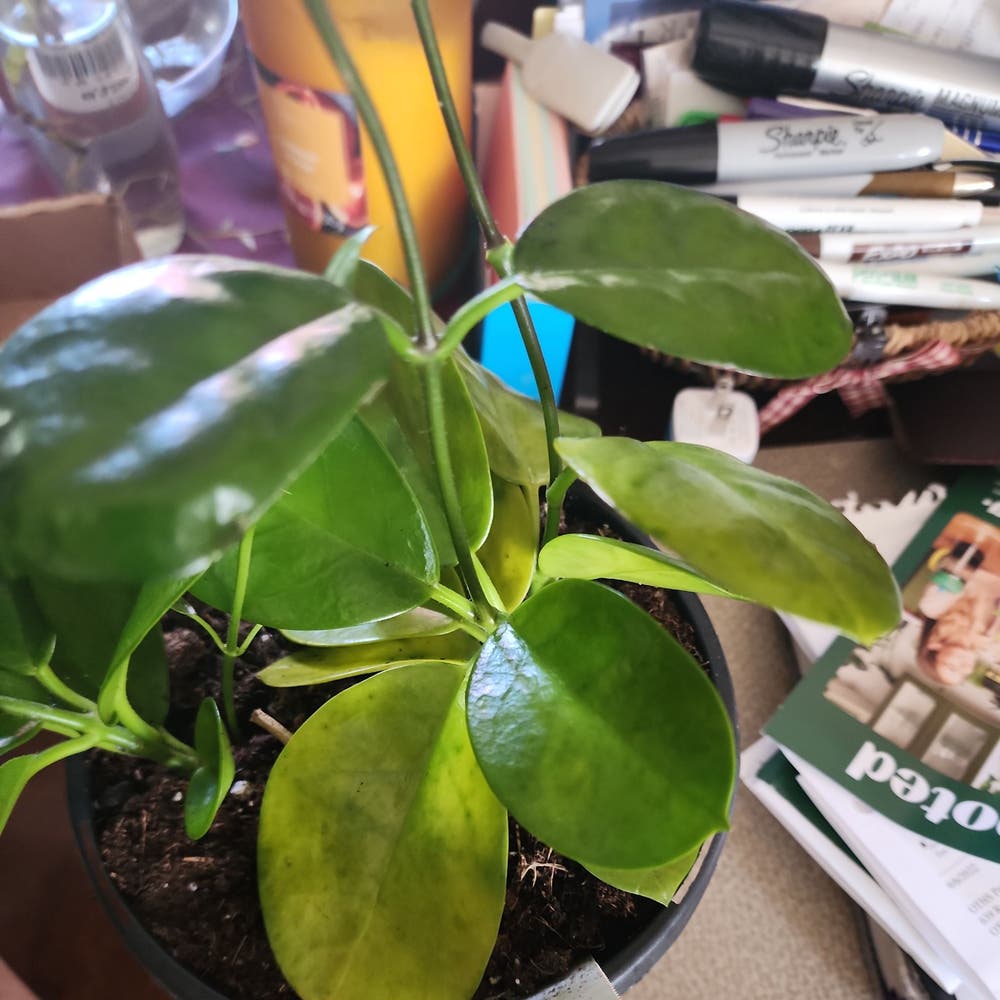
📈 Monitoring Growth
Keep an eye on your Hoya as it adjusts to its new pot. Yellowing leaves may signal stress, usually from a lack of water or nutrients. Adjust care as needed and watch your Hoya flourish.
⚠️ Safety First
This content is for general information and may contain errors, omissions, or outdated details. It is not medical, veterinary advice, or an endorsement of therapeutic claims.
Always consult a qualified healthcare professional before using any plant as food, medicine, or supplement.
Never eat any plant (or feed one to pets) without confirming its identity with at least two trusted sources.
If you suspect poisoning, call Poison Control (800) 222-1222, the Pet Poison Helpline (800) 213-6680, or your local emergency service immediately.
Spotted an error? Please report it here.
Enjoy watching your Hoya australis 'Bordvare' thrive from cuttings to lush growth with Greg's 🌿 personalized environment tracking for your propagation station.